
HPLRelated
Dec 13, 2017Technology
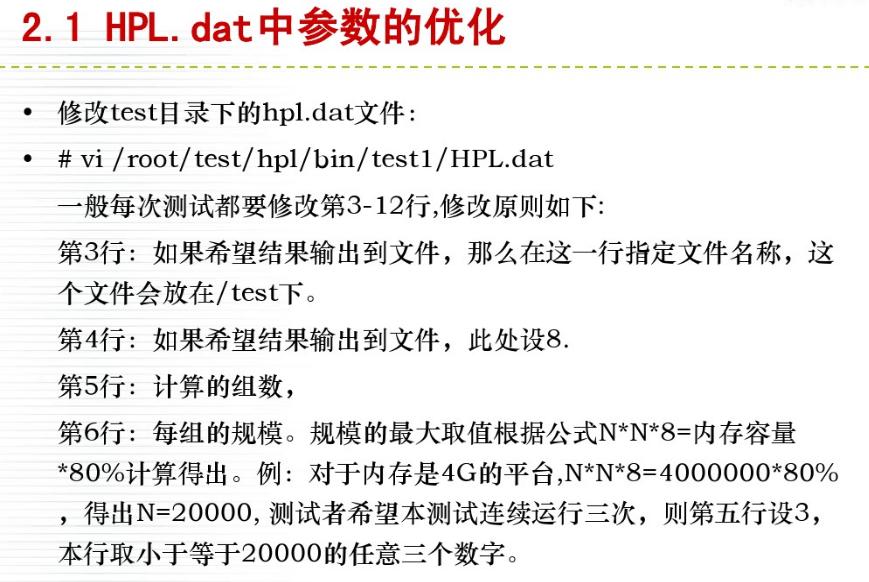
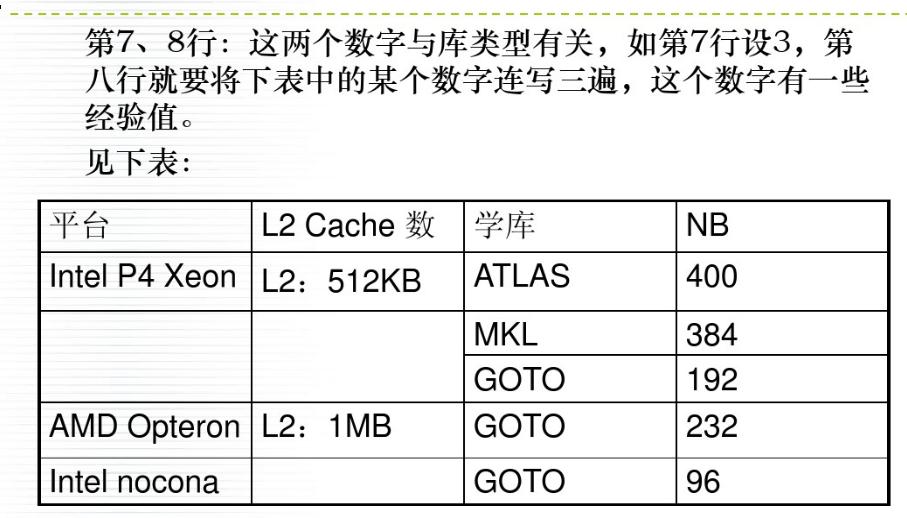
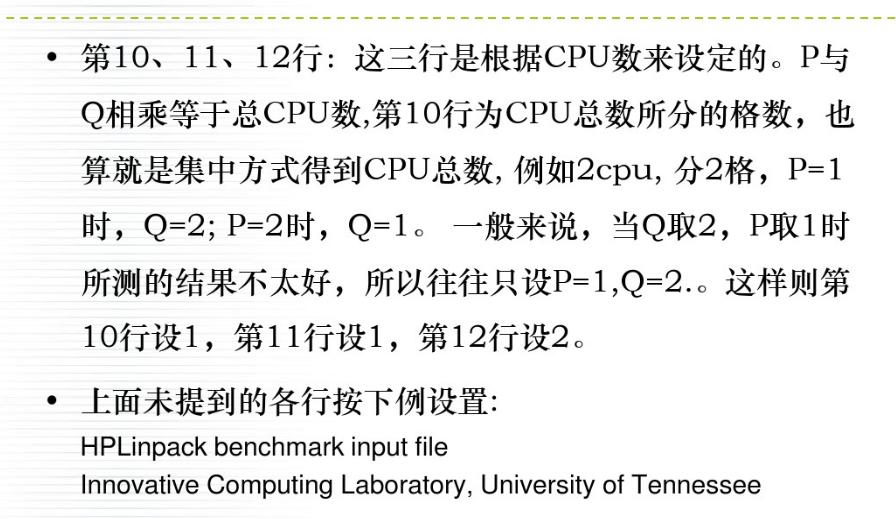
Parameter
See Images:
Reference Website
HOW DO I TUNE MY HPL.DAT FILE?:
http://www.advancedclustering.com/act_kb/tune-hpl-dat-file/
The testing is pretty long time-consuming…..
See Images:
HOW DO I TUNE MY HPL.DAT FILE?:
http://www.advancedclustering.com/act_kb/tune-hpl-dat-file/
The testing is pretty long time-consuming…..
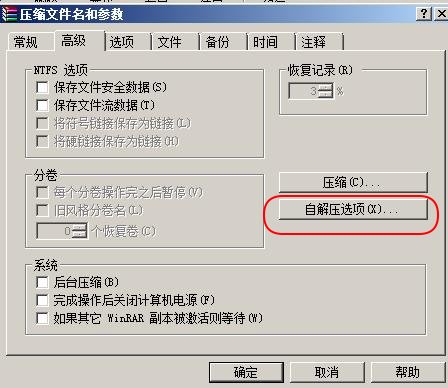
Notice: select the 2 items:
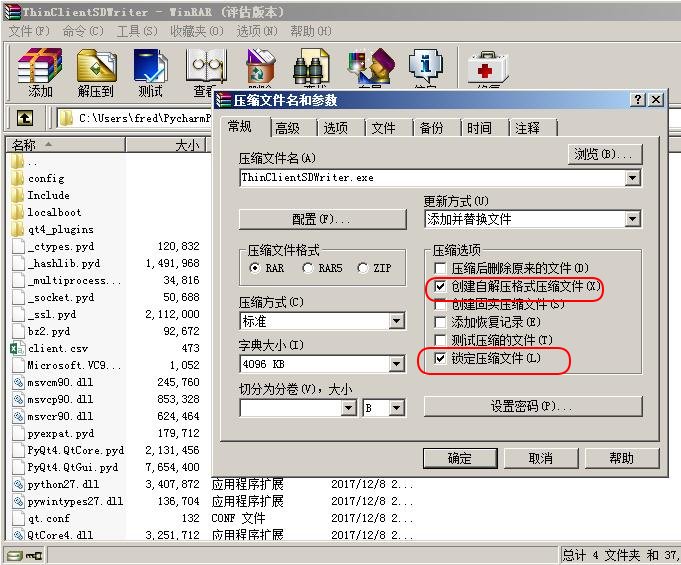
Advance, select the red item:
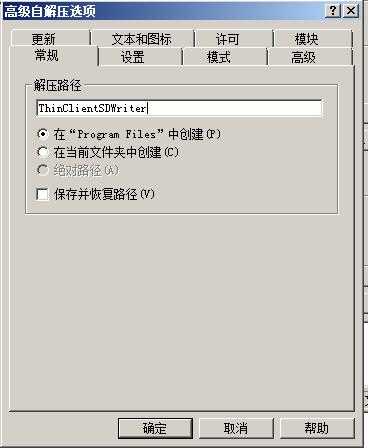
unzipeed location:
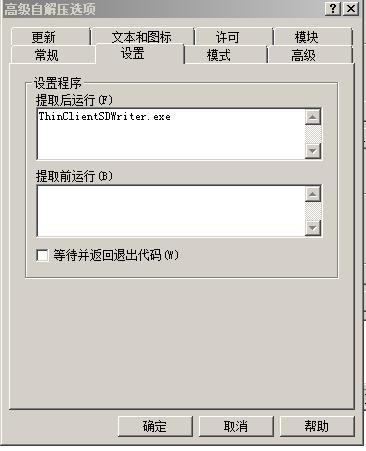
Setup:
Add shortcuts:
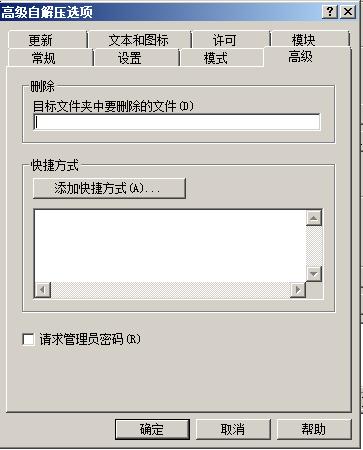
In Desktop:
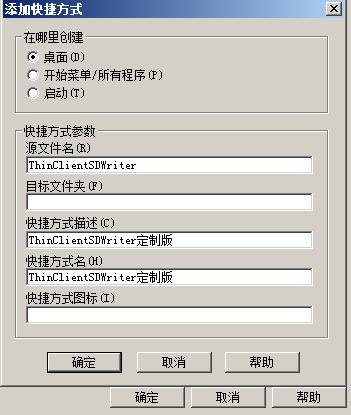
Some text:
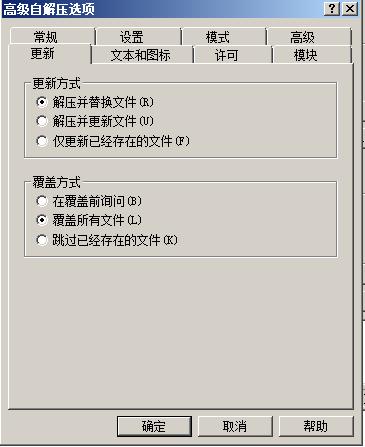
Update:
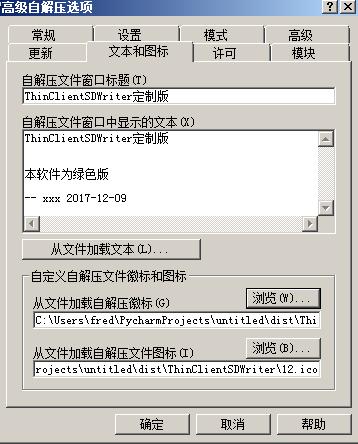
Text and icon:
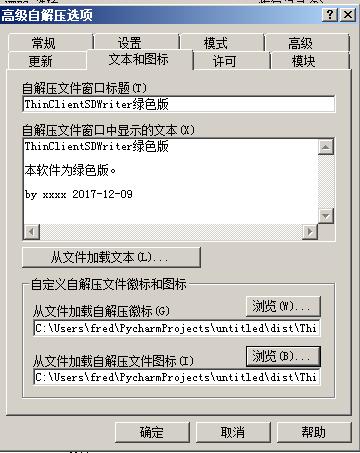
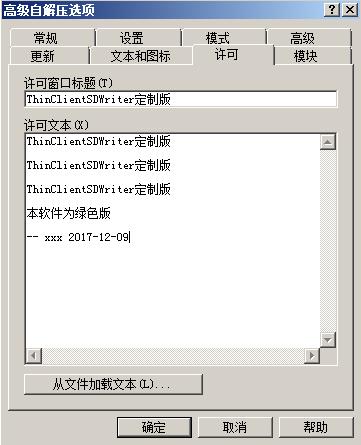
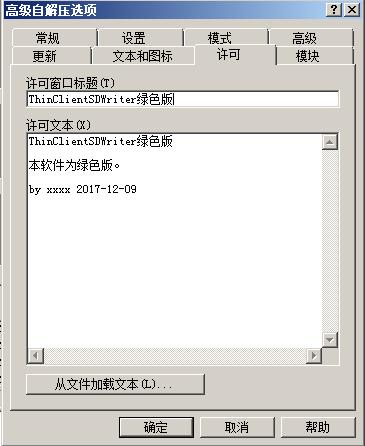
Certification:
Modules:
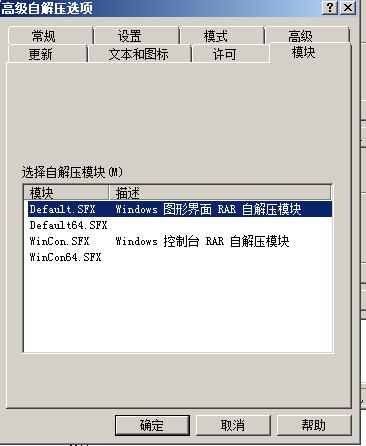
Now you could see the rared files, click it for installation.
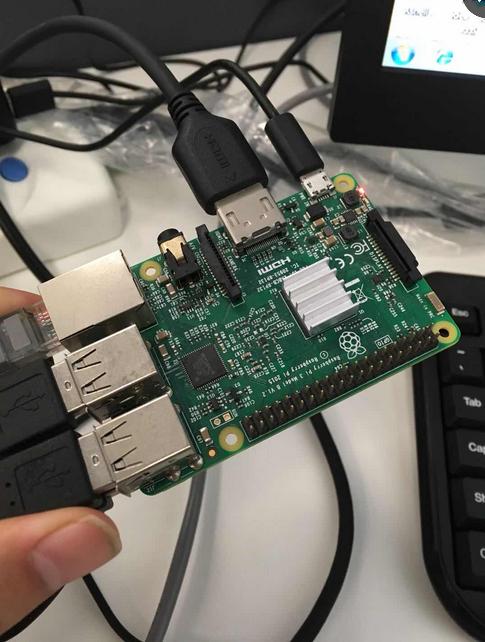
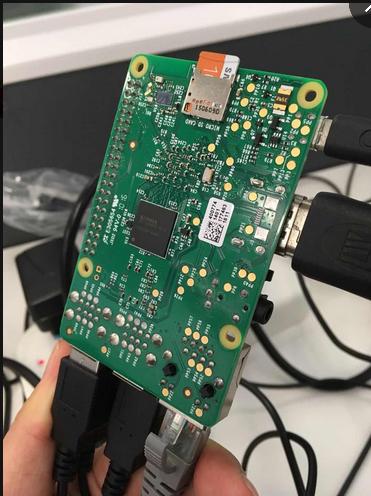

RaspberryPI上的一种瘦客户端解决方案。
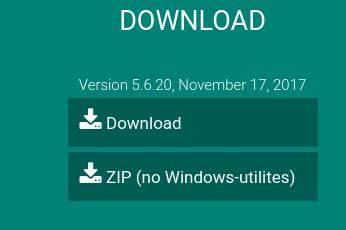
下载地址:
https://winterminal.com/index.html#download
下载链接有两个,一个是exe下载,一个是zip下载,我们选择exe下载。
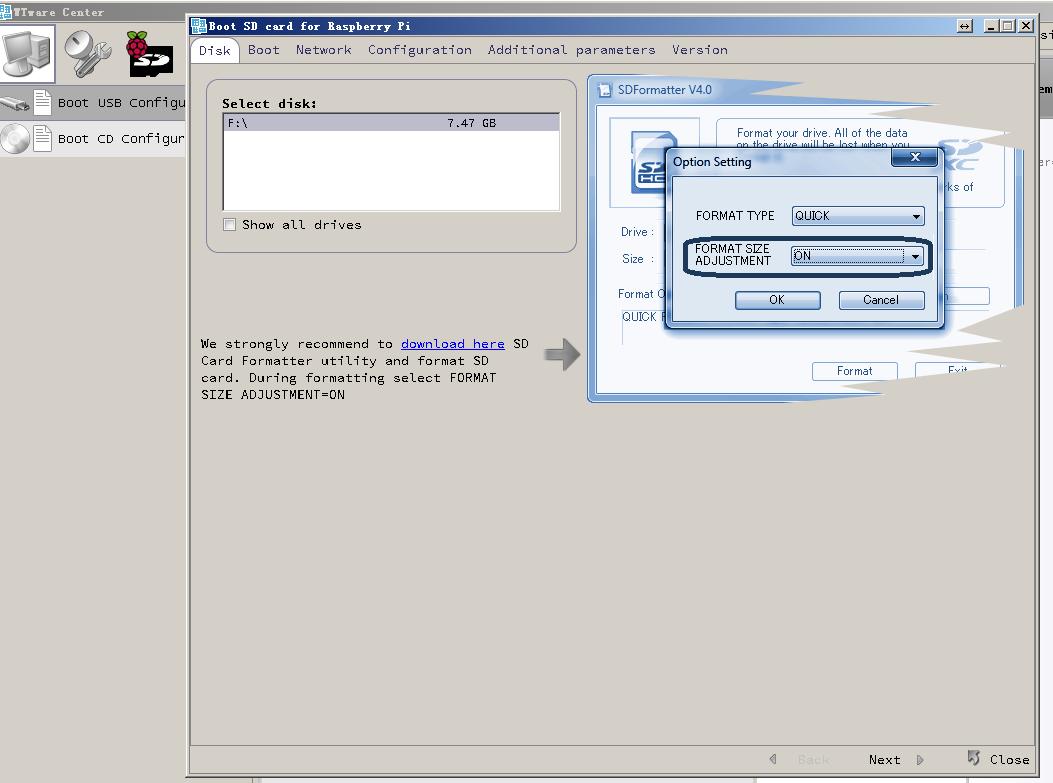
 下载包大小大概200M不到,安装在Windows系统上,附带的例如TFTP/dhcpD之类的功能根据个人需求自行选择。我这里因为是静态地址的,不需要这些组件,就没有安装。
安装完毕后的配置过程如下,可以看到我们
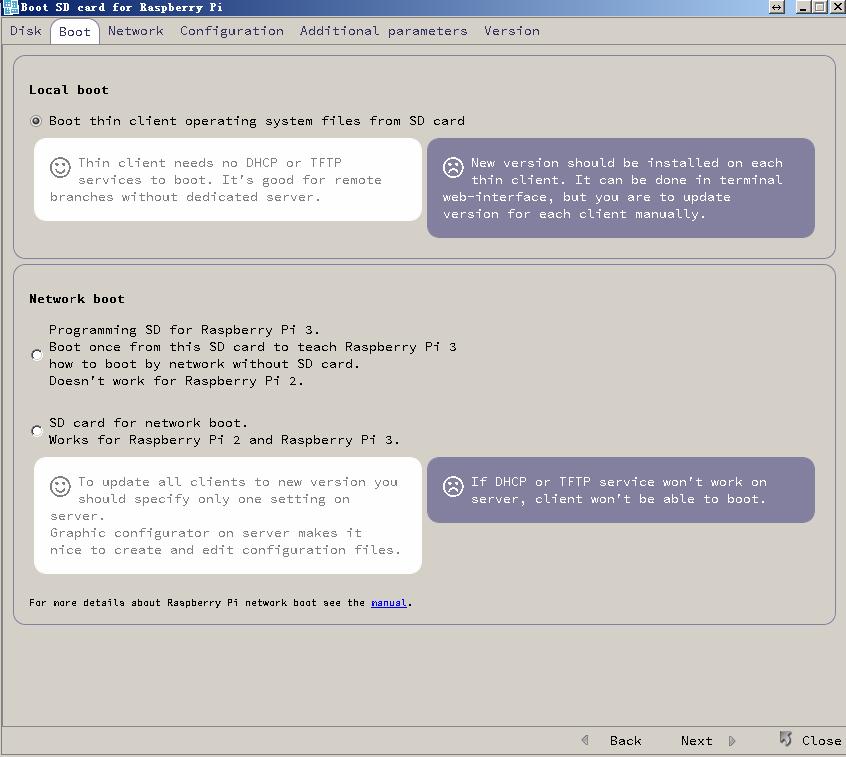
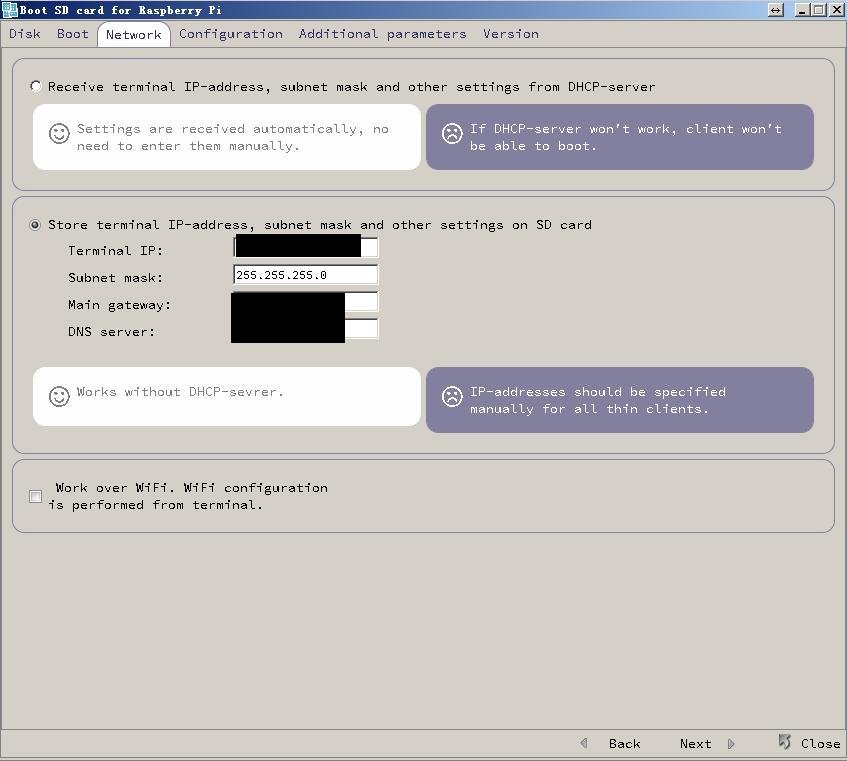
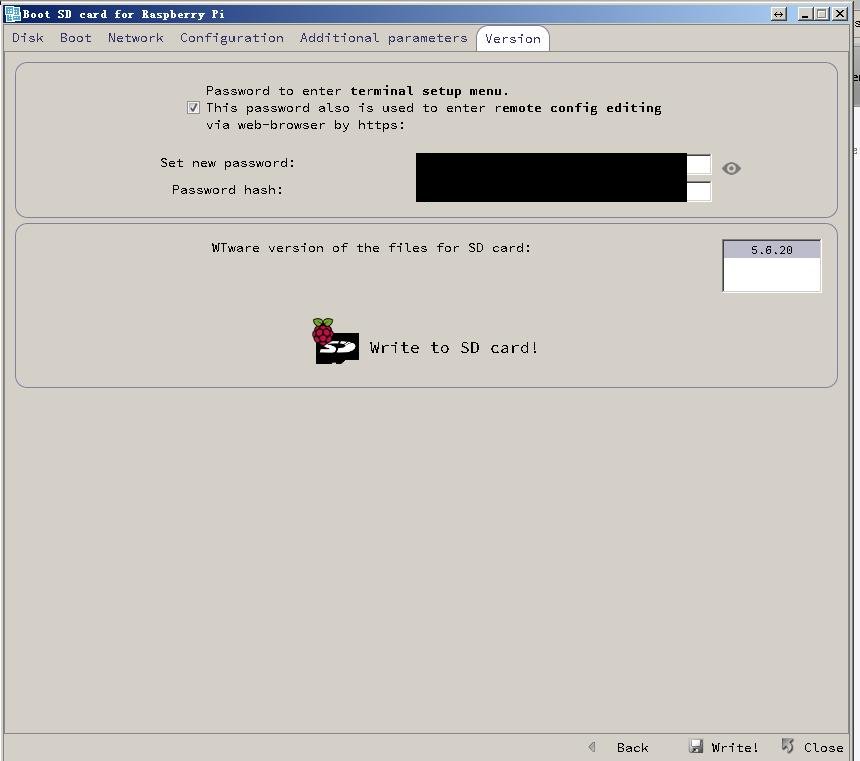

这类说明一下,我们先配置RaspberryPI本身的IP地址/子网掩码/网关等信息。远端的服务器则在开机启动的时候再配置。最后填入的密码是进入设置页面的密码。在开机加电时按DEL键进入修改的条目。
这里的配置过程以后再补上,因为当时没有截图。
所有的更改项对应在SD卡的Config目录下。
$  cat initrd.wtc
clientIP = 192.xxx.xxx.xxx
netmask = 255.255.255.0
routerIP = 192.xxx.xxx.xxx
nameserverIP = 192.xxx.xxx.xxx
config = local
setupPassword = xxx.xxxxxxxxxxxxxxx
$ cat config.wtc
server = rdp:192.xxx.xxx.xxx
User=username:password
配置好以后,插入SD卡就可以进入到我们预配置好的远程桌面了,这里我们启用的是RDP协议的Windows远程桌面。
为了保证服务质量,WTware默认禁掉了很多桌面效果,可以通过在config.wtc文件中加入下列条目,来开启所有特效:
graphic = abcdefg
SATA 3: 6Gbps/SATA 2: 3Gbps/SATA 1: 1.5GBps
ATTO Disk Benchmark.
CPU-Z
CrystalDiskMark
随机写入/随机读出/顺序写入/顺序读出
iometer
P/E Cycle.
HD Tune Pro
AS SSD Benchmark
PCMark
PCMark Vantage
PCMark 7(SSD)
RAMDISK for win: dataram
Dump the existing sql via following commands:
# mysqldump -uxxxx -pxxxxx table_name -h10.53.12.102 -P3306>xxxx.sql
Run docker instance of sql via following command:
$ sudo docker run --name=mysql1 -d -e MYSQL_ROOT_PASSWORD=xxxxxxx -v /media/sda5/mysql:/home -p3306:3306 mysql:5.7
$ sudo docker exec -it mysql1 /bin/sh
# mysql -uroot -pxxxx
> create database xxxxx
import sql files via following command:
# mysql -uroot -pxxxxxx databasenamexxxxxx -h127.0.0.1 -P3306</media/sda5/mysql/xxxxxx.sql
Install workbench via sudo pacman -S mysql-workbench, then start using
workbench for editing the database.