Feb 21, 2024
Technology1. 安装Xenserver
创建启动盘:
$ sudo dd if=./XenServer8_2024-01-09.iso of=/dev/sdb bs=1M && sudo sync
U盘启动工作站开始安装:
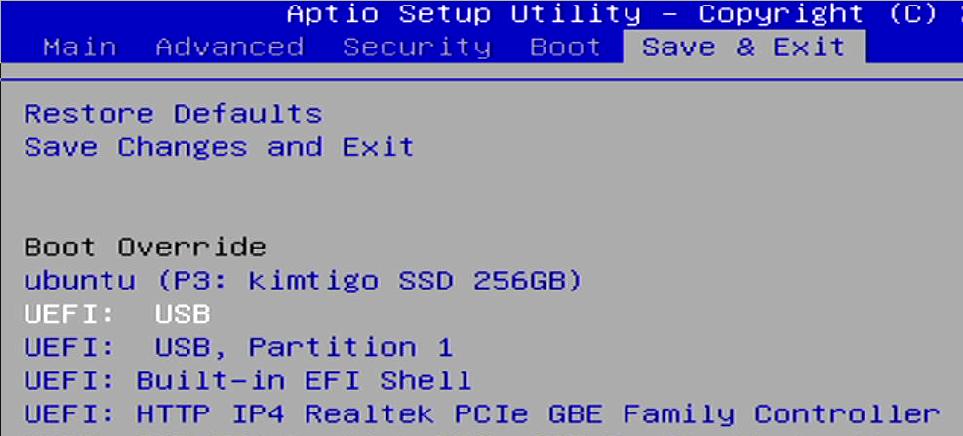
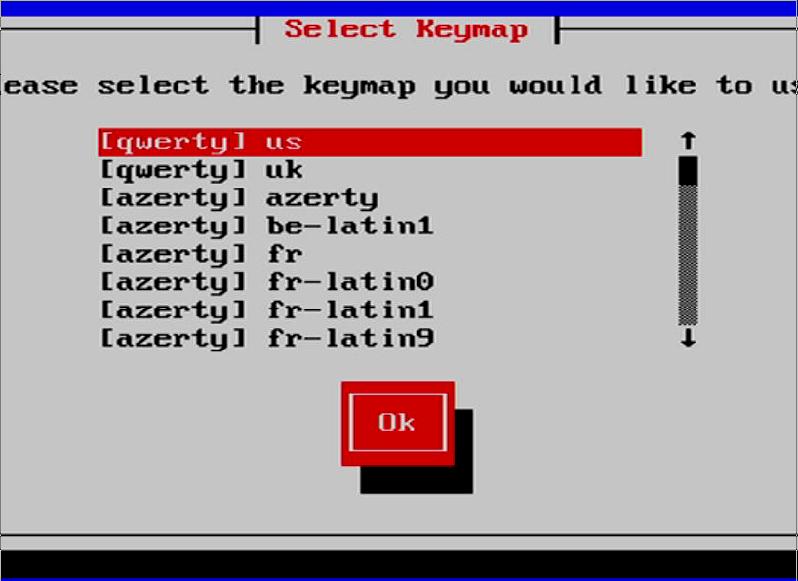
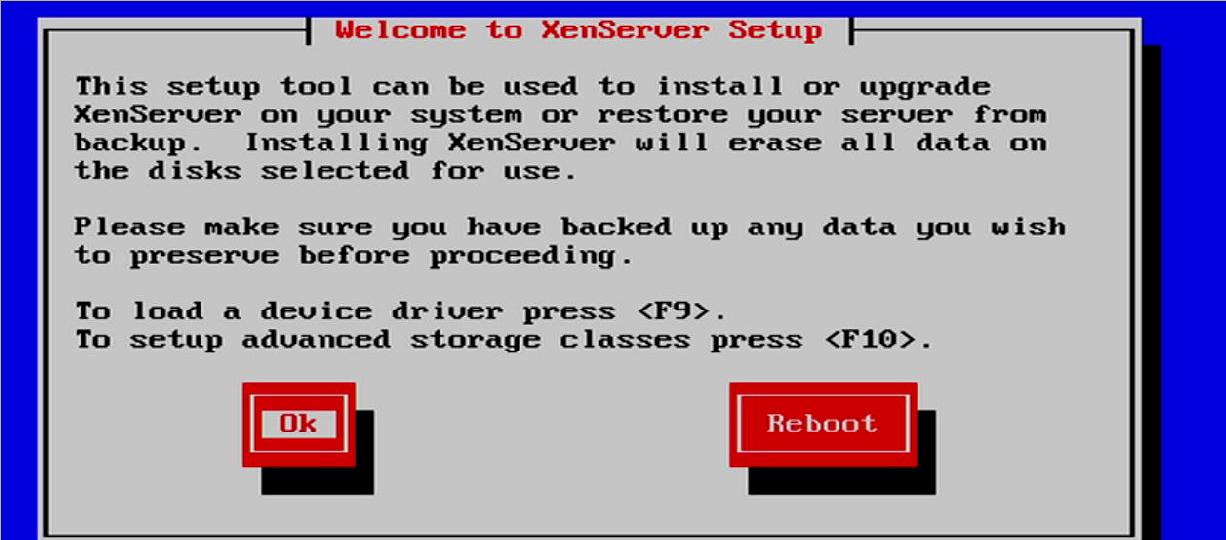
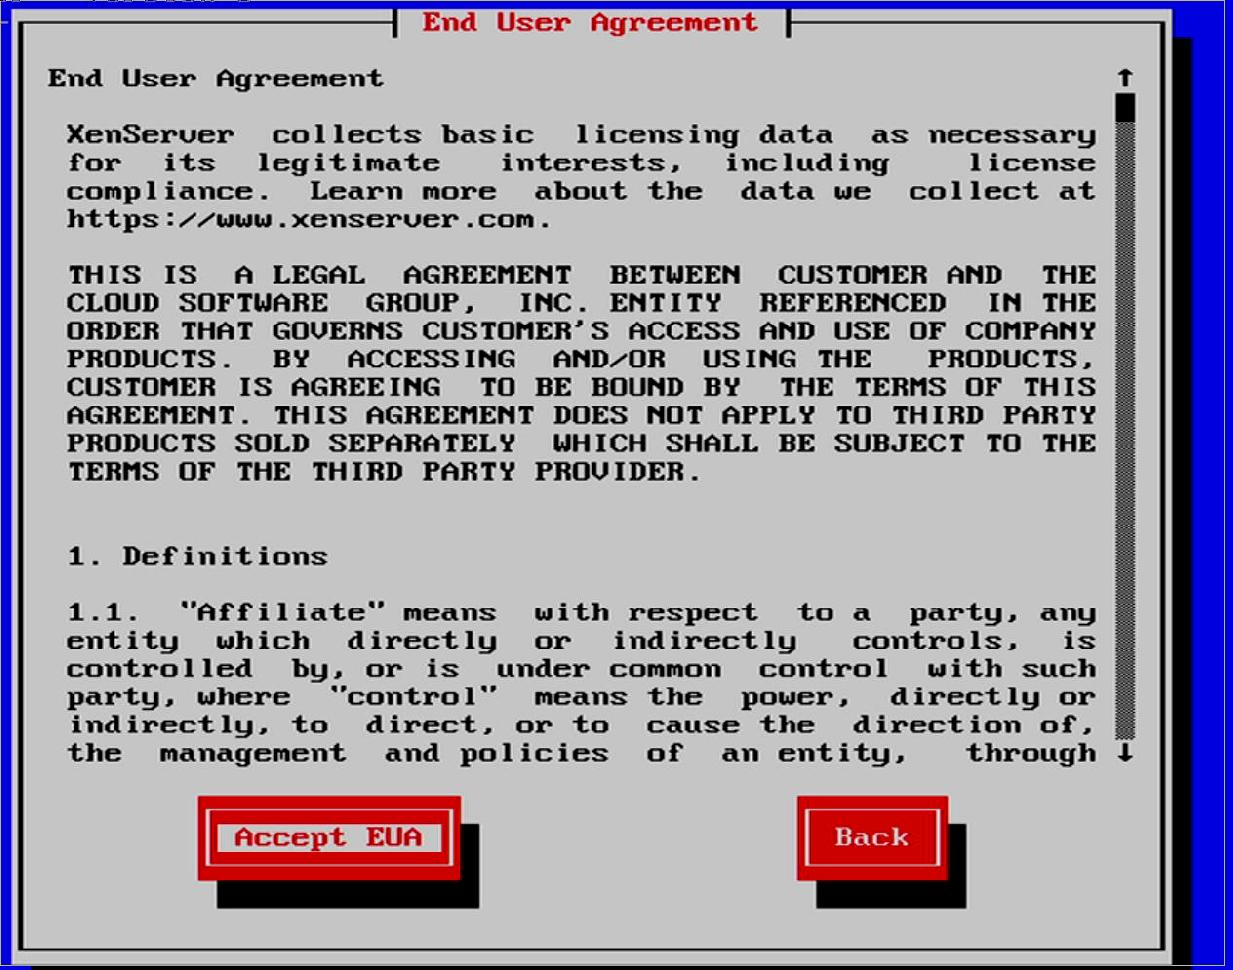
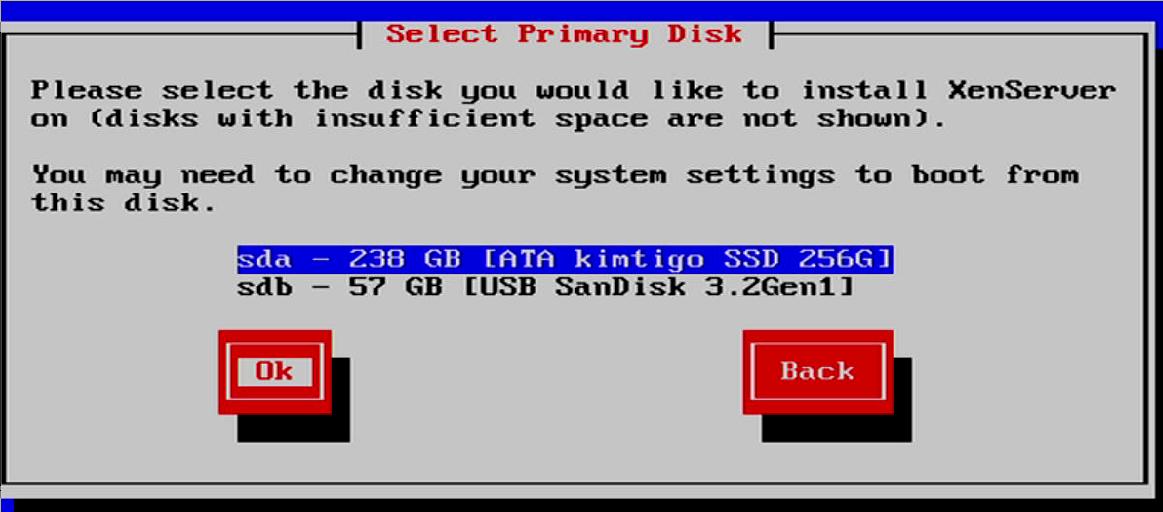
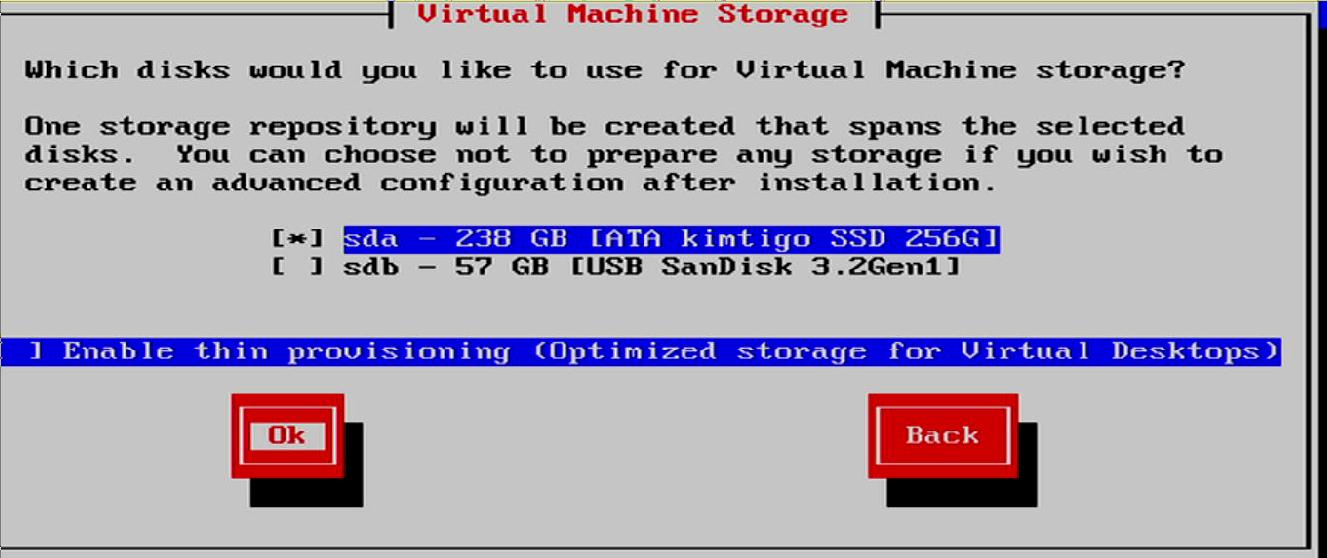
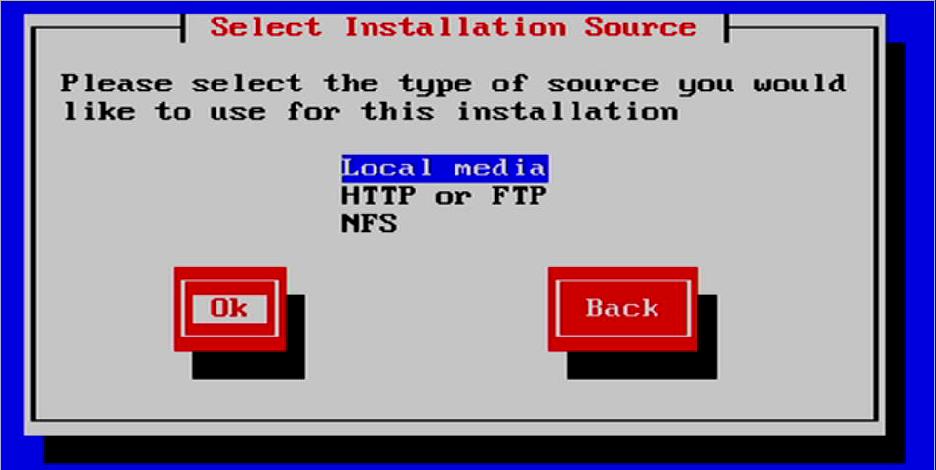
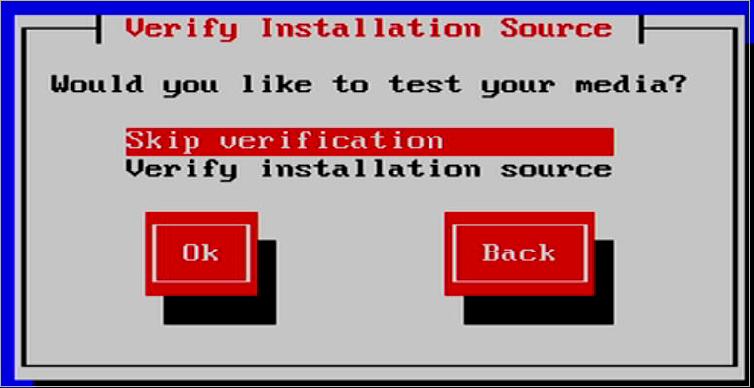

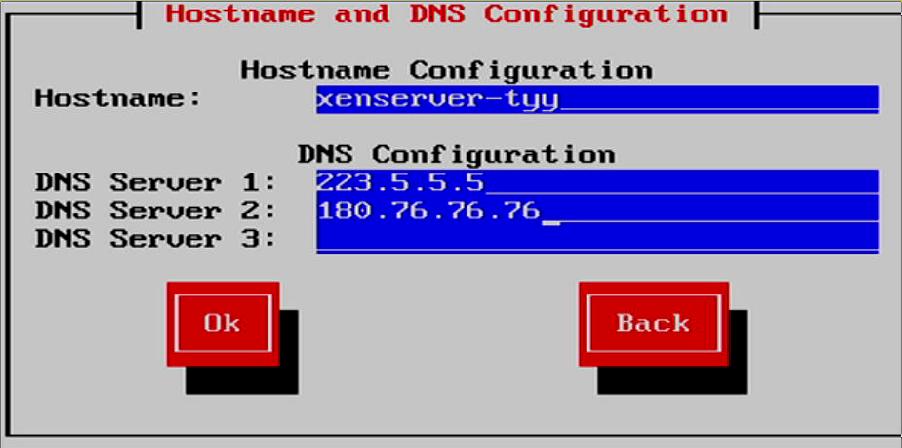
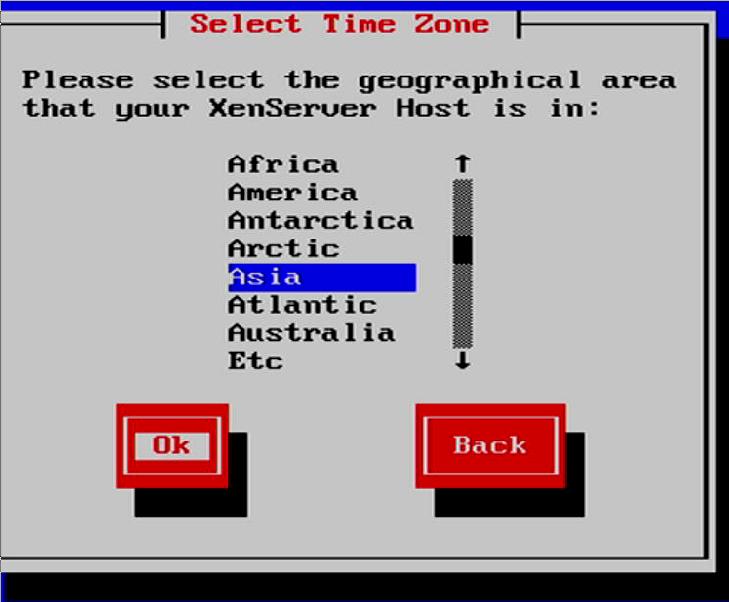
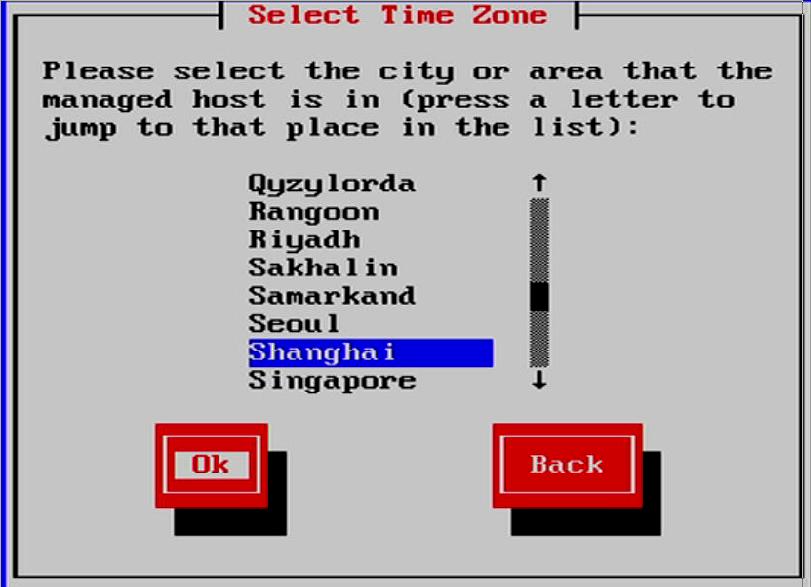
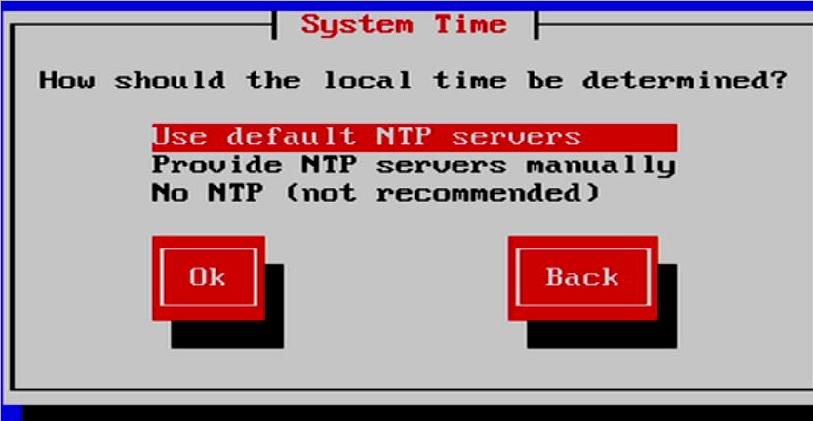
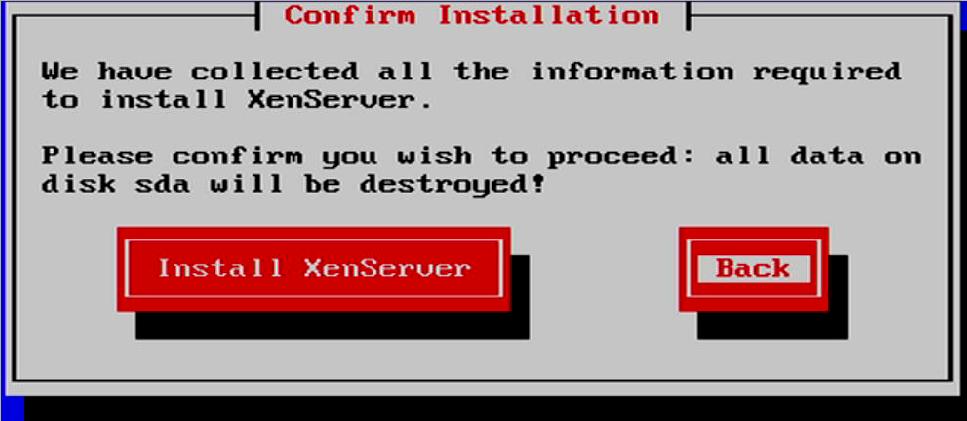


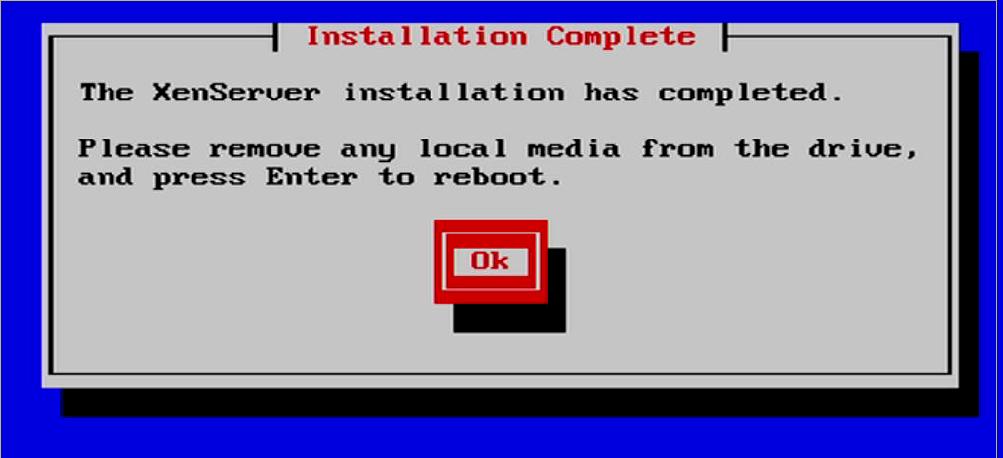
登陆:
[root@xenserver-tyy ~]# cat /etc/issue
XenServer 8

System Booted: 2024-02-21 11:16

Your XenServer host has now finished booting.
To manage this server please use the XenCenter application.
You can install XenCenter for Windows from https://www.xenserver.com/downloads.

You can connect to this system using one of the following network
addresses:

IP address not configured

[root@xenserver-tyy ~]# free -m
              total        used        free      shared  buff/cache   available
Mem:           1706         110        1278           8         318        1534
Swap:          1023           0        1023
[root@xenserver-tyy ~]#
XenCenter
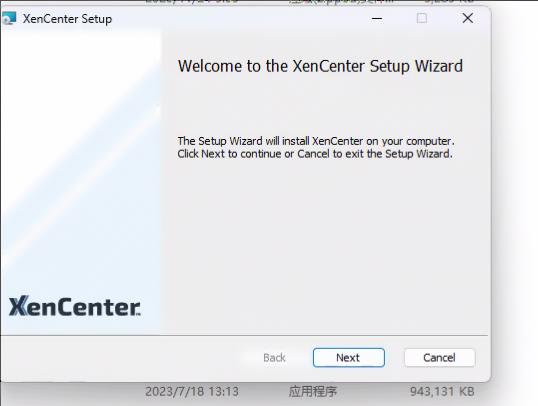
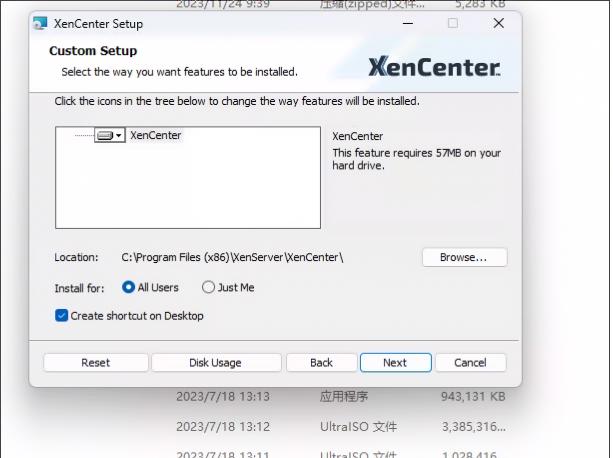
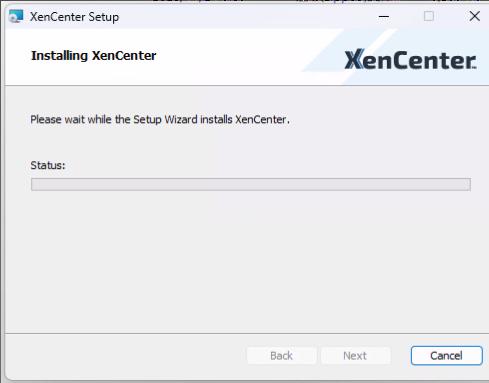
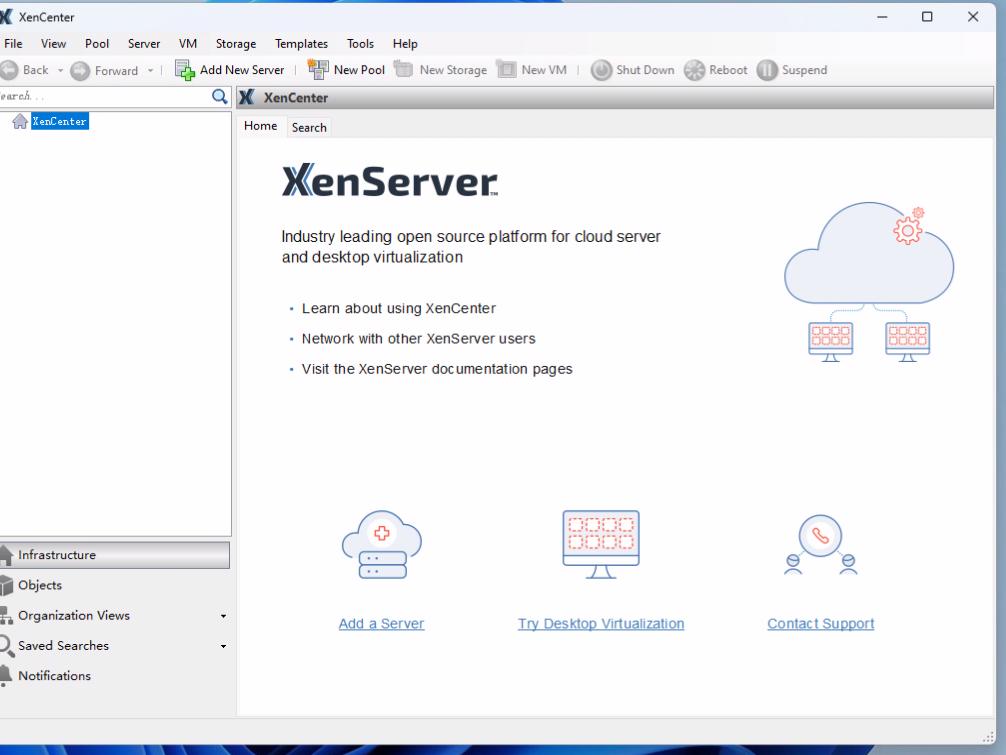
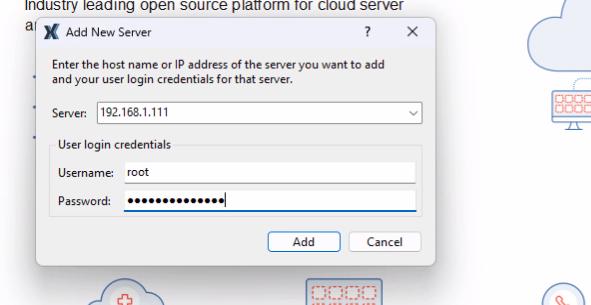
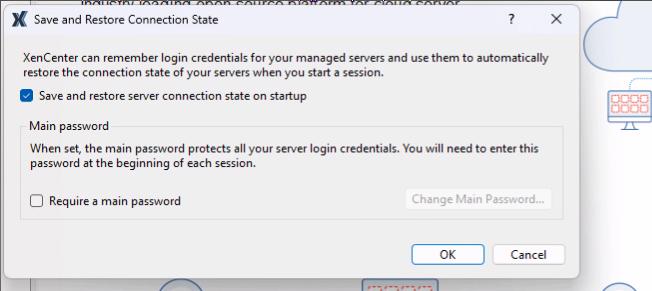
增加新xenserver:
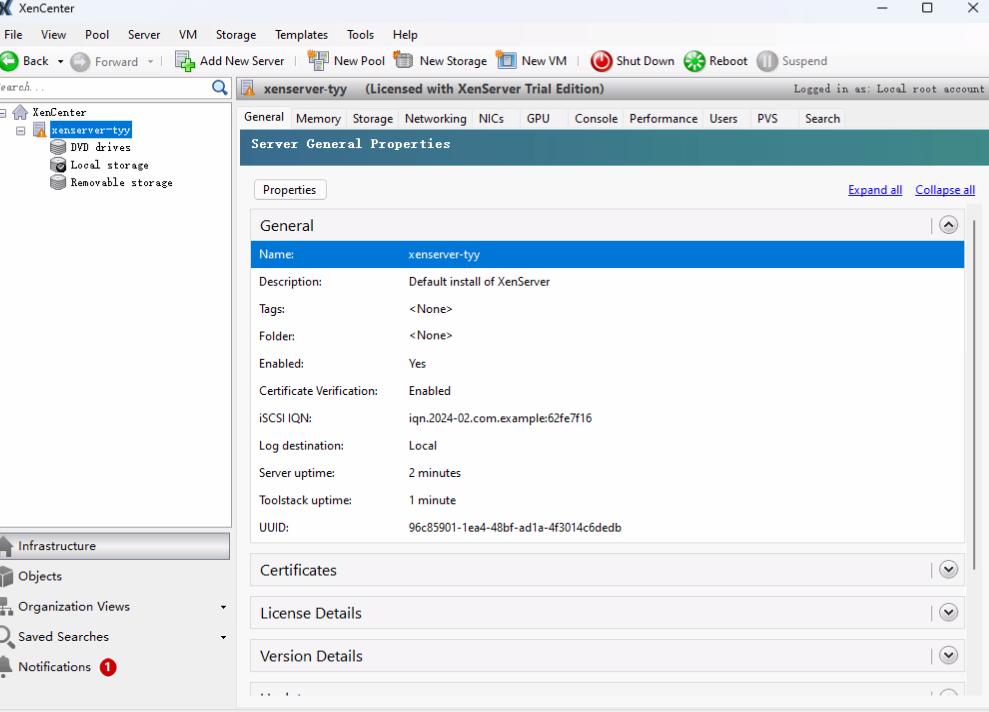
添加的xenserver-tyy:
import类型只支持:

所以需要转换为vmdk?
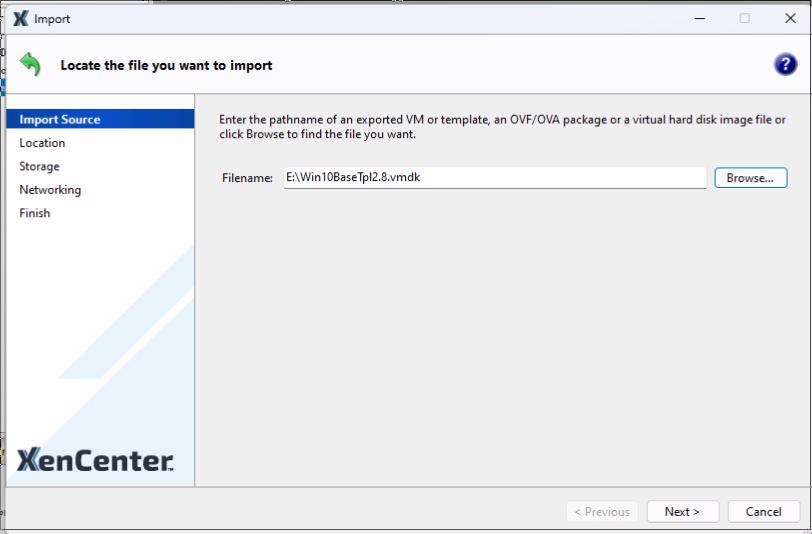
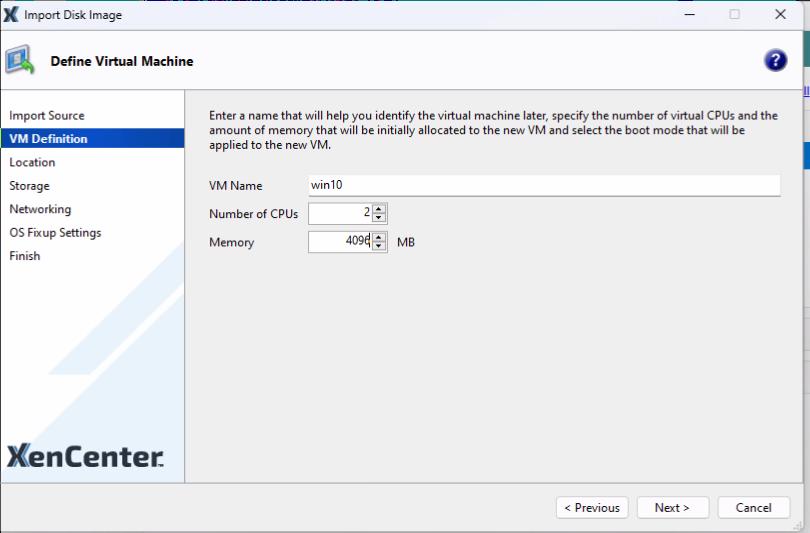
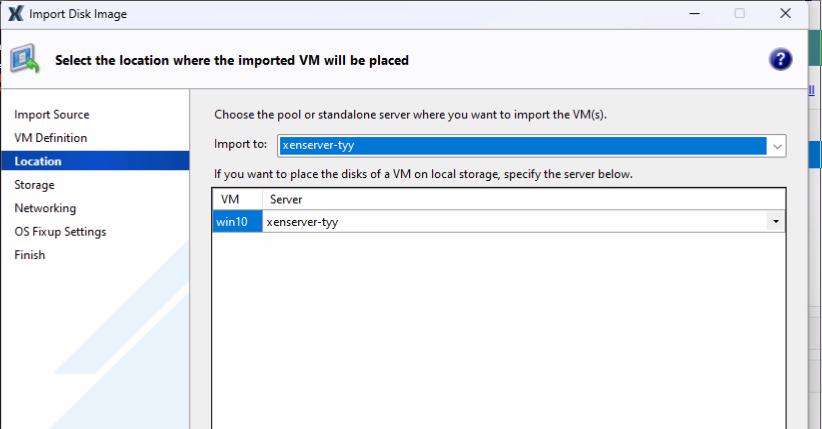
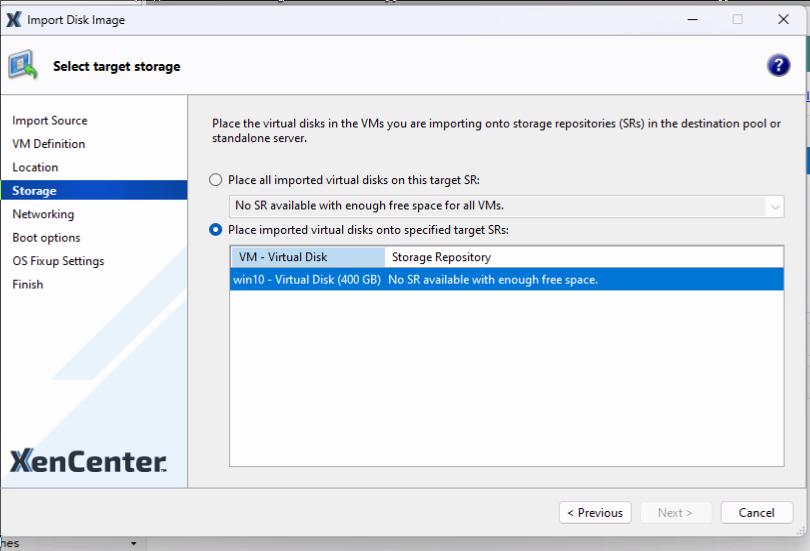
转换格式
Feb 12, 2024
TechnologyInstall lxqt for using for vnc:
$ sudo pacman -S lxqt
Enable the vnc configration for using lxqt:
$ cat ~/.vnc/config
session=lxqt
geometry=1920x1080
alwaysshared
enable the linux user for session:
$ cat /etc/tigervnc/vncserver.users
# TigerVNC User assignment
#
# This file assigns users to specific VNC display numbers.
# The syntax is <display>=<username>. E.g.:
#
# :2=andrew
# :3=lisa
 :1=dash
Now setup the vncpasswd:
$ vncpasswd
Then you could start the vnc via:
$ sudo systemctl start vncserver@:1
$ sudo systemctl enable vncserver@:1
Feb 8, 2024
TechnologyPreparation
Definition for the vagrant build machine:
$ cat Vagrantfile
Vagrant.configure("2") do |config|
  config.vm.box = "bento/ubuntu-22.04"
  config.disksize.size = '180GB'

config.vm.provider "virtualbox" do |v|
  v.memory = 65535
  v.cpus = 12
end

end
$ pwd
/home/dash/Code/vagrant/buildUbuntuKernel610tc
Extend the partition after login to the vm:
lvextend -l +100%FREE /dev/ubuntu-vg/ubuntu-lv
resize2fs /dev/ubuntu-vg/ubuntu-lv
update the system:
apt update -y && apt upgrade -y
Install necessary packages for building kernel:
sudo apt install libncurses-dev gawk flex bison openssl libssl-dev dkms libelf-dev libudev-dev libpci-dev libiberty-dev autoconf llvm
sudo apt build-dep linux linux-image-unsigned-6.1.0-1029-oem
Source Code
enable all of the items of deb-src in /etc/apt/sources.list, then sudo apt update -y.
mkdir -p ~/Code/Code6101029
cd ~/Code/Code6101029
apt source linux-image-unsigned-6.1.0-1029-oem
Build the packages:
cd /home/vagrant/Code/Code6101029/linux-oem-6.1-6.1.0
fakeroot debian/rules clean
fakeroot debian/rules binary
Check the build result:
$ ls
linux-buildinfo-6.1.0-1033-oem_6.1.0-1033.33_amd64.deb
linux-headers-6.1.0-1033-oem_6.1.0-1033.33_amd64.deb
linux-image-unsigned-6.1.0-1033-oem_6.1.0-1033.33_amd64.deb
linux-modules-6.1.0-1033-oem_6.1.0-1033.33_amd64.deb
linux-modules-ipu6-6.1.0-1033-oem_6.1.0-1033.33_amd64.deb
linux-modules-ivsc-6.1.0-1033-oem_6.1.0-1033.33_amd64.deb
linux-modules-iwlwifi-6.1.0-1033-oem_6.1.0-1033.33_amd64.deb
linux-oem-6.1-headers-6.1.0-1033_6.1.0-1033.33_all.deb
linux-oem-6.1-tools-6.1.0-1033_6.1.0-1033.33_amd64.deb
linux-oem-6.1-tools-host_6.1.0-1033.33_all.deb
linux-tools-6.1.0-1033-oem_6.1.0-1033.33_amd64.deb
Using docker for building
Initialize a docker instance for building:
sudo docker run -it -v /media/sdc/Code/buildkernel:/buildkernel ubuntu:22.04 /bin/bash
enter the docker and run:
apt update -y
apt install -y vim
vim /etc/apt/sources.list
apt update -y
apt install libncurses-dev gawk flex bison openssl libssl-dev dkms libelf-dev libudev-dev libpci-dev libiberty-dev autoconf llvm debhelper rsync python3-docutils bc libcap-dev git build-essential  asciidoc cpio libjvmti-oprofile0 linux-tools-common default-jdk binutils-dev libbtf1 libdwarf-dev dwarf* pahole libdwarf1 libdwarf++0
# get the dependencies via "dpkg-buildpackage -b"
apt install -y makedumpfile libnewt-dev libdw-dev pkg-config libunwind8-dev liblzma-dev libaudit-dev uuid-dev libnuma-dev zstd fig2dev sharutils python3-dev python3-sphinx python3-sphinx-rtd-theme imagemagick graphviz dvipng fonts-noto-cjk latexmk librsvg2-bin
mkdir -p  /buildkernel/oem && cd /buildkernel/oem
apt source linux-image-unsigned-6.1.0-1029-oem
cd linux-oem-6.1
cd linux-oem-6.1-6.1.0/
time sh -c 'fakeroot debian/rules clean && fakeroot debian/rules binary'
build time:
real	32m18.795s
user	309m36.938s
sys	43m52.711s
Customize kernel config file
Fetch the config file:
scp remote_config_files /root/config.common.ubuntu
cp /root/config.common.ubuntu linux-oem-6.1-6.1.0/debian.oem/config/
Edit the files:
# vim debian/rules.d/2-binary-arch.mk
......
	if [ -e $(commonconfdir)/config.common.ubuntu ]; then \
		//cat $(commonconfdir)/config.common.ubuntu $(archconfdir)/config.common.$(arch) $(archconfdir)/config.flavour.$(target_flavour) > $(builddir)/build-$*/.config; \
		cat /root/config.common.ubuntu > $(builddir)/build-$*/.config; \
	else \
......
# vim debian/rules.d/4-checks.mk
......
# Check the module list against the last release (always)
module-check-%: $(stampdir)/stamp-install-%
	@echo Debug: $@
	echo "done!";
	#$(DROOT)/scripts/checks/module-check "$*" \
	#	"$(prev_abidir)" "$(abidir)" $(do_skip_checks)


.......
config-prepare-check-%: $(stampdir)/stamp-prepare-tree-%
	@echo Debug: $@
	if [ -e $(commonconfdir)/config.common.ubuntu ]; then \
		echo "done!"; \
		#perl -f $(DROOT)/scripts/checks/config-check \
		#	$(builddir)/build-$*/.config "$(arch)" "$*" "$(commonconfdir)" \
		#	"$(skipconfig)" "$(do_enforce_all)"; \

......
patch :
$ patch -p1 < xxxx.patch
Then building.
tc diff for dkms
Create the diff files via:
# diff -x '.*' -Nur i915-sriov-dkms-6.1.73 i915-sriov-dkms-6.1.73.tci>dkms-kexec.patch
apply the patch , then rebuild:
# dkms remove -m i915-sriov-dkms -v 6.1.73
# dkms install -m i915-sriov-dkms -v 6.1.73
Feb 5, 2024
TechnologyHardware/OS information:
dash@alder:~$ uname -a
Linux alder 5.15.0-92-generic #102-Ubuntu SMP Wed Jan 10 09:33:48 UTC 2024 x86_64 x86_64 x86_64 GNU/Linux
dash@alder:~$ lscpu | grep -i model
Model name:                         12th Gen Intel(R) Core(TM) i3-12100
Model:                              151
Install prerequisite packages:
sudo apt install dkms make debhelper devscripts build-essential flex bison mawk
Checkout the firmware:
git clone https://github.com/intel-gpu/intel-gpu-firmware
cd intel-gpu-firmware
sudo mkdir -p /lib/firmware/updates/i915/
sudo cp firmware/*.bin /lib/firmware/updates/i915/
Checkout the src code:
cd Code
git clone https://github.com/intel-gpu/intel-gpu-i915-backports/
cd intel-gpu-i915-backports/
git checkout backport/main
make i915dkmsdeb-pkg
sudo dpkg -i ../intel-i915-dkms_1.23.9.11.231003.15+i1-1_all.deb
Check the dkms status:
$ dkms status
intel-i915-dkms/1.23.9.11.231003.15, 5.15.0-92-generic, x86_64: installed
$ sudo reboot
$ sudo dmesg |grep -i backport
[    1.336656] COMPAT BACKPORTED INIT
[    1.337218] Loading modules backported from I915-23.9.11
[    1.337702] Backport generated by backports.git I915_23.9.11_PSB_231003.15
[    1.380192] [drm] I915 BACKPORTED INIT
[    1.421899]  __init_backport+0x47/0xfa [i915]
Add kernel options:
GRUB_CMDLINE_LINUX_DEFAULT="intel_iommu=on i915.enable_guc=3 i915.max_vfs=7"
Got the unstable conditions(once the dkms is installed, then cannot reboot).
Feb 1, 2024
TechnologyInstall:
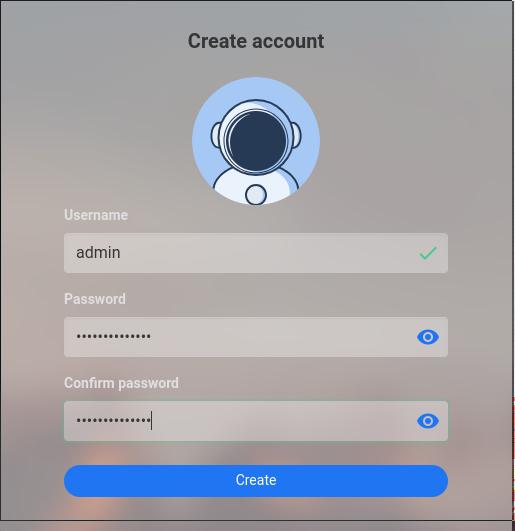
curl -fsSL https://get.casaos.io | sudo bash
Issue:
[FAILED] rclone.service is not running, Please reinstall.
Solved via:
cp /bin/mkdir /usr/bin/mkdir
cp /bin/rm /usr/bin/rm
Re-run:
curl -fsSL https://get.casaos.io | sudo bash
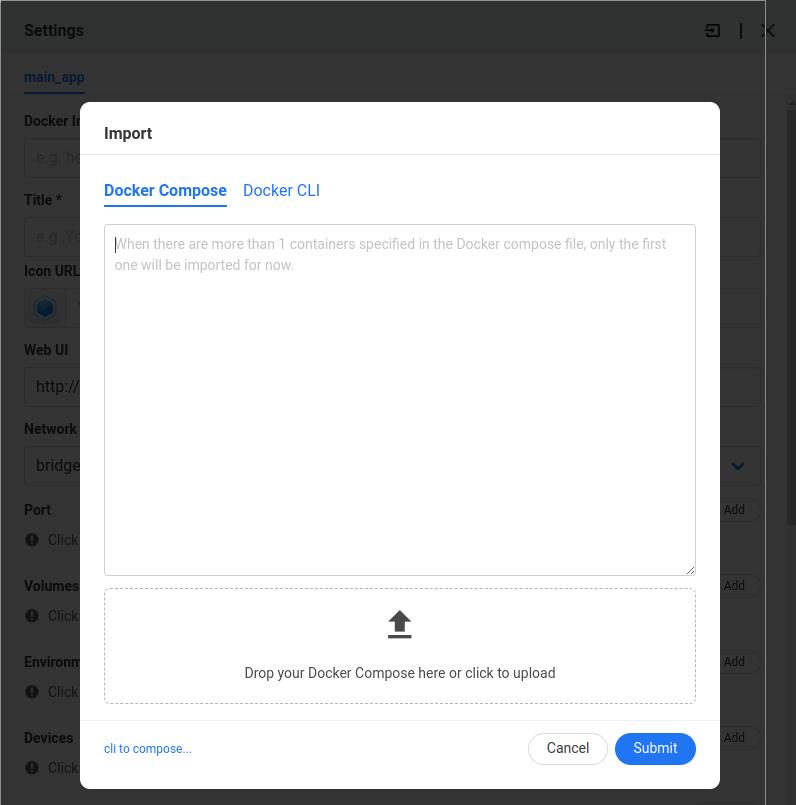
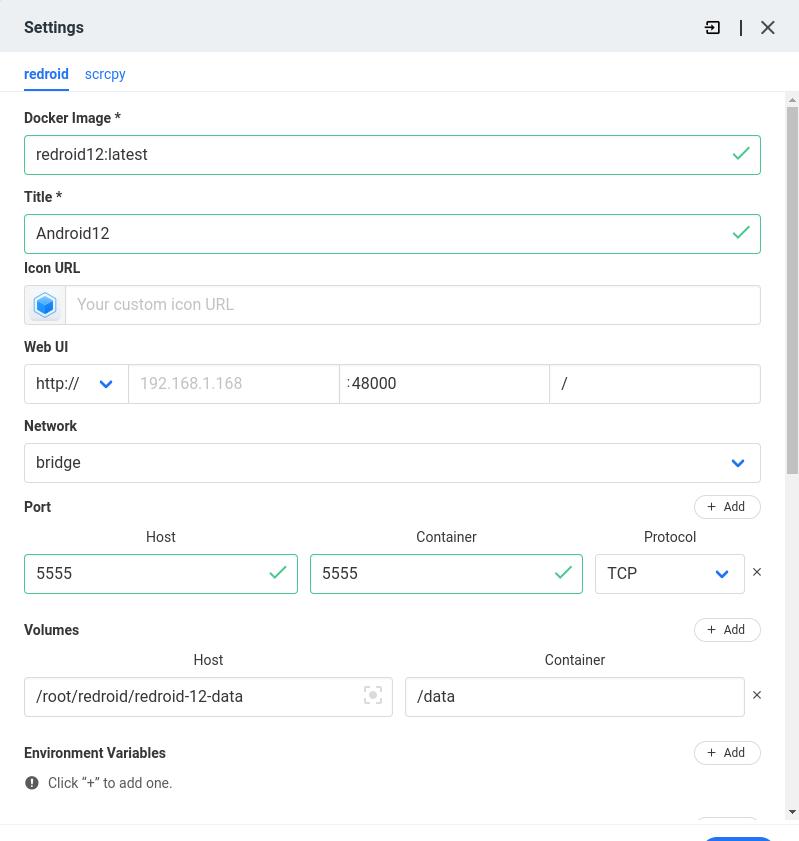
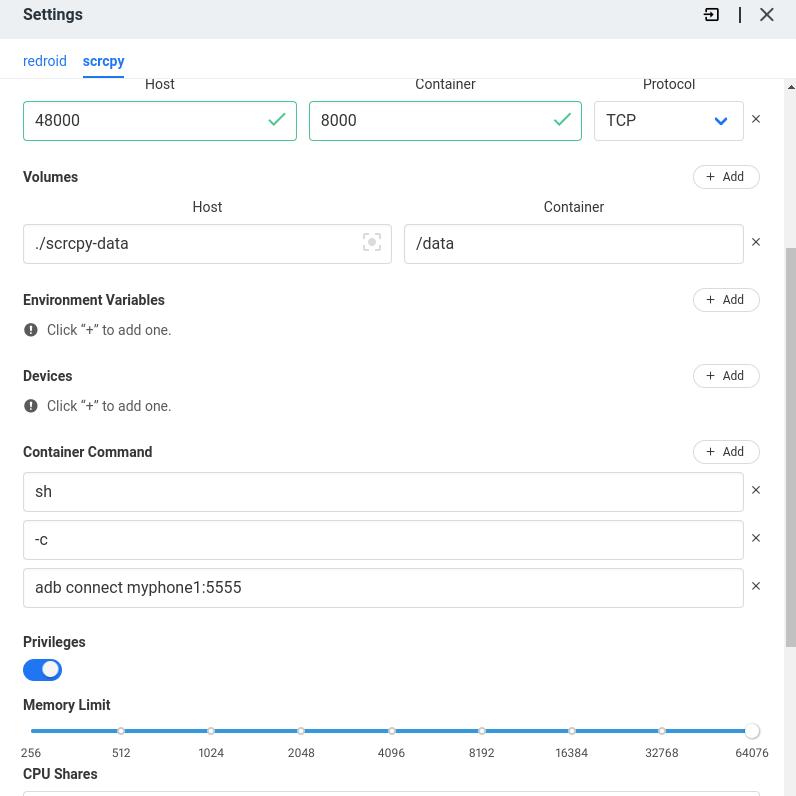
Using docker for running redroid:
version: "3"
services:
  redroid:
    image: redroid12:latest
    stdin_open: true
    tty: true
    privileged: true
    ports:
      - "5555:5555"
    volumes:
    # 資料存放在目前目錄下
      - ./redroid-12-data:/data
    command:
    # 禁用GPU硬體加速
      - androidboot.redroid_gpu_mode=guest
      - androidboot.use_memfd=1

  scrcpy:
    image: emptysuns/scrcpy-web:v0.1
    privileged: true
    ports:
      - "48000:8000"
    volumes:
    # 資料存放在目前目錄下
      - ./scrcpy-data:/data
    links:
    # always using myphone1
      - redroid:myphone1
Connect via:
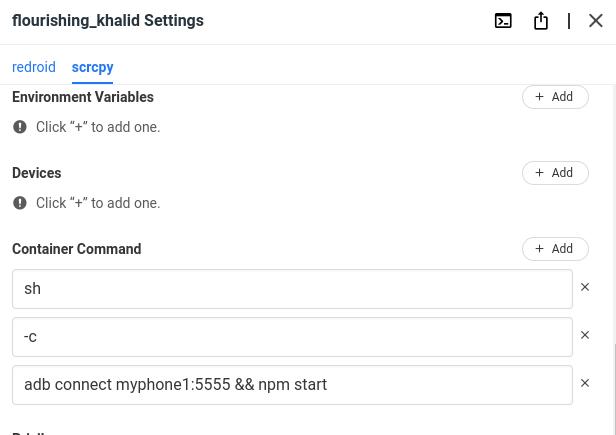
docker exec -it redroid_scrcpy_1 adb connect myphone1:5555
做到casaos的编排里。
