x11forwardingForWindows
Mar 27, 2024Technology
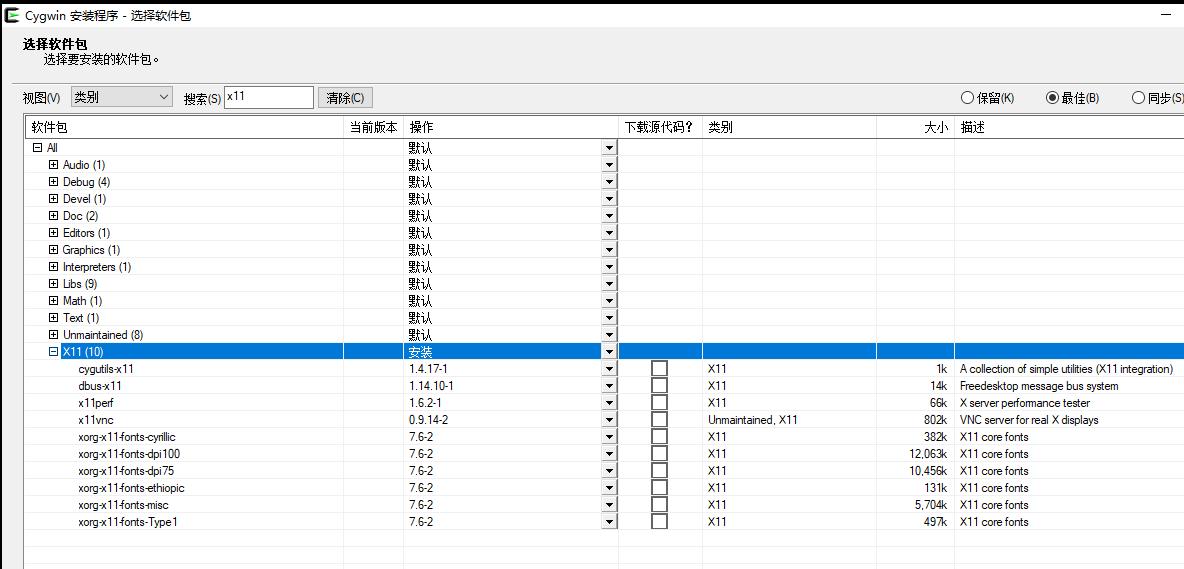
Select X11 and install:
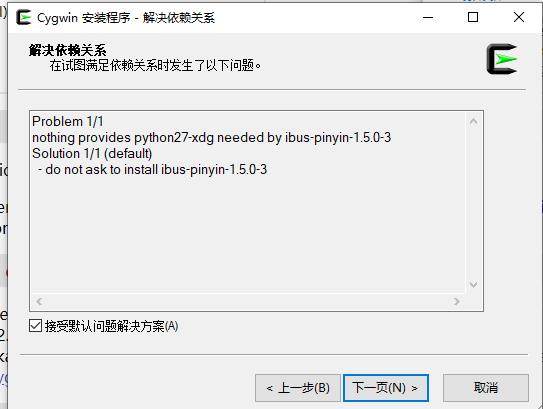
ibus-pinyin issue:
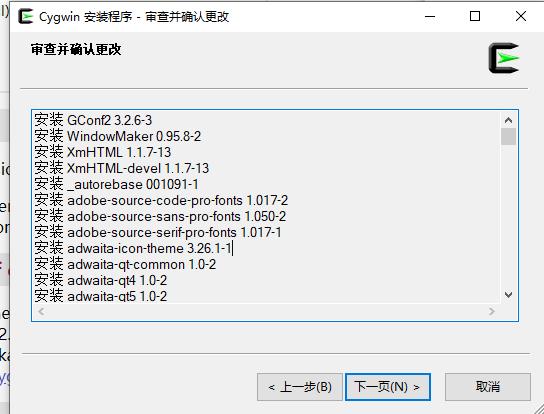
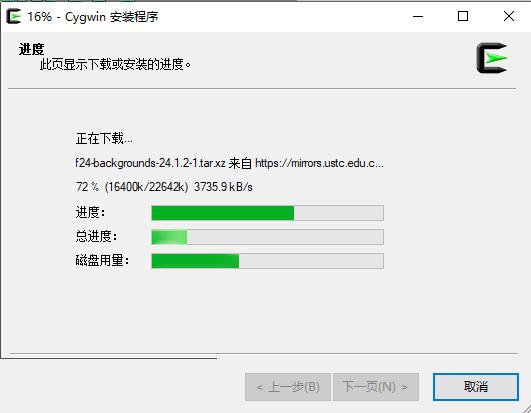
Installing:
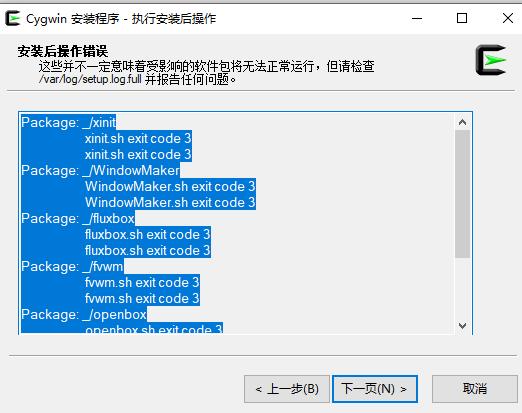
Running terminal:
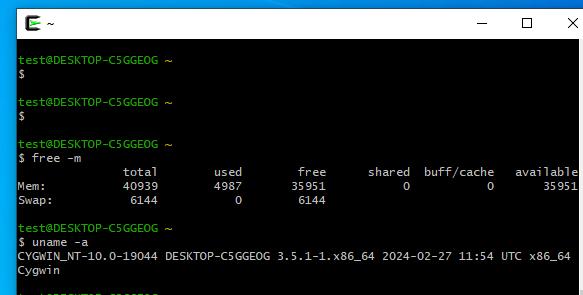
Key notes:


Select X11 and install:

ibus-pinyin issue:


Installing:


Running terminal:

Key notes:


Ubuntu22.04, with vfio pass-through nvidia card.
$ sudo apt update -y && sudo apt upgrade -y
$ sudo apt install -y git git-lfs
$ git lfs install
Install miniconda:
mkdir -p ~/miniconda3
wget https://repo.anaconda.com/miniconda/Miniconda3-latest-Linux-x86_64.sh -O ~/miniconda3/miniconda.sh
bash ~/miniconda3/miniconda.sh -b -u -p ~/miniconda3
rm -rf ~/miniconda3/miniconda.sh
~/miniconda3/bin/conda init bash
Install cuda(12.1.1-1):
wget https://developer.download.nvidia.com/compute/cuda/repos/ubuntu2204/x86_64/cuda-keyring_1.0-1_all.deb
sudo dpkg -i cuda-keyring_1.0-1_all.deb
sudo apt-get update
sudo apt install cuda=12.1.1-1
Activate the conda environment:
conda create -n opensora python=3.10
(base) dash@vfio2:~$ conda activate opensora
(opensora) dash@vfio2
pip3 install torch torchvision
pip install packaging ninja
pip install flash-attn --no-build-isolation
pip install -v --disable-pip-version-check --no-cache-dir --no-build-isolation --config-settings "--build-option=--cpp_ext" --config-settings "--build-option=--cuda_ext" git+https://github.com/NVIDIA/apex.git
pip3 install -U xformers --index-url https://download.pytorch.org/whl/cu121
git clone https://github.com/hpcaitech/Open-Sora
cd Open-Sora
pip install -v .
pip install gradio
Issue:
https://github.com/hpcaitech/Open-Sora/issues/209
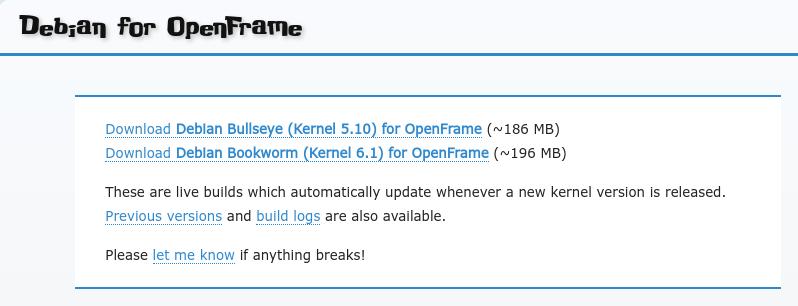
Download the Download Debian Bookworm (Kernel 6.1) for OpenFrame (~196 MB) from following website:
Wrote it to usb disk:
Disk /dev/sdb: 119.24 GiB, 128035676160 bytes, 250069680 sectors
Disk model: D
Units: sectors of 1 * 512 = 512 bytes

# gunzip -c /home/dash/Downloads/boo-ext2-1028-43-bookworm-6.1.82op.img.gz| dd of=/dev/sdb
Insert the disk, boot into the system:
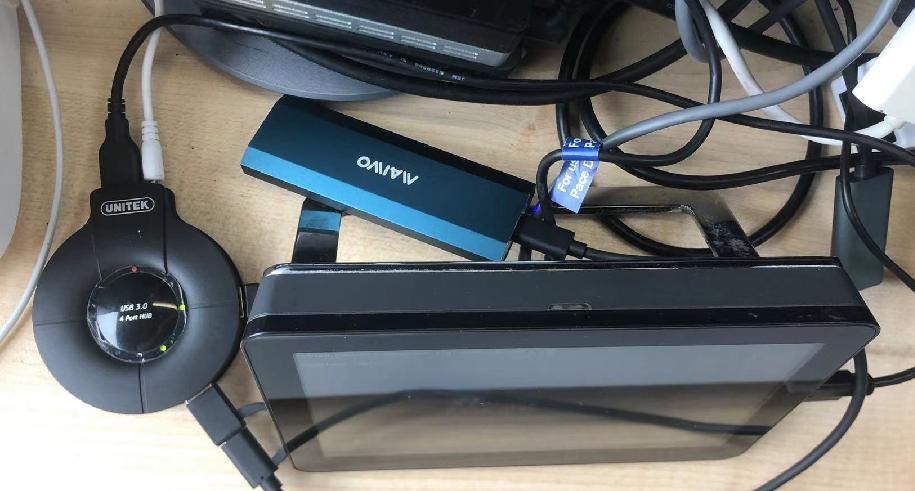
Username/passwd is of/joggler.
System info:
root@openframe:/home/of# uname -a
Linux openframe 6.1.82op #1 SMP PREEMPT_DYNAMIC Sat Mar 16 03:43:01 GMT 2024 i686 GNU/Linux
root@openframe:/home/of# cat /etc/issue
Debian Bookworm \n \l eth0:\4{eth0}
Install byobu and enable it as the default login session:
# apt install -y byobu
# byobu-enable
Edit the logind.conf file:
$ sudo vim /etc/systemd/logind.conf
...
[Login]
NAutoVTs=1
ReserveVT=2
Enable the autologin in tty1:
$ sudo mkdir /etc/systemd/system/getty@tty1.service.d/
$ sudo  vim /etc/systemd/system/getty@tty1.service.d/override.conf
[Service]
ExecStart=
ExecStart=-/sbin/agetty --noissue --autologin of %I $TERM
Type=idle
Auto-start program in byobu:
$ cat ~/.byobu/windows.tmux
new-session bash ;
new-window htop ;
new-window top;
Change the items in /etc/fstab:
#tmpfs    /tmp                 tmpfs   noatime,size=192M     0    0
#tmpfs    /var/cache/apt       tmpfs   noatime,size=256M     0    0
#tmpfs    /var/lib/apt/lists   tmpfs   noatime,size=256M     0    0
#tmpfs    /var/log             tmpfs   noatime,size=16M      0    0
Create swap :
# dd if=/dev/zero of=/swapfile bs=1M count=2048
# mkswap /swapfile
# chmod 600 /swapfile
# swapon /swapfile
# echo '/swapfile none swap sw 0 0' | sudo tee -a /etc/fstab
Install some packages:
sudo apt install -y cmake build-essential git s-tui scdoc
git clone https://github.com/ReimuNotMoe/ydotool.git
cd ydotool
mkdir build
cd build
cmake ..
make -j `nproc`
sudo make install
Install ydotoold service:
cp /usr/local/lib/systemd/user/ydotoold.service /etc/systemd/system/ydotoold.service
systemctl enable ydotoold
systemctl start ydotoold
Always switch to next frame:
# cat /root/test.sh
ydotool key 29:1 56:1 59:1 59:0 56:0 29:0; sleep 2;
while true
do
        sleep 2
        ydotool key 62:1 62:0
done
Get the latest tty-share from https://github.com/elisescu/tty-share/releases:
Put it under home directory, then add following lines in .bashrc:
[[ $(tty) == '/dev/tty1' ]] && /home/of/tty-share_linux-386 --listen 0.0.0.0:8188 --no-wait --command byobu
Then you should disable byobu for the default term:
$ byobu-disable
Add auto switch tab on every reboot:
# crontab -e
@reboot sleep 60 && /usr/bin/myswitch.sh
# cat /usr/bin//myswitch.sh
ydotool key 29:1 56:1 59:1 59:0 56:0 29:0; sleep 2;
while true
do
	sleep 5
	ydotool key 62:1 62:0
done
Change the VT configurations:
$ cat /etc/systemd/logind.conf
[Login]
NAutoVTs=2
ReserveVT=3
$ cat /etc/systemd/system/getty@tty2.service.d/override.conf
[Service]
ExecStart=
ExecStart=-/sbin/agetty --noissue --autologin of %I $TERM
Type=idle
Edit the autologin programs in ~/.bashrc:
[[ $(tty) == '/dev/tty2' ]] && sudo /usr/bin/myswitch.sh
enable the getty@tty2:
# sudo systemctl enable getty@tty2
Software/OS:
dash@buildCeladonUbuntu180406:~$ uname -a
Linux buildCeladonUbuntu180406 5.4.0-84-generic #94~18.04.1-Ubuntu SMP Thu Aug 26 23:17:46 UTC 2021 x86_64 x86_64 x86_64 GNU/Linux
dash@buildCeladonUbuntu180406:~$ cat /etc/issue
Ubuntu 18.04.6 LTS \n \l
Install packages:
sudo apt install -y build-essential uuid-dev iasl git gcc-5 nasm unzip python3-distutils-extra python-distutils-extra libpixman-1-dev libssl-dev vim socat libsdl1.2-dev libspice-server-dev autoconf libtool xtightvncviewer tightvncserver x11vnc uuid-runtime uuid uml-utilities python-dev liblzma-dev libc6-dev libegl1-mesa-dev libdrm-dev libgbm-dev spice-client-gtk libegl1-mesa-dev libgtk2.0-dev libusb-1.0-0-dev libepoxy-dev libaio-dev libgtk-3-dev ovmf libsdl2-dev build-essential net-tools bridge-utils openssh-server openssh-client bison flex libelf-dev libncurses-dev  git libfdt-dev git-lfs xorriso pkg-config python-pystache python3-pystache python3-pip cmake

apt install -y ninja-build ncurses-term  llvm libffi-dev keyutils gawk curl
apt install -y rsync mtools dosfstools sbsigntool zip kmod sudo python3-mako
config git:
# cat ~/.gitconfig
[user]
	email = root@gmail.com
	name = root
[color]
	ui = auto
[http]
	proxy = socks5://192.168.1.7:10808
[https]
	proxy = socks5://192.168.1.7:10808
Configure python:
apt install -y python-six
ln -sf /usr/bin/python3 /usr/bin/python
Get repo:
$ curl https://storage.googleapis.com/git-repo-downloads/repo > ~/.bin/repo
$ sudo cp ~/.bin/repo /usr/bin/repo
$ sudo chmod 777 /usr/bin/repo
$ repo --version
<repo not installed>
repo launcher version 2.42
       (from /usr/bin/repo)
git 2.17.1
Python 3.6.9 (default, Jan 26 2021, 15:33:00)
[GCC 8.4.0]
OS Linux 5.4.0-84-generic (#94~18.04.1-Ubuntu SMP Thu Aug 26 23:17:46 UTC 2021)
CPU x86_64 (x86_64)
Bug reports: https://issues.gerritcodereview.com/issues/new?component=1370071
Install meson:
$ sudo su
# python3 -m pip install meson
Install glslang:
git clone https://github.com/KhronosGroup/glslang.git
cd glslang/
git checkout 7.10.2984
python update_glslang_sources.py
mkdir build
cd build
cmake ..
make
sudo make install
via:
sudo docker run -it -v /media/sda/nfs_share/buildinDocker:/buildinDocker ubuntu:18.04 /bin/bash
Building command:
$ repo sync -l -j16
$ repo forall -c git lfs pull
$ source build/envsetup.sh
$ lunch caas-userdebug
$ time make flashfiles BASE_LTS2020_YOCTO_KERNEL=true -j16
......
#### build completed successfully (01:56:38 (hh:mm:ss)) ####


real	116m37.484s
user	1589m56.841s
sys	86m11.933s
Press F12:
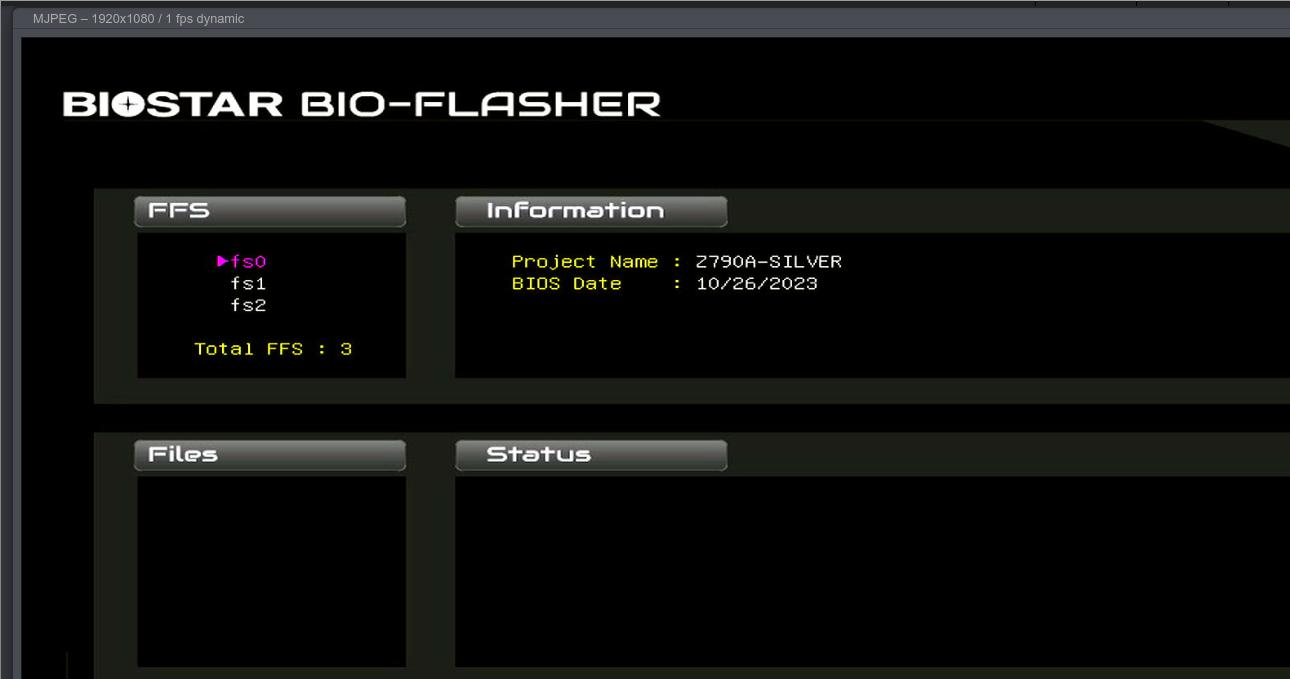
Press fs0:
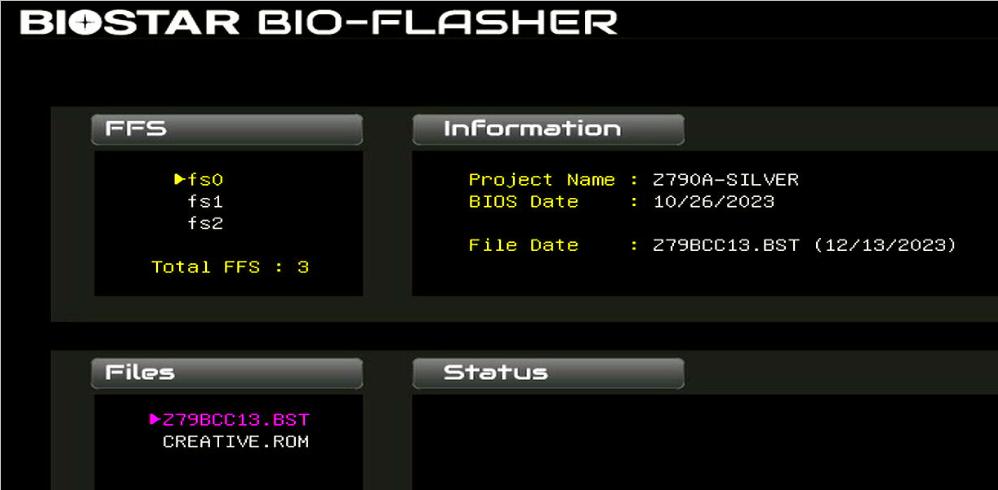
Press Y when you see this hint:
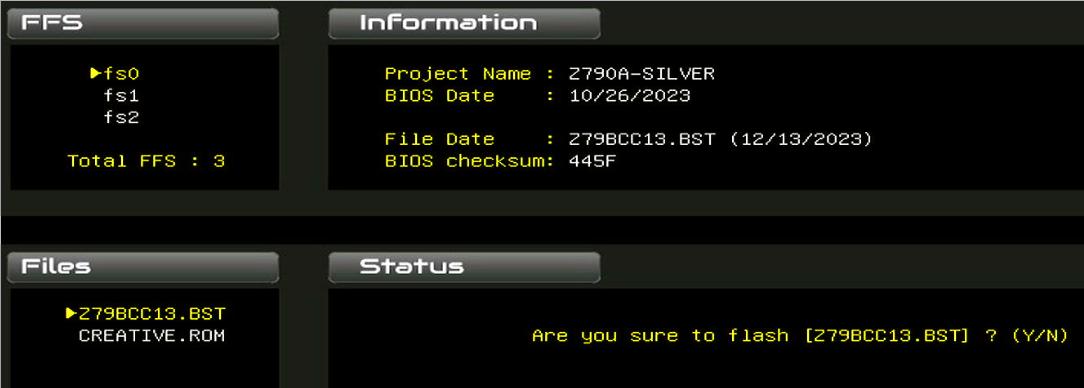
See progress:

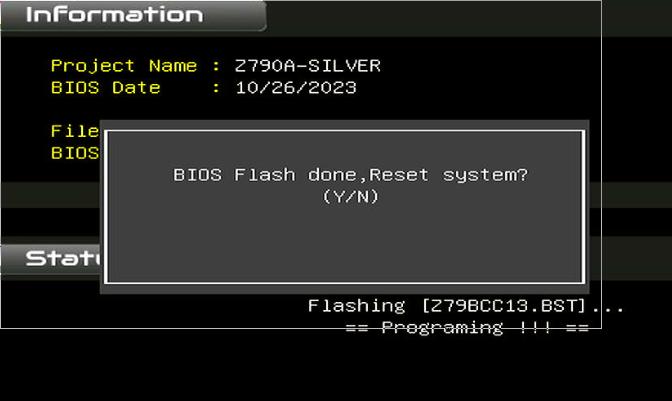
press ‘Y’ for resetting:
Version:
