Apr 24, 2024
TechnologyTwo machines, one is verified vm, target machine is a physical machine(192.168.1.184), do following:
on verified vm:
mount /dev/sda2 /mnt8
cd /mnt8
scp -r HHHISO/ ventoy/ root@192.168.1.184:/mnt8/
cd /boot/efi
scp -r grub/ tool/ ventoy/ vtldr  root@192.168.1.184:/boot/efi/
cd /boot/efi/EFI
scp -r VENTOY/ root@192.168.1.184:/boot/efi/EFI/
scp /etc/grub.d/99_ventoy  root@192.168.1.184:/etc/grub.d/
on target physical machine, do following:
# vim /etc/default/grub
GRUB_DEFAULT=0
GRUB_TIMEOUT_STYLE=menu
GRUB_TIMEOUT=3
# update-grub2
# grub-mkconfig -o /boot/grub/grub.cfg
# reboot
ventoy screenshot:

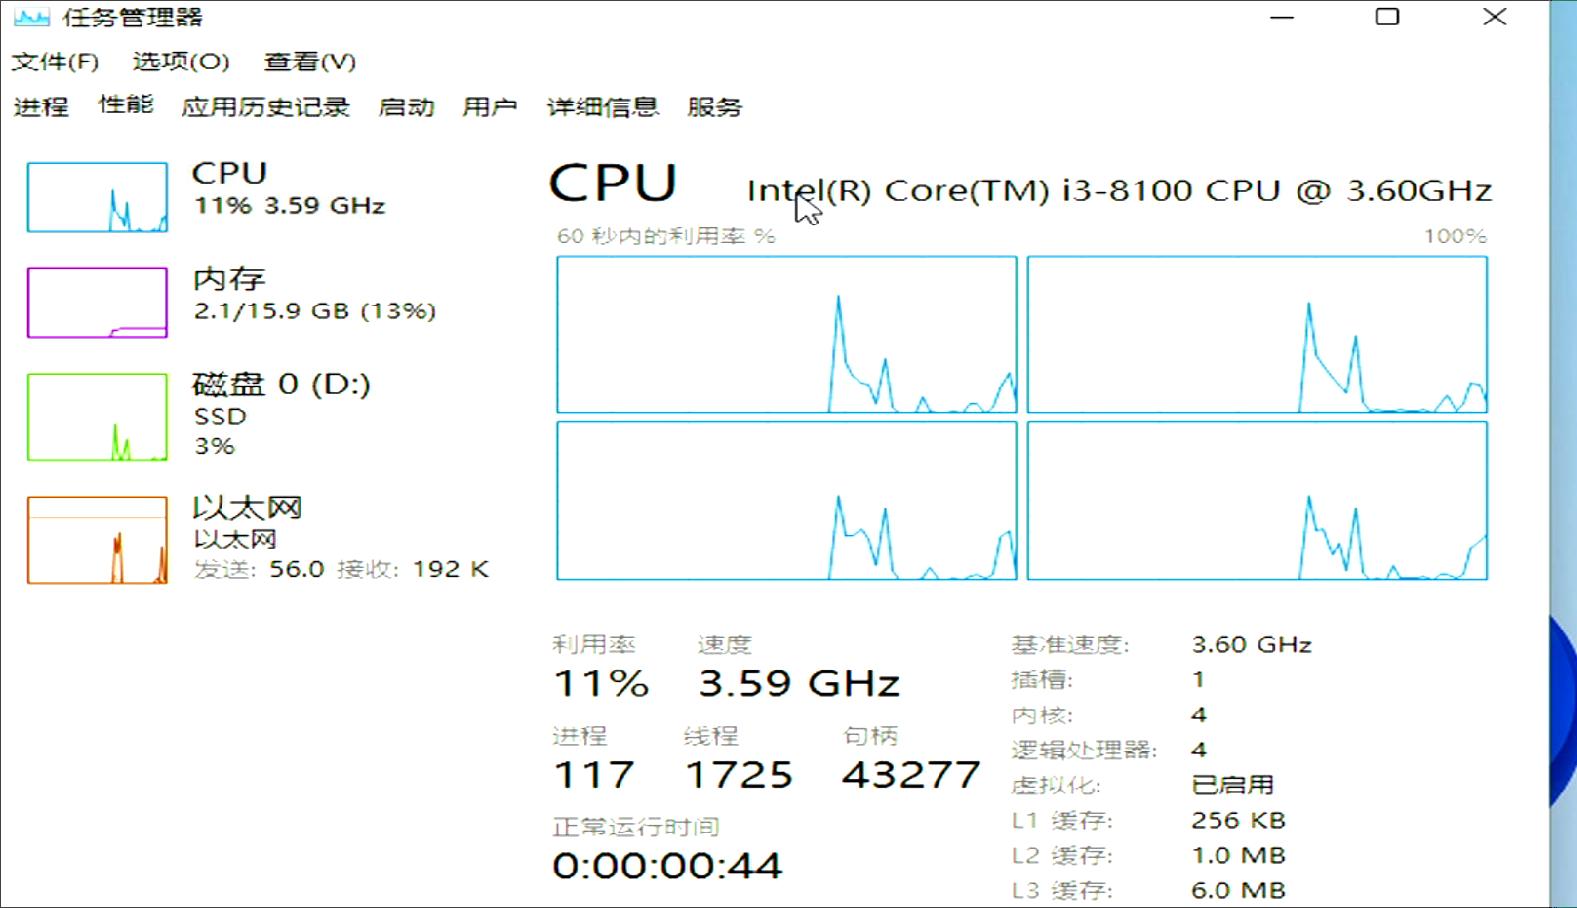
win11 screenshot:
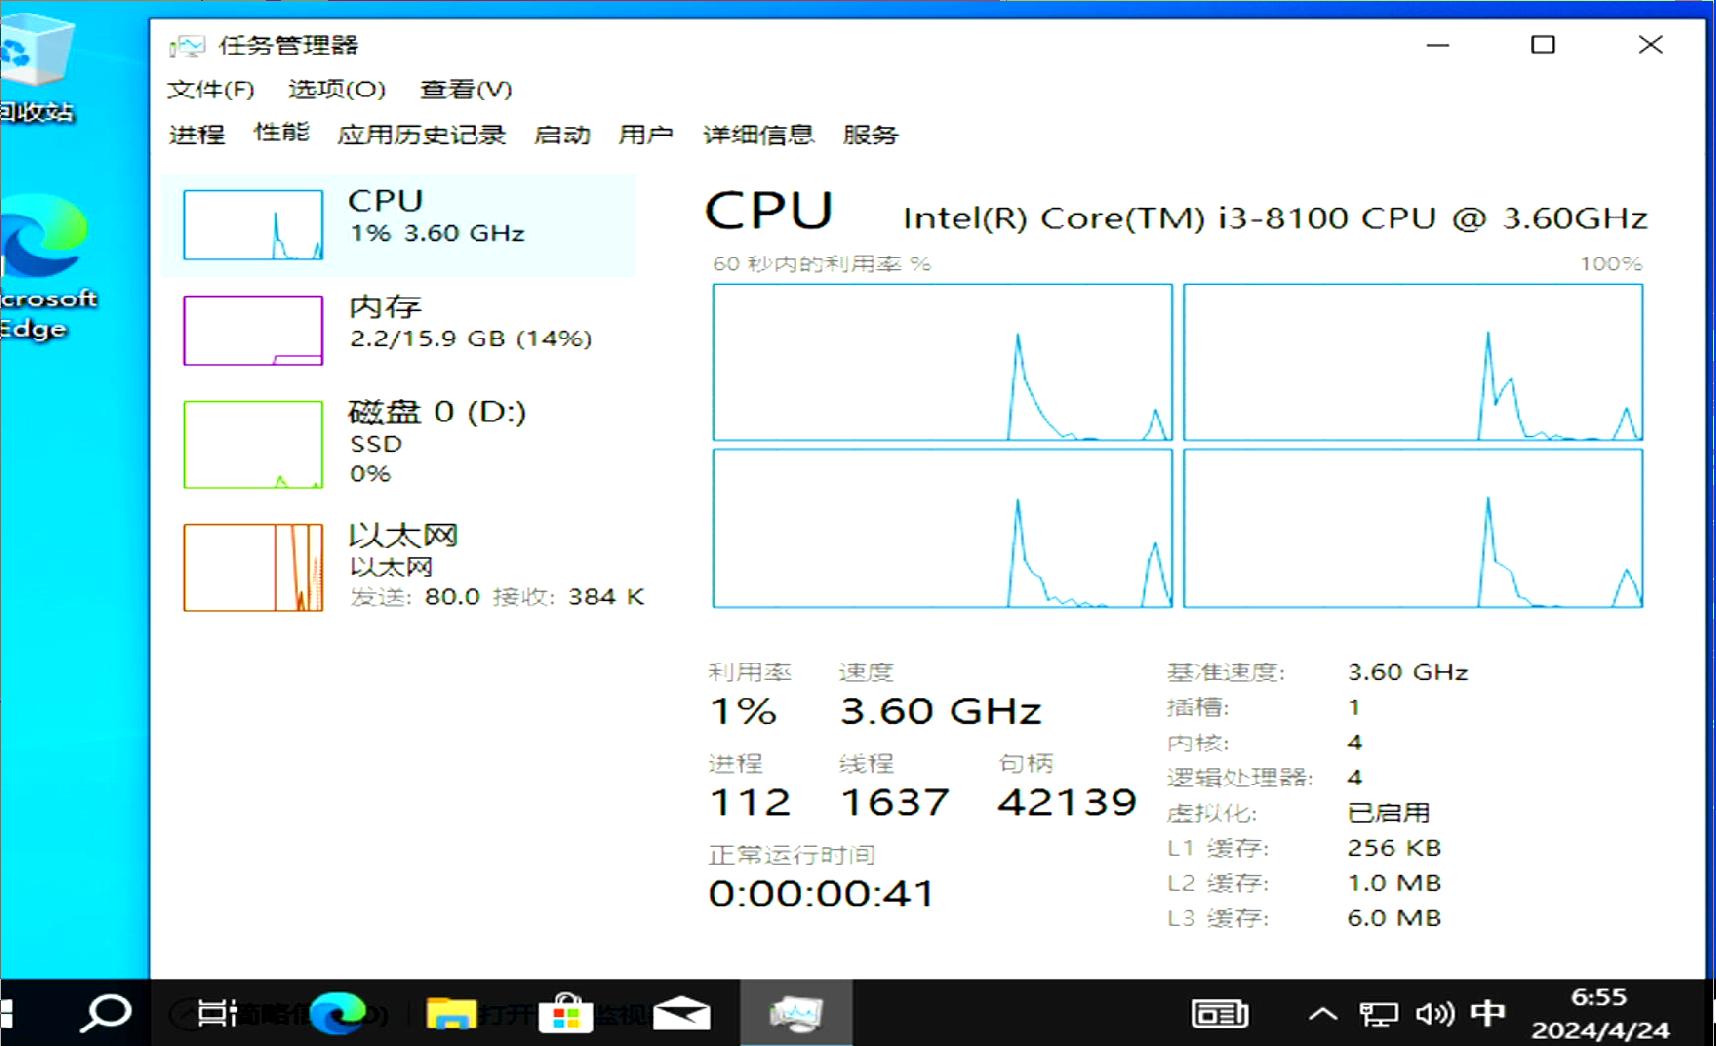
win10 screenshot:
Apr 24, 2024
TechnologyRemount / for rw mode:
mount -o rw,remount -t ext4 /
Configure repository for using ustc repository:
# cat /etc/pacman.d/mirrorlist
Server = https://mirrors.ustc.edu.cn/archlinuxarm/$arch/$repo
# pacman -Sy
# pacman -S docker nfs-utils
Change docker storage location:
# mount -t nfs 192.168.1.8:/media/sda /media/nfs
# mkdir -p /media/nfs/docker
# vim /etc/docker/daemon.json
{
    "data-root": "/media/nfs/docker"
}
# systemctl start docker
Combine all of the bash scripts:
# cat startdocker.sh
#!/bin/bash
mount -o rw,remount -t ext4  /
mount -t nfs 192.168.1.8:/media/sda /media/nfs
systemctl start docker
Apr 23, 2024
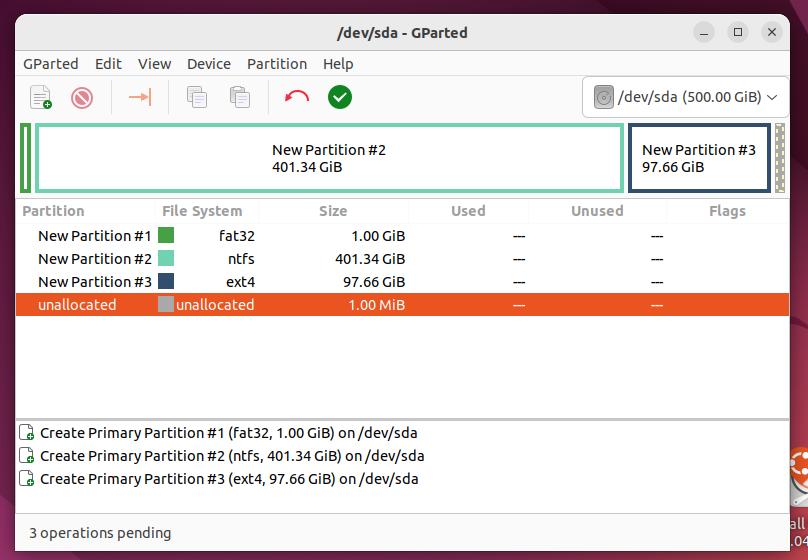
Technology1. basic disk preparation
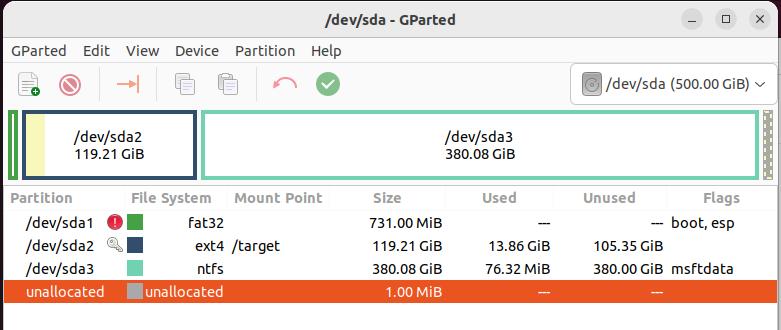
Disk layout:
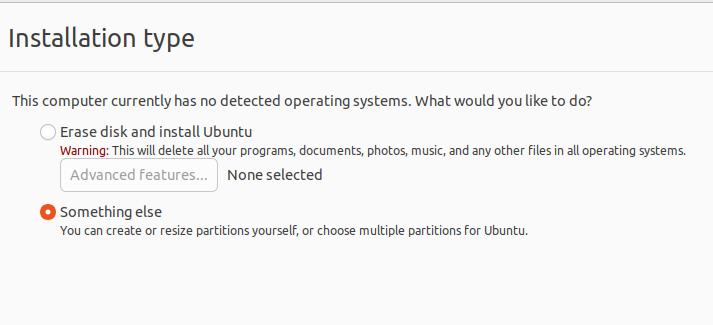
Install disk :
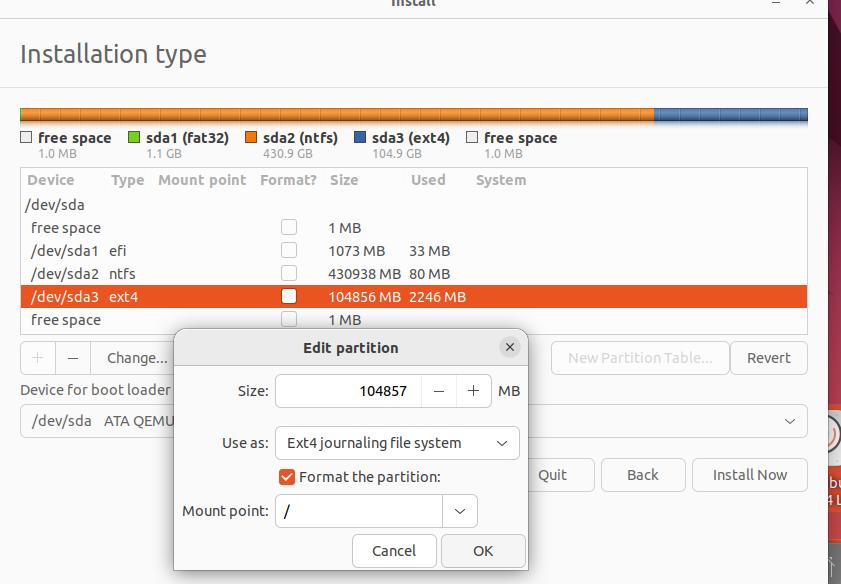
Choose efi and ext4 partition:
edit visudo , install vim and opensshserver, update, then save this disk.
sudo virsh undefine 0000_ventoyvhd
qemu-img create -f qcow2 -b ventoyvhd.qcow2 -F qcow2 0000_win10vhd.qcow2
qemu-img create -f qcow2 -b ventoyvhd.qcow2 -F qcow2 0001_win11vhd.qcow2
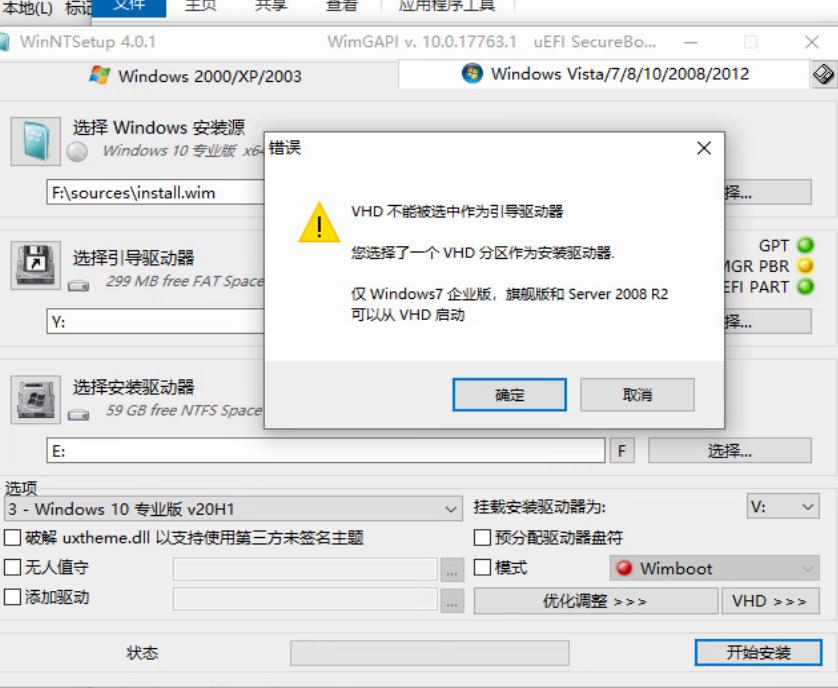
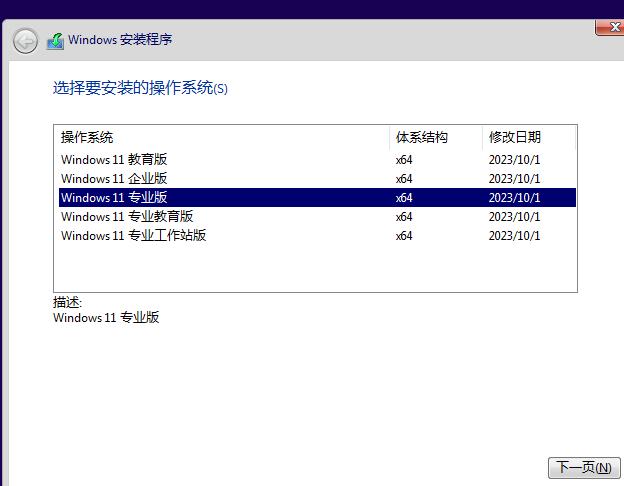
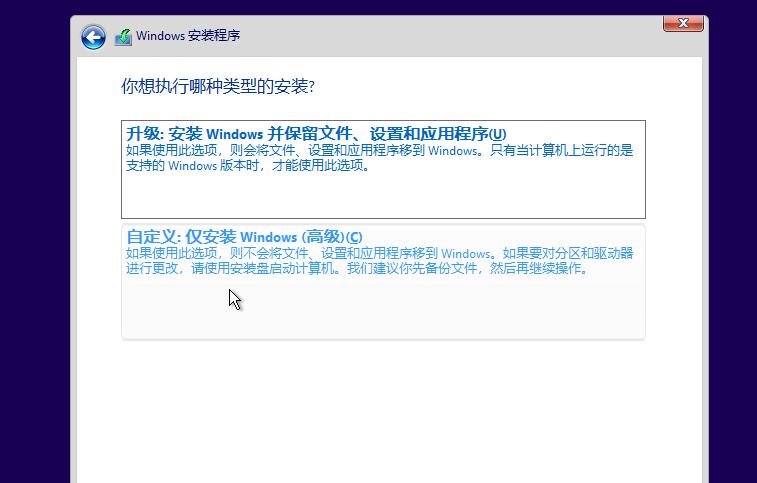
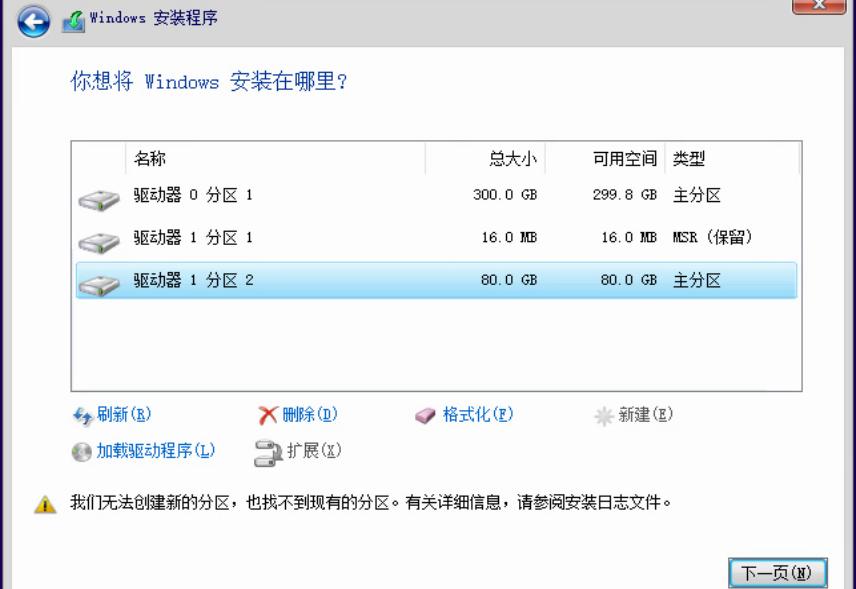
2. win11 installed on vhd
Select Professional:
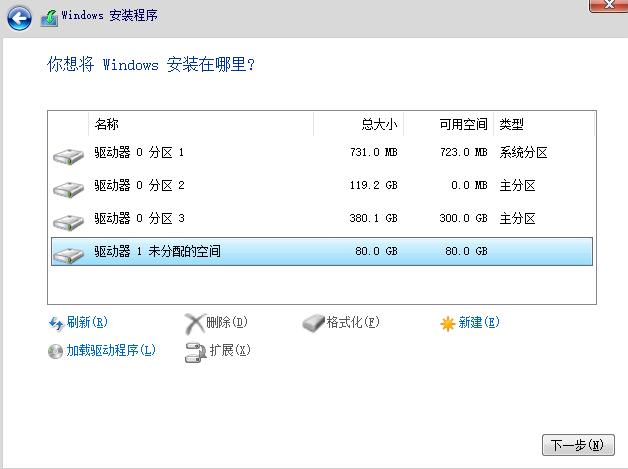
Select customized: ...
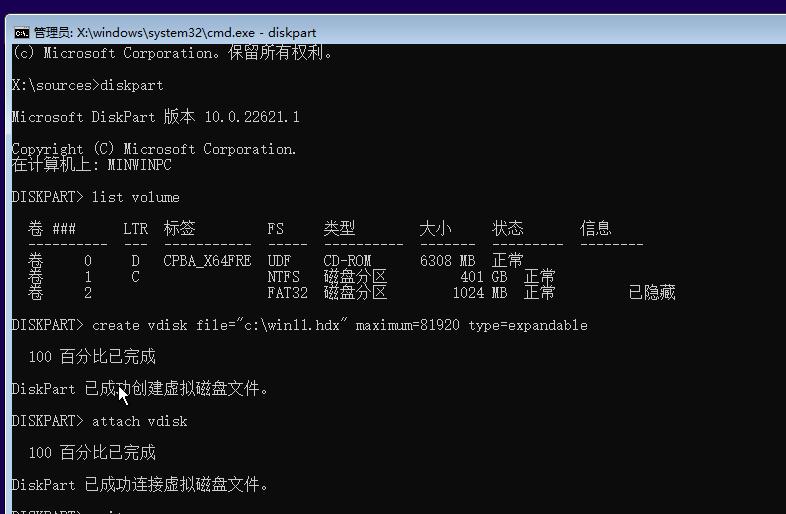
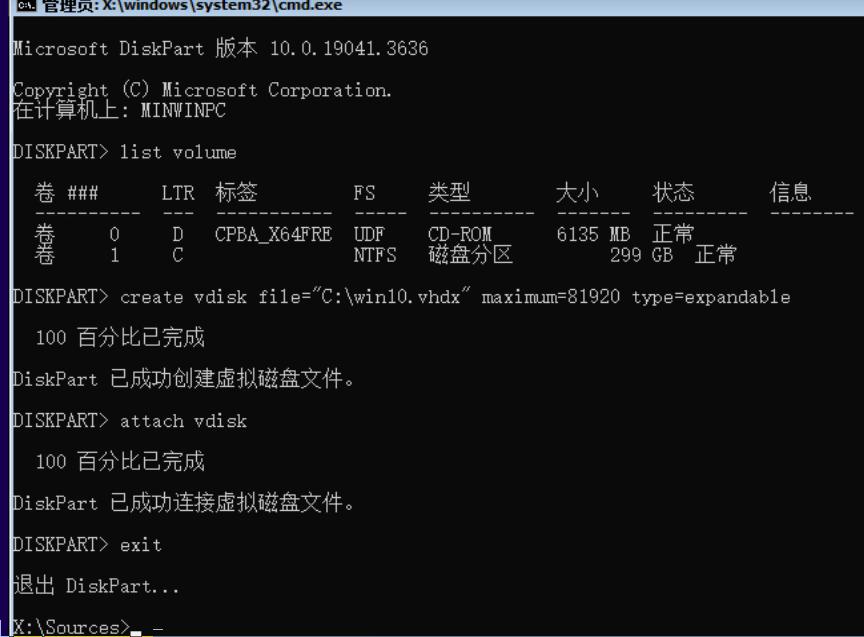
Create vdisk using following commands:
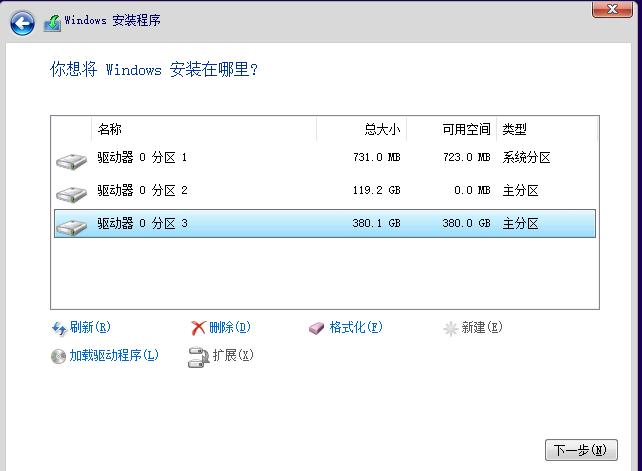
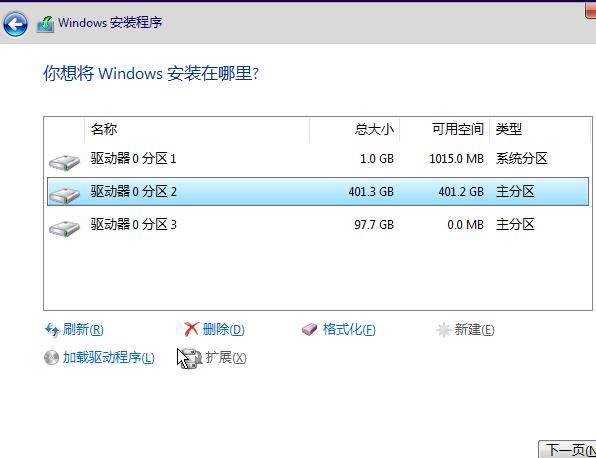
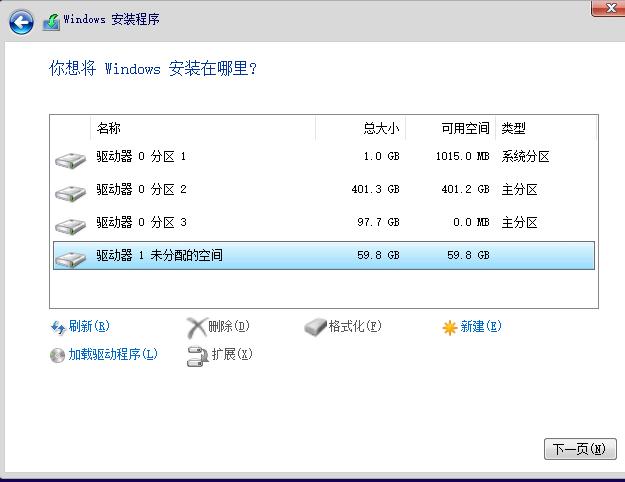
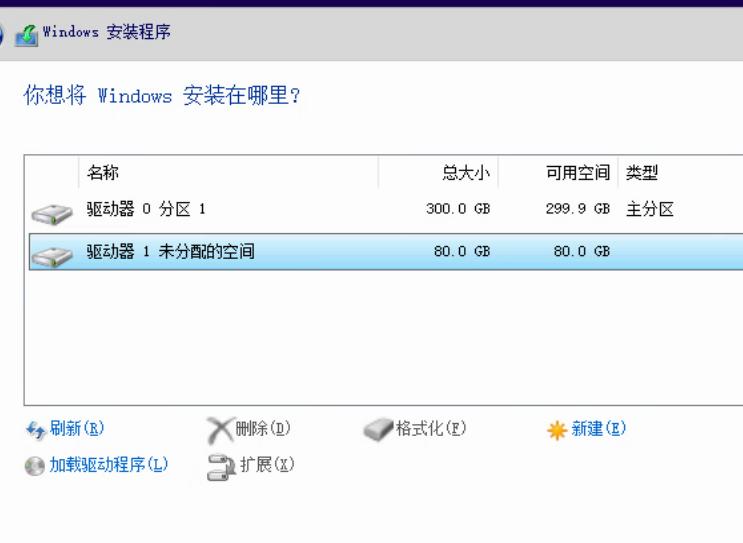
Refresh the disk(before):
After refreshment:
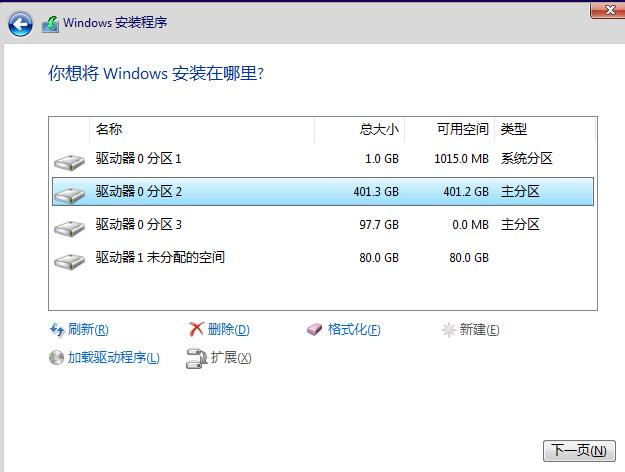
Select driver 1(80GB):
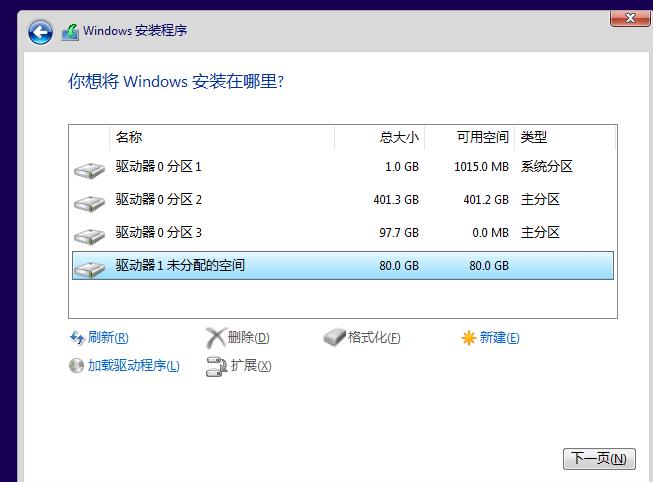
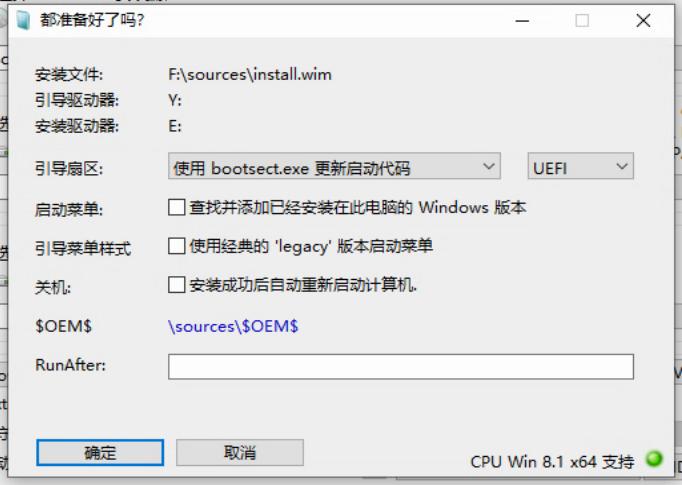
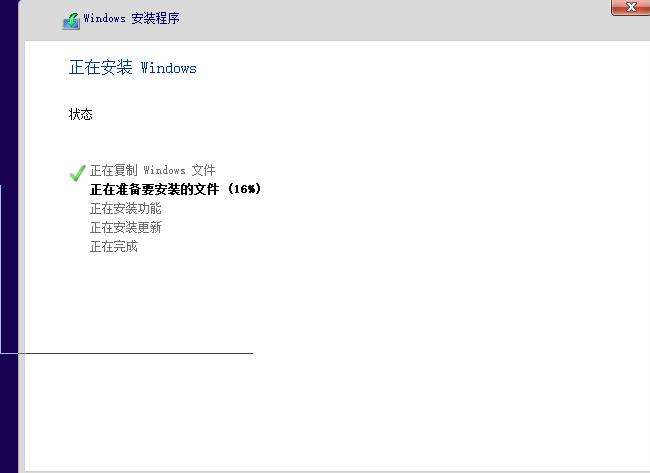
Begin installation:

启动,蓝屏。切换到intel cpu的盒子上,安装成功,失败的为ryzen 5600G
3. win10 installed on vhd
Create the disk vhd name win10.vhd:
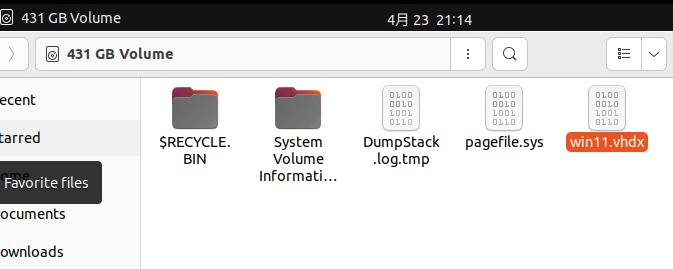
4. 提取文件
从bios里选择ubuntu,

mount以后得到vhd文件:
Transfer via scp :
test@vhdboot:/media/test/1A73550D25C2D3BC$ scp ./win11.vhdx dash@192.168.1.214:/media/sda/images/
dash@192.168.1.214's password:
test@vhdboot:~$ df -h | grep sda2
/dev/sda2       402G   13G  390G   4% /media/test/1A73550D25C2D3BC
# ls /root/*.tar.gz
/root/EFI_AfterInstallWin11.tar.gz  /root/EFI.tar.gz
root@vhdboot:/boot/efi# scp /root/*.tar.gz dash@192.168.1.214:~

### this two files is created via following command
# (After installed )
# tar czvf /root/EFI_AfterInstallWin11.tar.gz EFI/
# (before installation)
# tar czvf /root/EFI.tar.gz EFI/
Now shutdown this vm and begin for vhdboot(using ventoy).
Also do the same for win10.vhd:
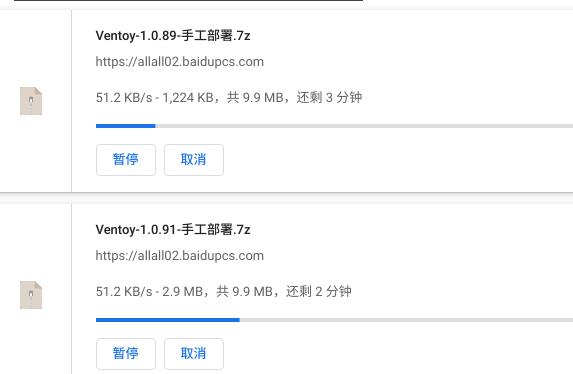
5. vhdboot(ventoy)
Download the files from pan.baidu.com:
Create a new vm:
# qemu-img create -f qcow2 -b ventoyvhd.qcow2 -F qcow2 combinevhd.qcow2
Set to uefi machine:

using br0 for networking:

Comparing the files:
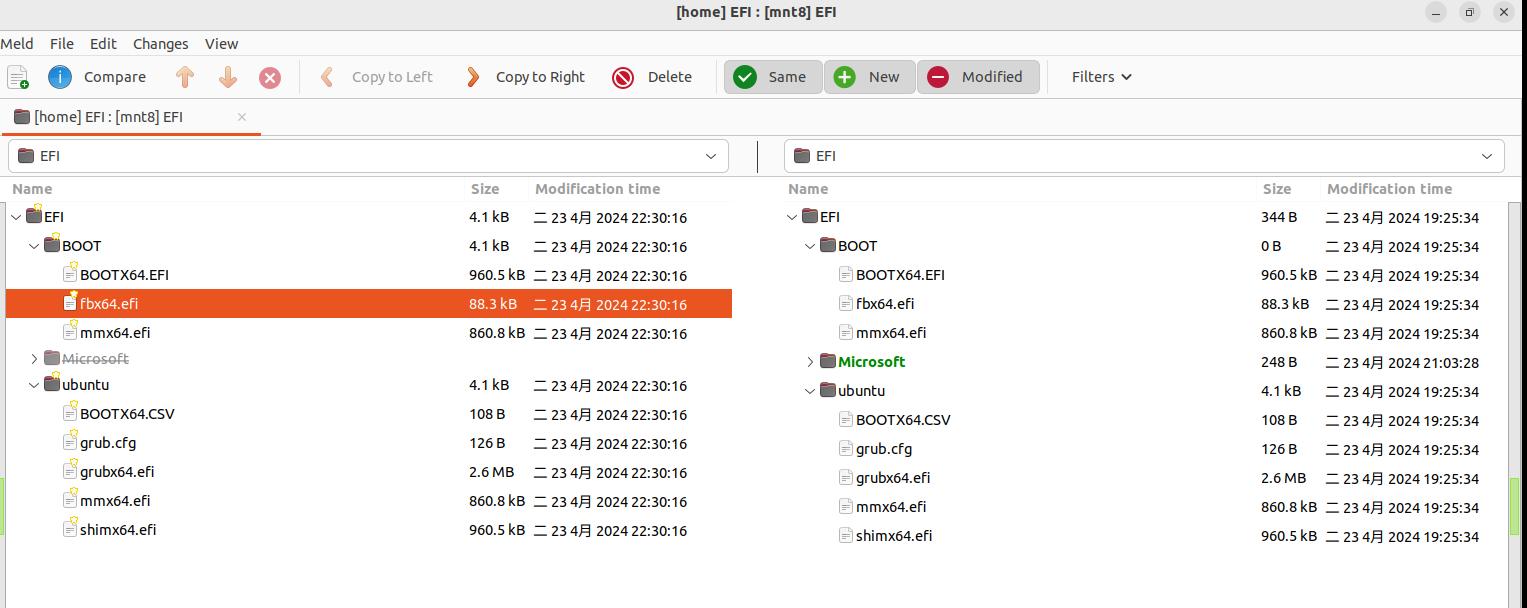
Prepare the files:
 scp dash@192.168.1.214:/media/sda/images/win11.vhdx .
 scp dash@192.168.1.214:~/EFI_AfterInstallWin11.tar.gz .
unzip ventoy:
7z x -ovt/ Ventoy-1.0.91-手工部署.7z
copy ventoy files to EFI partition:
$ sudo ls /boot/efi
EFI
$ sudo ls /boot/efi/EFI
BOOT  ubuntu
$ sudo cp -r grub/ tool/ ventoy/ vtldr  /boot/efi/
$ sudo ls /boot/efi/
EFI  grub  tool  ventoy  vtldr
$ sudo cp -r EFI/VENTOY/ /boot/efi/EFI/
$ sudo ls /boot/efi/EFI
BOOT  ubuntu  VENTOY
Disable secure boot, then set following :
test@vhdboot:~$ cat /etc/grub.d/99_ventoy
#!/bin/sh
exec tail -n +3 $0
menuentry 'ventoy' --class 'arch' {
	insmod part_gpt
	insmod fat
	set root='hd0,gpt1'
	chainloader /EFI/VENTOY/grubx64_real.efi
}
$ sudo grub-mkconfig -o /boot/grub/grub.cfg
Set vhdboot:
# unzip ventoy_vhdboot.zip
# cp ventoy_vhdboot/Win10Based/ventoy_vhdboot.img /boot/efi/ventoy/

这里非常完美的进入了系统。
msconfig查看,似乎也没有错
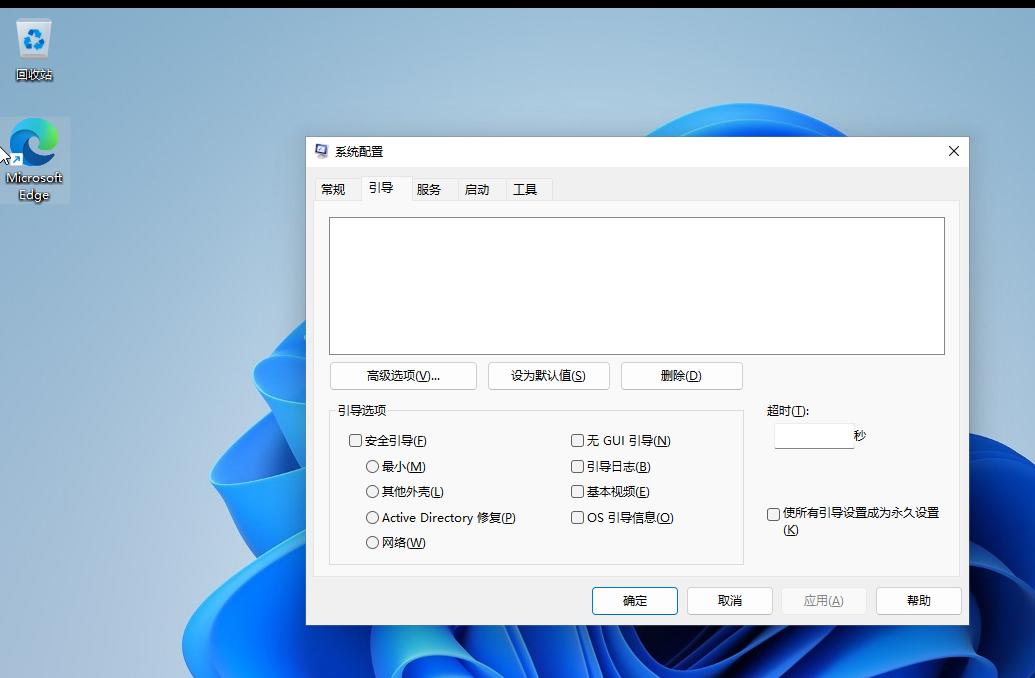
现在重新验证一下win10.vhd:
test@vhdboot:/mnt8/HHHISO$ scp dash@192.168.1.214:~/win10.vhdx .

z. tips on install win11
无法安装win11时的解决方案:
1.按“Win+R”打开“运行”,输入“regedit”并按“回车”。

提示:如果在安装过程中遇到“这台电脑无法运行Windows 11”错误,你可以按“Shift+F10”打开命令提示符,然后输入“regedit”打开注册表。

2. 在注册表编辑器中,导航到计算机\HKEY_LOCAL_MACHINE\SYSTEM\Setup,右键点击Setup文件夹创建一个新项,并将其命名为“LabConfig”。

LabConfig

3. 在LabConfig中,右键点击空白处创建一个新的DWORD(32位)值并将其命名为“BypassTPMCheck”。

BypassTPMCheck

4. 双击它并将“数值数据”更改为1,然后点击“确定”。

修改数值数据

5. 以同样的方式创建另一个DWORD,并命名为“BypassRAMCheck”,将其“数值数据”更改为1并点击“确定”。

BypassRAMCheck

6. 以同样的方式创建另一个DWORD,命名为“SecureBootCheck” 将其“数值数据”更改为1并点击“确定”。
跳过联网:
oobe\bypassnro
创建vhdk:
press Shift + F10 keys to open a command prompt.

Type diskpart into the command prompt.

use "list volume" and identify the drive letter of the newly created partition for the windows image.

Type create vdisk file="<drive letter>:\<file name>.vhdx" maximum=<size in MB> type=fixed
Type create vdisk file="<drive letter>:\<file name>.vhdx" maximum=<size in MB> type=expandable

Then run attach vdisk and then exit to exit diskpart.
Apr 21, 2024
Technology1. install to vhdx in installation
create a vdisk(expandable) and attach it for installation:
then you found this attached vdisk:
Create, to let windows create its layout:
按照以上的方法无法安装到vhdx文件
2. install from existing windows