
BapiKL
Mar 20, 2020
Technology
Content
On how to modify the chinese kl system.
This system is based on ubuntu16.04, but the manufacturer changed into a chinese version, so they could sell it at a very high price. Following are the steps for cracking this system.
Preparation
Unbox the machine, tear down its hard disk(1T), insert into as the usb disk, then dd it into a gzipped file:
sudo dd if=/dev/sdc | gzip -c > /media/sda/to_be_fucked.img
Now transfer the img into a powerful arm64 server(HW’s arm64), and gunzip it into its origin size, 1T.
Install a clean ubuntu16.04.6 vm (arm64 version), like following:
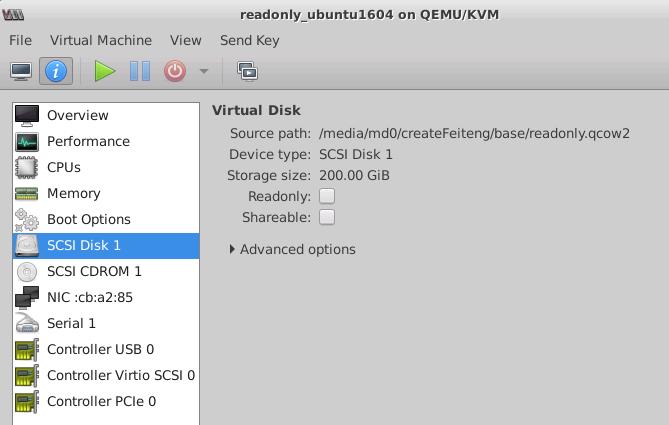
After installation, shutdown this vm, but don’t destroy it. Later we will use it, this is the crated kl system located.
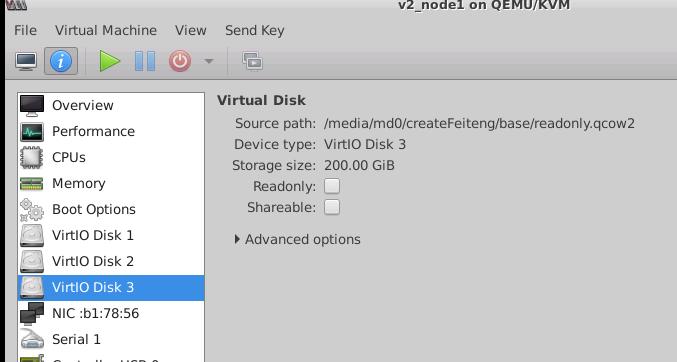
Now we will dump the kl system’s partition into our ubuntu system. Use another vm(ubuntu or centos, choose as you wish), attach the to_be_fucked.img and readonly.qcow2(previous vm image) together, then startup:
Login and check the partition,
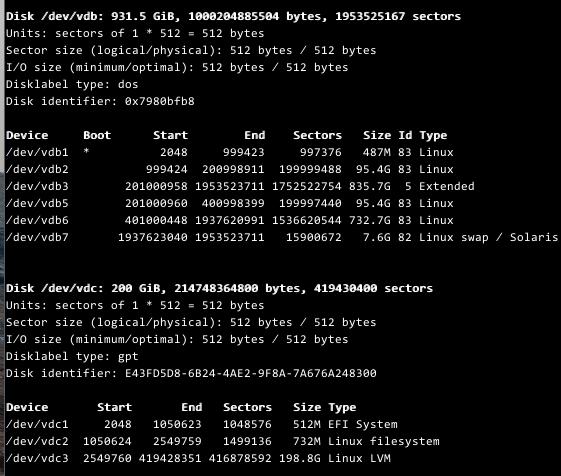
Check every partition of the /dev/vdb, we found the /dev/vdb2 is the root filesystem. so we mount it , also we mount the readonly.qcow2's root directory:
# sudo mkdir -p /media/crack /media/kl
# sudo vgscan
# sudo mount /dev/mapper/ubuntu-system-root /media/crack
# sudo mount /dev/vdb2 /media/kl
# sudo rsync -avz /media/kl /media/crack
Wait for a while, after the rsync finished, you actually got the kl system into your ubuntu16.04.6 vm.
Crack
Make sure you are in the /media/crack folder, do following steps:
Edit the etc/fstab file, in kl system its partition will be changed as we are in cracked system:
# vim /media/crack/etc/fstab
/dev/mapper/ubuntu--vg-root /               ext4    rw,noatime 0       1
Change the /boot content in cracked partition, enable the read/write for root partition, and enable the serial port output:
# mount /dev/vdc2 /mnt
# vim /mnt/grub/grub.cfg
...... find the corresponding location
		else
		  search --no-floppy --fs-uuid --set=root 39f71c29-80a2-43ad-b812-5d699ac4e94f
		fi
		echo	'Loading Linux 4.4.0-142-generic ...'
+++	        linux	/vmlinuz-4.4.0-142-generic root=/dev/mapper/ubuntu--vg-root rw  console=ttyS0,115200
		echo	'Loading initial ramdisk ...'
		initrd	/initrd.img-4.4.0-142-generic
	}
........
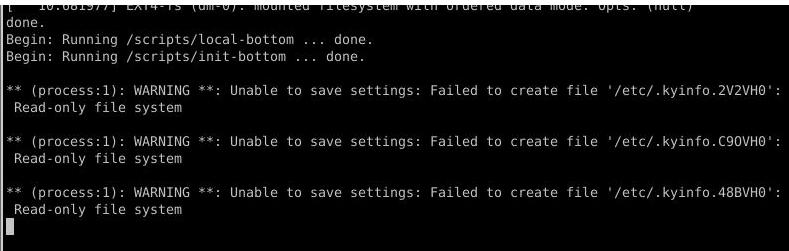
Now shutdown our 1804 vm, bootup the cracked 16.04.6 system, it will startup and hang at the very beginning.
Boot the 1804 vm, mount the cracked partition, copy the origin systemd binary file from a ubuntu16.04.6 system:
# mv /media/crack/lib/systemd/systemd /media/crack/lib/systemd/systemd.back
# cp the_origin_ubuntu16.04.6_systemd /media/crack/lib/systemd/systemd
Remove the activation check service:
root@arm01:/media/kylin/etc/systemd/system/multi-user.target.wants# pwd
/media/kylin/etc/systemd/system/multi-user.target.wants
root@arm01:/media/kylin/etc/systemd/system/multi-user.target.wants# mv kylin-activation-check.service /media/kylin/
After Cracked
Now reboot the system, this time the system will bootup and we use virsh for checking its ip address:
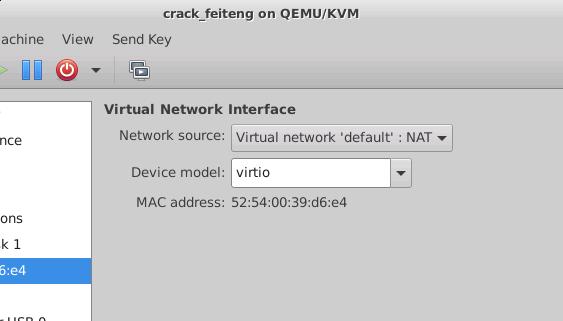
Get the ip address:
virsh net-dhcp-leases default |grep e4
 2020-03-23 10:45:33  52:54:00:39:d6:e4  ipv4      192.168.122.150/24        fuckgfw-os    -
Login with our physical machine’s username and password:
ssh fuckgfw@192.168.122.150
[Unauthorized System] fuckgfw@fuckgfw-os:~$
Tips for usage
to avoid the mtod, just change the /etc/motd, and use the zsh for replacing the bash.
Enable remote desktop(vncserver), using metacity for replacing the default gpu powered window manager.
# vim /etc/motd
 __________________________
< 麒麟: 我原本是Ubuntu . >
 --------------------------
        \   ^__^
         \  (oo)\_______
            (__)\       )\/\
                ||----w |
                ||     ||

 __    __   __          __    __  .______    __    __  .__   __. .___________. __    __
|  |  |  | |  |        |  |  |  | |   _  \  |  |  |  | |  \ |  | |           ||  |  |  |
|  |__|  | |  |        |  |  |  | |  |_)  | |  |  |  | |   \|  | `---|  |----`|  |  |  |
|   __   | |  |        |  |  |  | |   _  <  |  |  |  | |  . `  |     |  |     |  |  |  |
|  |  |  | |  |  __    |  `--'  | |  |_)  | |  `--'  | |  |\   |     |  |     |  `--'  |
|__|  |__| |__| (_ )    \______/  |______/   \______/  |__| \__|     |__|      \______/
                 |/
Also change the contents under this folder:

vnc server
Configure the mate session for vncserver for:
#!/bin/sh

# Uncomment the following two lines for normal desktop:
# unset SESSION_MANAGER
# exec /etc/X11/xinit/xinitrc

[ -x /etc/vnc/xstartup ] && exec /etc/vnc/xstartup
[ -r $HOME/.Xresources ] && xrdb $HOME/.Xresources
xsetroot -solid grey
vncconfig -iconic &
metacity &
exec mate-session &
Configure the configuration via dconf-editor, also configure the desktop manager via mate-tweak.
Configure the rdesktop server as:
# vim ~/.xsession
metacity&
mate-session
# apt-get install -y xrdp
Thus you could visit the remote desktop via rdesktop