
Wordpress Migration Tips
Mar 15, 2017
Technology
Background
Moving a friend’s wordpress blog from DigitalOcean to a new cheap vps, here are all of the tips and steps.
MySQL Password recovery
I forget the mysql password, recover it via following ways(Ubuntu14.04
Version):
Stop the mysql instance via:
$ sudo /etc/init.d/mysql stop
Start the mysqld daemon process use --skip-grant-tables options:
$ sudo /usr/sbin/mysqld --skip-grant-tables --skip-networking &
Mysql steps are listed as:
$ mysql -u root
>   FLUSH PRIVILEGES;
>   SET PASSWORD FOR root@'localhost' = PASSWORD('password');
>   FLUSH PRIVILEGES;
>   \q
Now better you reboot the machine, thus you could login to the mysql using the newly changed passwd.
MySQL database backup
Backup the existing running mysql via following command:
$ mysqldump -uroot -pxxxxxx wordpress>Yourbackup.sql
This Yourbackup.sql will be used later for restoring the database to the
newly created database instance.
Docker Compose
The docker compose file is listed as:
version: '2'

services:

  wordpress:
    image: wordpress
    volumes:
      - ./www:/var/www/html
    ports:
      - 8093:80
    environment:
      WORDPRESS_DB_PASSWORD: Myexample250

  mysql:
    image: mariadb
    volumes:
      - ./mysql:/var/lib/mysql
    environment:
      MYSQL_ROOT_PASSWORD: Myexample250
Up/Down the service via following command:
### Up the wordpress website:
$ sudo docker-compose up -d

### Down the wordpress
$ sudo docker-compose down
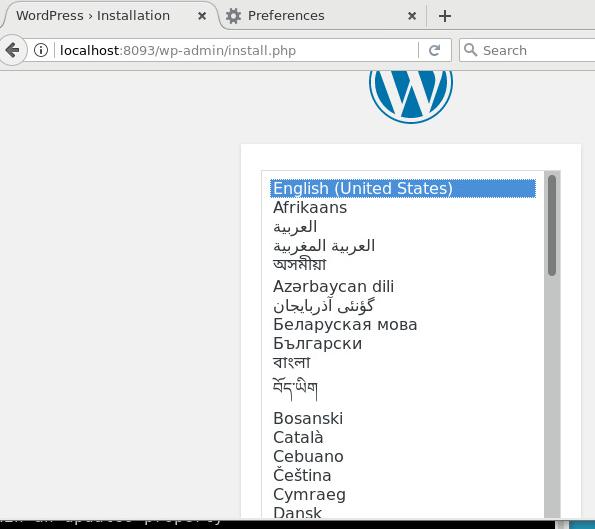
Now open your browser http://localhost:8093, you will see the wordpress
installation page, install it:
The username/password would be any characters, because we will use our dumped wordpress database for restoring it.
Restoring Database
Create a new maria docker instance for restoring the mysql:
$ mv Yourbackup.sql ./restore
$ sudo docker run -it -v `pwd`/restore:/var/lib/mysql --link mariadb:mymariadb --net lili_default mariadb:latest /bin/bash
Now get the running mariadb’s IP address:
$ sudo docker ps | grep mariadb
f1233de46f3b        mariadb:latest                   "docker-entrypoint.sh"   About a minute ago   Up About a minute   3306/tcp                      amazing_jang
52df3ac6298d        mariadb                          "docker-entrypoint.sh"   9 minutes ago        Up 9 minutes        3306/tcp                      lili_mysql_1
$ sudo docker exec -it 52df3ac6298d /bin/bash
root@52df3ac6298d:/# ip addr
....
Get the ip address , we know it’s 172.19.0.3/16.
Now in the root@f1233de46f3b, do following commands:
# mysql -h172.19.0.3 -P3306 -uroot -pMyexample250
Welcome to the MariaDB monitor.  Commands end with ; or \g.
Your MariaDB connection id is 15
Server version: 10.1.20-MariaDB-1~jessie mariadb.org binary distribution

Copyright (c) 2000, 2016, Oracle, MariaDB Corporation Ab and others.

Type 'help;' or '\h' for help. Type '\c' to clear the current input statement.

MariaDB [(none)]> \q
Bye
root@f1233de46f3b:/#
If you get the mysql shell, it hints that you could run following commands for restoring the database:
# mysql -u root -pMyexample250 --host=172.19.0.3 wordpress<Yourbackup.sql
Now you won’t get any article, because the old domain name is not compatible
for the new domain name, suppose our old domain name is www.oldname.com, the
new domain name is localhost:8093`, do following command for adjust to the
new domain name:
Run:
mysql -h172.19.0.2 -P3306 -uroot -pMyexample250
use wordpress;
UPDATE wp_options SET option_value = replace(option_value, 'www.oldname.com','localhost:8093');
UPDATE wp_posts SET post_content = replace(post_content, 'www.oldname.com','localhost:8093');
UPDATE wp_comments SET comment_content = replace(comment_content, 'www.oldname.com','localhost:8093');
UPDATE wp_comments SET comment_author_url = replace(comment_author_url, 'www.oldname.com','localhost:8093');
\q
Now the database has been restored, you could restart the docker instance, and
examing the result, 52df3ac6298d 096fdeaac08a are the id for wordpress and
mariadb.
$ sudo docker restart 52df3ac6298d 096fdeaac08a
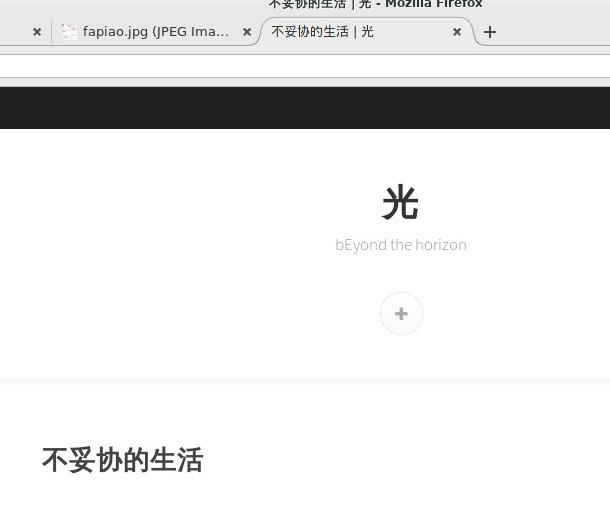
Now reopen the browser,this time you will see the page has been adjusted to old website:
Ubuntu Env Preparation
scp the whole directory to remote machine(Ubuntu16.04).
Install docker via:
$ sudo apt-get install \
    apt-transport-https \
    ca-certificates \
    curl \
    software-properties-common
$ curl -fsSL <DOCKER-EE-URL>/gpg | sudo apt-key add -
$ sudo add-apt-repository \
   "deb [arch=amd64] <-DOCKER-EE-URL> \
   $(lsb_release -cs) \
   stable-17.03"
$ sudo apt-get install docker-ce
Install docker-compose via:
$ sudo pip install docker-compose
$ sudo docker-compose up -d