Jan 20, 2025
TechnologySteps for publishing to github pages using mdbook.
$ mkdir lxcDesktop
$ cd lxcDesktop
$ mkbook init
Do you want a .gitignore to be created? (y/n)
y
What title would you like to give the book?
lxc-desktop
2025-01-20 22:36:48 [INFO] (mdbook::book::init): Creating a new book with stub content

All done, no errors...
$ tree -a
.
├── book
├── book.toml
├── .gitignore
└── src
    ├── chapter_1.md
    └── SUMMARY.md

3 directories, 4 files
$ mkdir .github
$ cd .github
$ mkdir workflows
$ cd workflows
$ vim PublishMySite.yml
Content for PublishMySite.yml:
name: PublishMySite

# Controls when the action will run.
on:
  # Triggers the workflow on push or pull request events but only for the main branch
  push:
    branches:
      - main
  pull_request:
    branches:
      - main

# A workflow run is made up of one or more jobs that can run sequentially or in parallel
jobs:
  # This workflow contains a single job called "build"
  build:
    # The type of runner that the job will run on
    runs-on: ubuntu-latest

    # Steps represent a sequence of tasks that will be executed as part of the job
    steps:
      # Checks-out your repository under $GITHUB_WORKSPACE, so your job can access it
      - uses: actions/checkout@v2

      # Build markdown files to a static site.
      - name: Setup mdBook
        uses: peaceiris/actions-mdbook@v1
        with:
          mdbook-version: "latest"
      - run: mdbook build . --dest-dir ./book # --dest-dir is relative to <dir>

      # Publish the static site to gh-pages branch.
      - name: Deploy
        uses: peaceiris/actions-gh-pages@v3
        with:
          github_token: ${{ secrets.GITHUB_TOKEN}}
          publish_dir: ./book
          publish_branch: gh-pages
Back to repository:
git init
git add .
git commit -m "init"
meanwhile, on github, do following steps:
GitHub > New Repository

GitHub > Repository > Settings > Actions > General >

Actions permissions: Allow all actions and reusable workflows
Workflow permissions: Read and write permissions
Click Save
Commit to remote branch:
git remote add origin git@github.com:purplepalmdash/lxcDesktop.git
git branch -M main
git pull --rebase origin main
git push origin main
On github, do following:
GitHub > Repository > Settings > Pages > Branch > gh-pages > Click Save
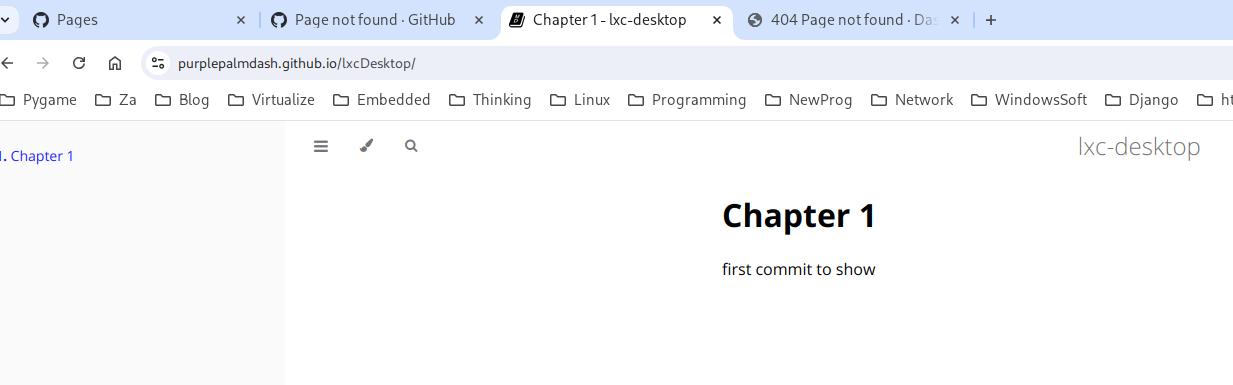
The result is shown as in following picture:
Jan 3, 2025
TechnologyWhen reboot in vm, the host virsh command show this vm paused
root@idv:/var/lib/libvirt/images# virsh list
 Id   Name         State
---------------------------
 1    ubuntu2004   paused
logs:
# tail -f /var/
char device redirected to /dev/pts/3 (label charserial0)
error: kvm run failed Bad address
RAX=ffff9f558281e020 RBX=ffff9f558281e000 RCX=0000000000000007 RDX=0000000000010101
RSI=ffff9f558281e004 RDI=0000000000000000 RBP=ffff9f558001b990 RSP=ffff9f558001b8e8
R8 =0000000000000001 R9 =ffffffffafaa6ee0 R10=ffff8f418fd18700 R11=0000000000000001
R12=0000000000010101 R13=0000000000cdcdcd R14=ffff9f558281e000 R15=ffff8f418fd18700
RIP=ffffffffaef257ae RFL=00000002 [-------] CPL=0 II=0 A20=1 SMM=0 HLT=0
ES =0000 0000000000000000 ffffffff 00800000
CS =0010 0000000000000000 ffffffff 00a09b00 DPL=0 CS64 [-RA]
SS =0018 0000000000000000 ffffffff 00c09300 DPL=0 DS   [-WA]
DS =0000 0000000000000000 ffffffff 00800000
FS =0000 00007fcd97123980 ffffffff 00800000
GS =0000 ffff8f41fbc00000 ffffffff 00800000
LDT=0000 0000000000000000 0000ffff 00000000
TR =0040 fffffe1b5fbfb000 00004087 00008b00 DPL=0 TSS64-busy
GDT=     fffffe1b5fbf9000 0000007f
IDT=     fffffe0000000000 00000fff
CR0=80050033 CR2=00007fcd981225a0 CR3=000000010ed44000 CR4=003506f0
DR0=0000000000000000 DR1=0000000000000000 DR2=0000000000000000 DR3=0000000000000000
DR6=00000000ffff0ff0 DR7=0000000000000400
EFER=0000000000000d01
Code=fa 49 8d 76 04 44 21 c2 41 8b 3c 91 44 21 ef 89 fa 44 31 e2 <41> 89 16 85 c9 75 09 49 83 c7 01 b9 08 00 00 00 48 39 c6 75 c3 48 8b 45 b8 83 6d d0 01 4c
仅当连接有Hdmi的时候会发生这个现象。
Dec 30, 2024
Technologyupdate comfyui
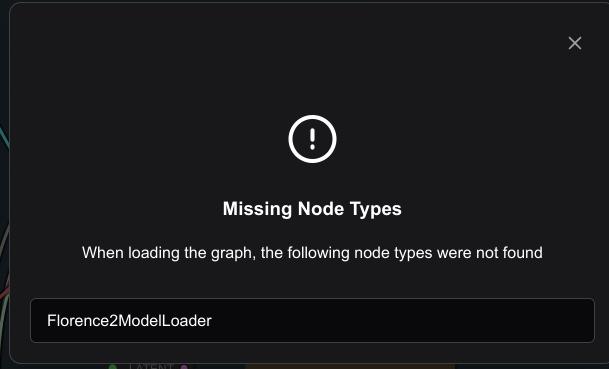
update comfyui via comfyUI manager, then you got error:
Error. No naistyles.csv found. Put your naistyles.csv in the custom_nodes/ComfyUI_NAI-mod/CSV directory of ComfyUI. Then press "Refresh".
                  Your current root directory is: /home/dash/Code/ComfyUI
Solved via:
Create a ComfyUI-NAI-styler directory under the custom_nodes directory.
Create an __init__.py file under the ComfyUI-NAI-styler directory with the following content:
__all__ = ['NODE_CLASS_MAPPINGS', 'NODE_DISPLAY_NAME_MAPPINGS']
NODE_CLASS_MAPPINGS = {}
NODE_DISPLAY_NAME_MAPPINGS = {}
Create a CSV directory under the ComfyUI-NAI-styler directory .

Create three empty files under the CSV directory:

naifilters.csv
naistyles.csv
naitypes.csv


(base) dash@comfyvm:~/Code/ComfyUI/custom_nodes$ cp -r ComfyUI-NAI-styler ComfyUI_NAI-mod

(base) dash@comfyvm:~/Code/ComfyUI/custom_nodes$ pwd
/home/dash/Code/ComfyUI/custom_nodes
(base) dash@comfyvm:~/Code/ComfyUI/custom_nodes$ vim ComfyUI-Universal-Styler/naistyler_nodes.py

    def INPUT_TYPES(cls):
        base_path = Path(folder_paths.base_path) # Use of Path to ensure path compatibility
        cls.naistyles_csv = cls.load_naistyles_csv(base_path / "custom_nodes/ComfyUI-Universal-Styler/CSV/naistyles.csv")
        cls.naifilters_csv = cls.load_naifilters_csv(base_path / "custom_nodes/ComfyUI-Universal-Styler/CSV/naifilters.csv")
        cls.naitypes_csv = cls.load_naitypes_csv(base_path / "custom_nodes/ComfyUI-Universal-Styler/CSV/naitypes.csv")
        #cls.naistyles_csv = cls.load_naistyles_csv(os.path.join(folder_paths.base_path, "custom_nodes\\ComfyUI-NAI-styler\\CSV\\naifilters.csv"))
        #cls.naifilters_csv = cls.load_naifilters_csv(os.path.join(folder_paths.base_path, "custom_nodes\\ComfyUI-NAI-styler\\CSV\\naistyles.csv"))
        #cls.naitypes_csv = cls.load_naitypes_csv(os.path.join(folder_paths.base_path, "custom_nodes\\ComfyUI-NAI-Styler\\CSV\\naitypes.csv"))
comfyui
Install missing custom nodes:

After restarting, the comfyui will be shown like:
models you should download:
https://hf-mirror.com/city96/HunyuanVideo-gguf/tree/main
hunyuan-video-t2v-720p-Q5_0.gguf

https://hf-mirror.com/Comfy-Org/HunyuanVideo_repackaged/blob/main/split_files/text_encoders/llava_llama3_fp8_scaled.safetensors

https://hf-mirror.com/Kijai/HunyuanVideo_comfy/blob/main/hunyuan_video_vae_bf16.safetensors
comfyui II
Download models:
https://hf-mirror.com/Kijai/HunyuanVideo_comfy/blob/main/hunyuan_video_720_cfgdistill_fp8_e4m3fn.safetensors
https://hf-mirror.com/Kijai/HunyuanVideo_comfy/blob/main/hunyuan_video_vae_bf16.safetensors
clone the llama:
(comfyui) dash@comfyvm:~/Code/ComfyUI$ cd models/LLM/
(comfyui) dash@comfyvm:~/Code/ComfyUI/models/LLM$
git clone https://hf-mirror.com/Kijai/llava-llama-3-8b-text-encoder-tokenizer
clone the clip items:
(base) dash@comfyvm:~$ cd ~/Code/ComfyUI/models/clip
(base) dash@comfyvm:~/Code/ComfyUI/models/clip$ ls
clip_l.safetensors  llava_llama3_fp8_scaled.safetensors  put_clip_or_text_encoder_models_here
(base) dash@comfyvm:~/Code/ComfyUI/models/clip$

git clone https://hf-mirror.com/openai/clip-vit-large-patch14
Dec 9, 2024
TechnologyChange the command:
    #### 7. mysimplerecorder
    (writeShellScriptBin "mysimplerecorder" ''
    rm -f /tmp/tmprecording.mp4
    wf-recorder -g "$(slurp)" -f /tmp/tmprecording.mp4 -c h264_vaapi -d /dev/dri/renderD128 -p "preset=superfast"
    cp /tmp/tmprecording.mp4 /home/dash/Videos/`date +"%Y-%m-%d-%H-%M-%S" `.mp4
  '')
Since we want to use h264_vaapi, we need to enable vaapi under nixos’s configuration:
  nixpkgs.config.packageOverrides = pkgs: {
    intel-vaapi-driver = pkgs.intel-vaapi-driver.override { enableHybridCodec = true; };
  };
  hardware.graphics = { # hardware.graphics since NixOS 24.11
    enable = true;
    extraPackages = with pkgs; [
      intel-media-driver # LIBVA_DRIVER_NAME=iHD
      intel-vaapi-driver # LIBVA_DRIVER_NAME=i965 (older but works better for Firefox/Chromium)
      libvdpau-va-gl
    ];
  };
  environment.sessionVariables = { LIBVA_DRIVER_NAME = "iHD"; }; # Force intel-media-driver
Rebuild then you could use new comand for screen recorder:
sudo nixos-rebuild switch --option substituers https://mirror.sjtu.edu.cn/nix-channels/store
Dec 5, 2024
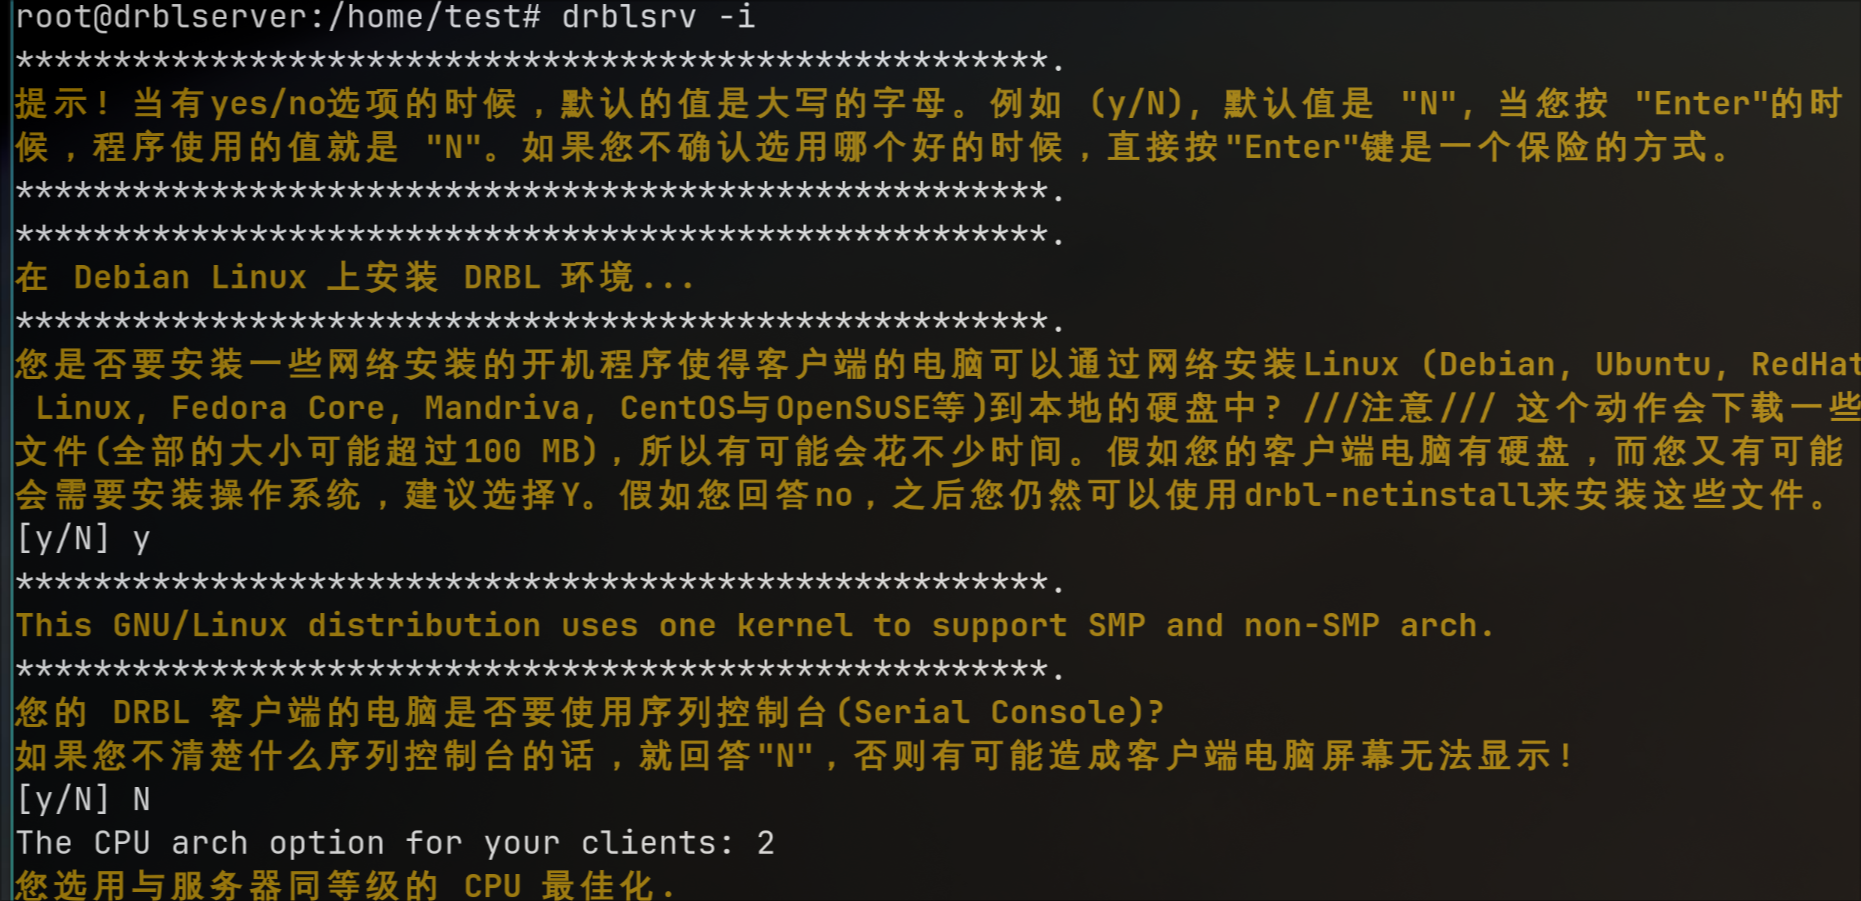
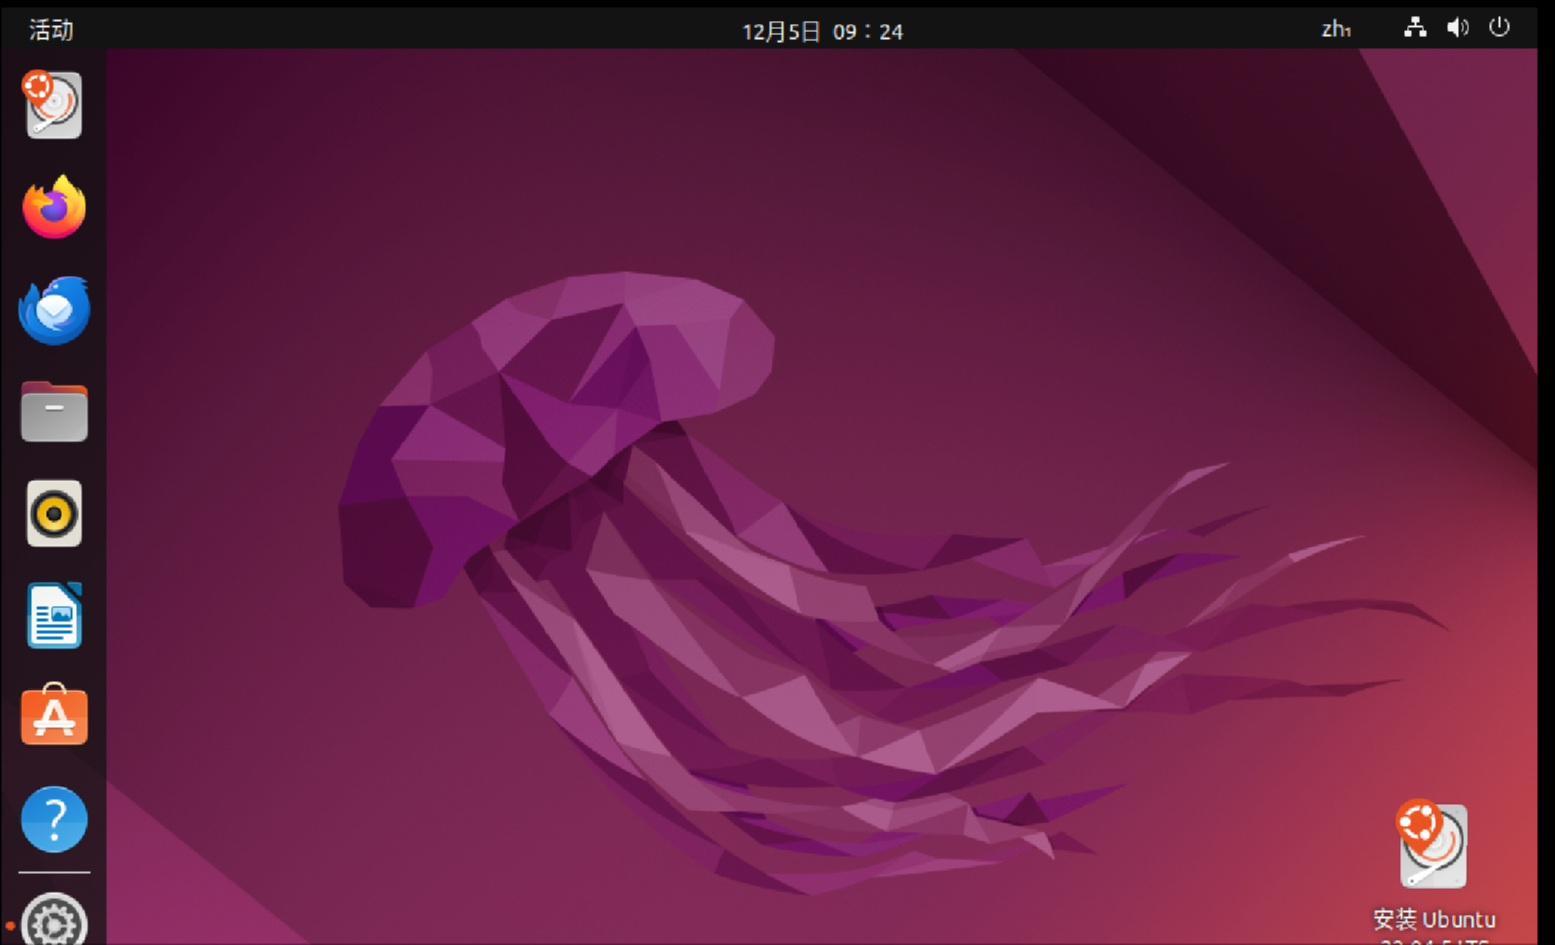
Technology安装
先试用,配置好网络后,安装:
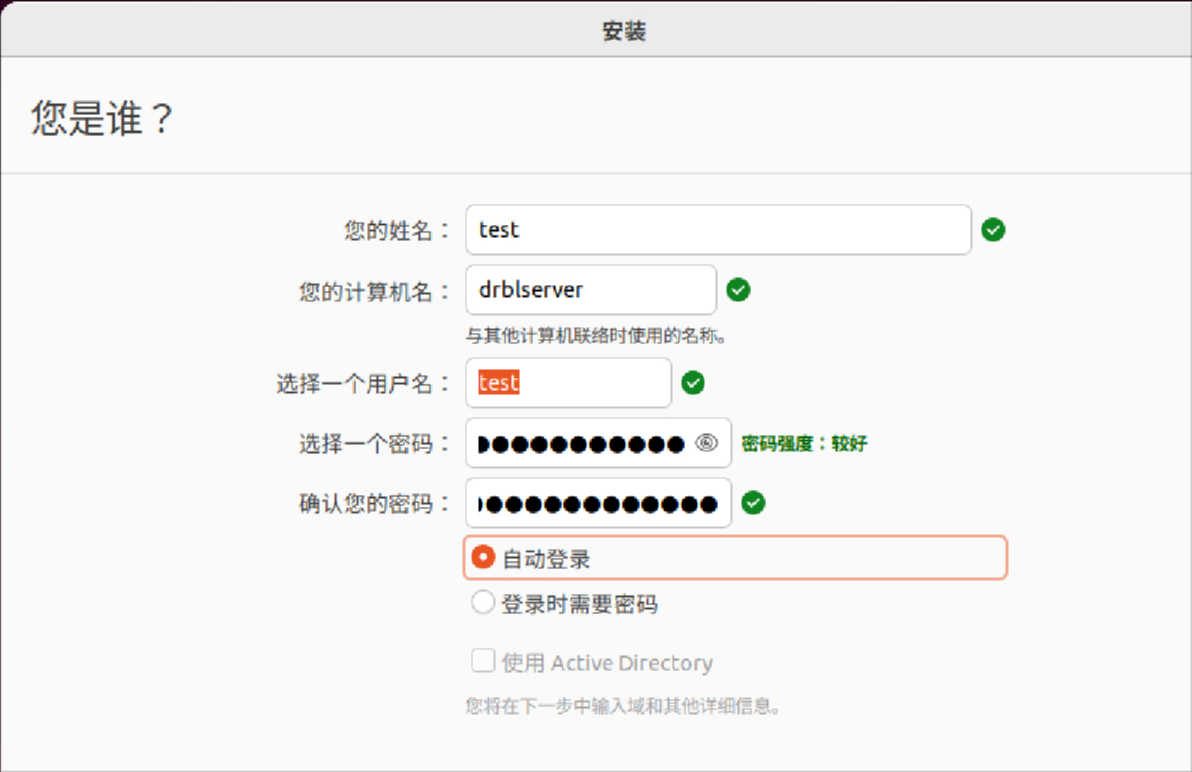
进入系统后的安装和配置:
sudo apt update -y && sudo apt upgrade -y
sudo wget -O /etc/apt/trusted.gpg.d/drbl-gpg.asc https://drbl.org/GPG-KEY-DRBL
sudo vim /etc/apt/sources.list
    deb http://free.nchc.org.tw/ubuntu jammy main restricted universe multiverse
    deb http://free.nchc.org.tw/drbl-core drbl stable
sudo apt update
sudo apt install -y drbl
配置:
ufw disable
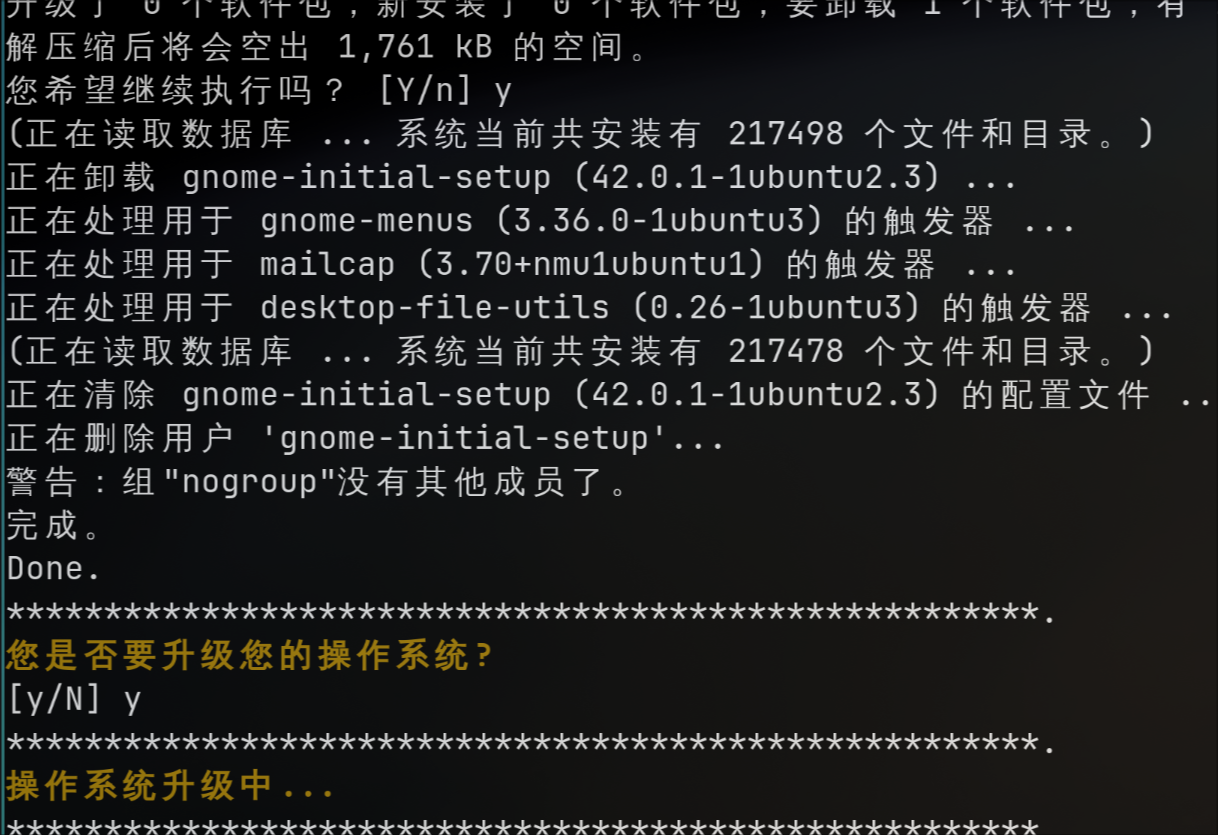
sudo drblsrv -i