
UsingRedashForVisualization
Mar 13, 2020
Technology
AIM
Using redash for representing Wuhan’s nCov dataset.
Environment
Hardware/Software/OS is listed as following:
kvm vm with 2cores and 3072MB memory plus 200G disk.
Using docker/docker-compose for redash website.
OS is ubuntu 18.04.3
IP: 192.168.137.100
Redash bootstrap
Using the repository which located at:
https://github.com/getredash/setup
You have to git clone this repository and run setup.sh under the directory. After setup the docker-compose file located in /opt/redash, if you want to quickly setup another docker/docker-compose based environment, simply copy the folder and the related docker images to remote machine’s /opt/redash, up and running again.
root@node:/opt/redash# ls
docker-compose.yml  env  postgres-data
root@node:/opt/redash# docker-compose run --rm server create_db
root@node:/opt/redash# docker-compose up -d
Creating network "redash_default" with the default driver
Creating redash_redis_1    ... done
Creating redash_postgres_1 ... done
Creating redash_scheduled_worker_1 ... done
Creating redash_adhoc_worker_1     ... done
Creating redash_scheduler_1        ... done
Creating redash_server_1           ... done
Creating redash_nginx_1            ... done
The redash environment rested in 7 docker instance, could be examined using docker ps:
root@node:/opt/redash# docker ps
CONTAINER ID        IMAGE                        COMMAND                  CREATED             STATUS              PORTS                         NAMES
1e701e0bb8d2        redash/nginx:latest          "nginx -g 'daemon of…"   6 minutes ago       Up 6 minutes        0.0.0.0:80->80/tcp, 443/tcp   redash_nginx_1
5c00c609baa6        redash/redash:8.0.0.b32245   "/app/bin/docker-ent…"   7 minutes ago       Up 6 minutes        0.0.0.0:5000->5000/tcp        redash_server_1
8dcd4c2db0f8        redash/redash:8.0.0.b32245   "/app/bin/docker-ent…"   7 minutes ago       Up 6 minutes        5000/tcp                      redash_scheduled_worker_1
5d1dbd77f4ce        redash/redash:8.0.0.b32245   "/app/bin/docker-ent…"   7 minutes ago       Up 6 minutes        5000/tcp                      redash_adhoc_worker_1
6d56d7cd9040        redash/redash:8.0.0.b32245   "/app/bin/docker-ent…"   7 minutes ago       Up 6 minutes        5000/tcp                      redash_scheduler_1
c8efb3ff7437        postgres:9.6-alpine          "docker-entrypoint.s…"   7 minutes ago       Up 7 minutes        5432/tcp                      redash_postgres_1
a78dd1b1727f        redis:5.0-alpine             "docker-entrypoint.s…"   7 minutes ago       Up 7 minutes        6379/tcp                      redash_redis_1
Now visit the vm’s 80 port you will see:
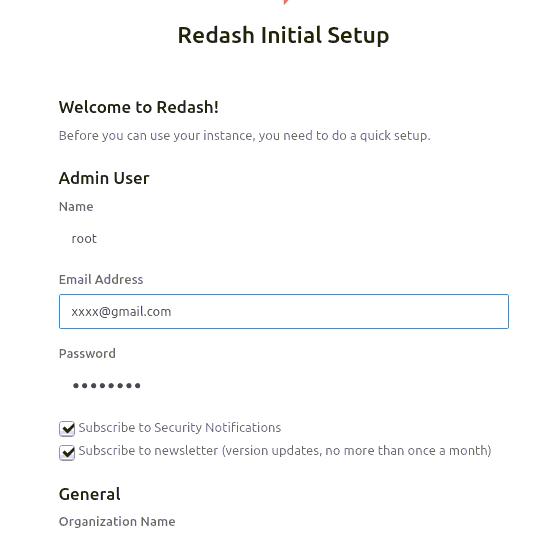
After login you will get the following page:
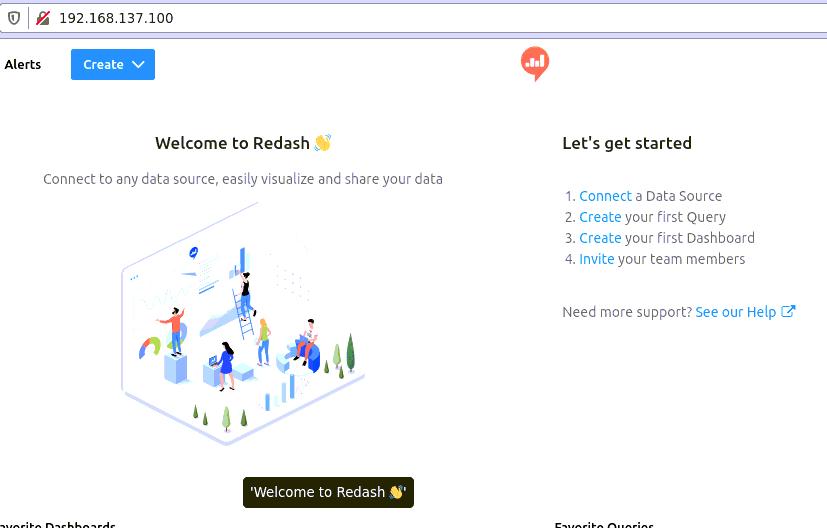
Until now your redash environment has been bootstraped.
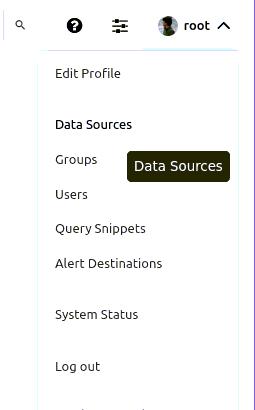
Configure data source
Click your username and select Data Sources:
Click New Data Source button for adding a new data source:
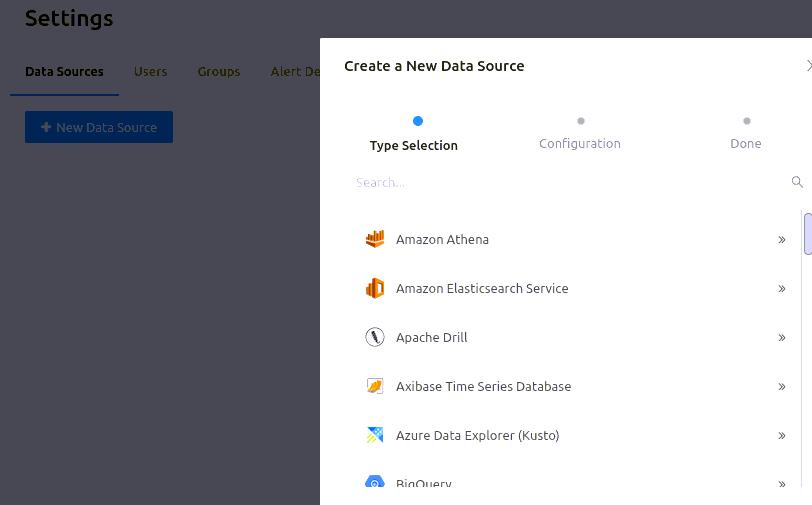
Select sqlite and you will be leading to following window:
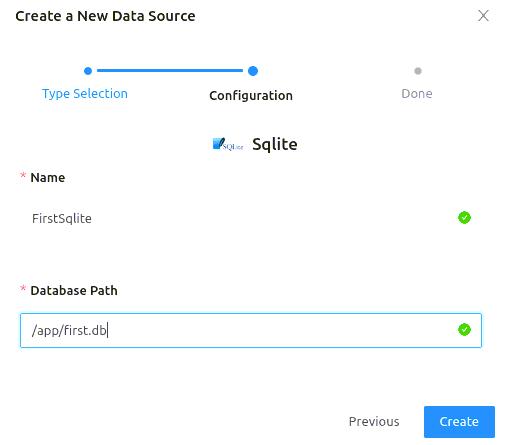
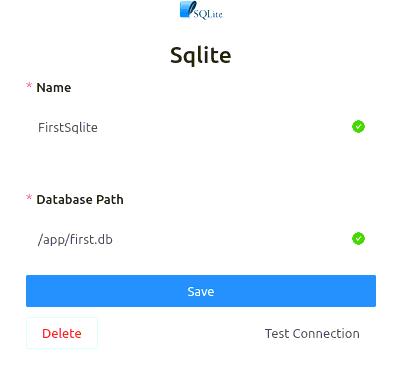
Fill in some infos for finishing:
Get Sqlite db
We take following page for refrence:
https://discuss.redash.io/t/example-data-source-for-the-choropleth-maps/3696
First fetch the example sqlite db using following command:
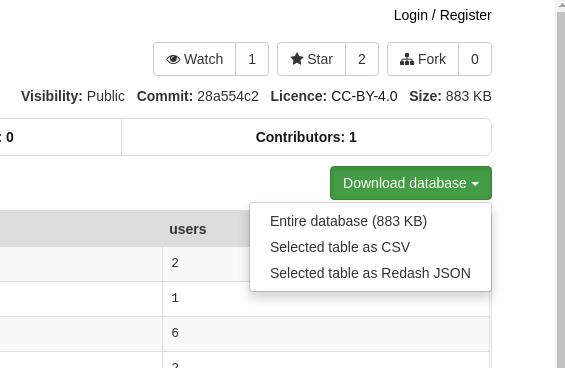
# wget https://dbhub.io/x/download/justinclift/DB4S%20daily%20users%20by%20country.sqlite?commit=28a554c2795170d5739b7a41df9baa2ad13b985b325d238bd869a14d1148f9ea
# mv DB4S\ daily\ users\ by\ country.sqlite first.db
Copy this db into following docker instance:
# docker cp first.db redash_scheduled_worker_1:/app
# docker cp first.db redash_server_1:/app
# docker cp first.db redash_adhoc_worker_1:/app
# docker cp first.db redash_scheduler_1:/app
Now click Test Connection you will get Succeed.
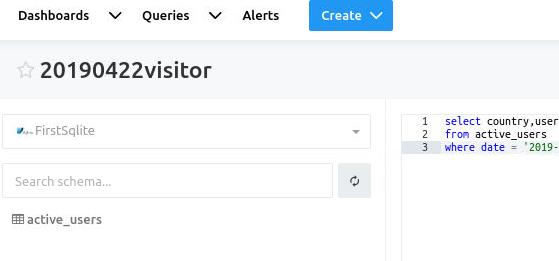
Create Query
Click Create Query, you will be leading to following window:
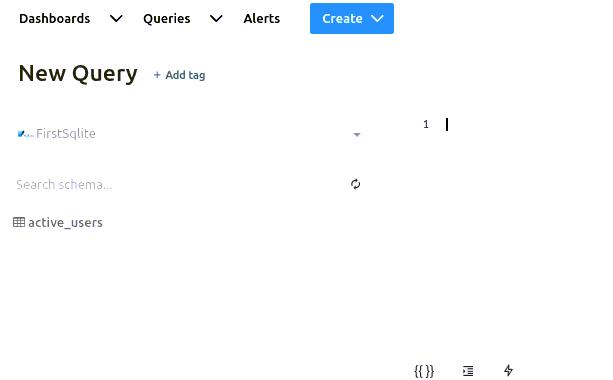
Create a new query:
SELECT country, users
FROM query_6
WHERE date = '2019-04-22'
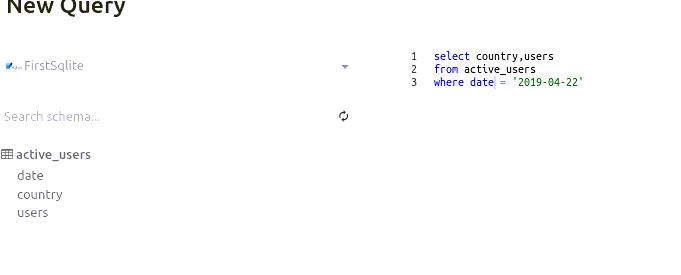
Click Execute you will get the table listed as:
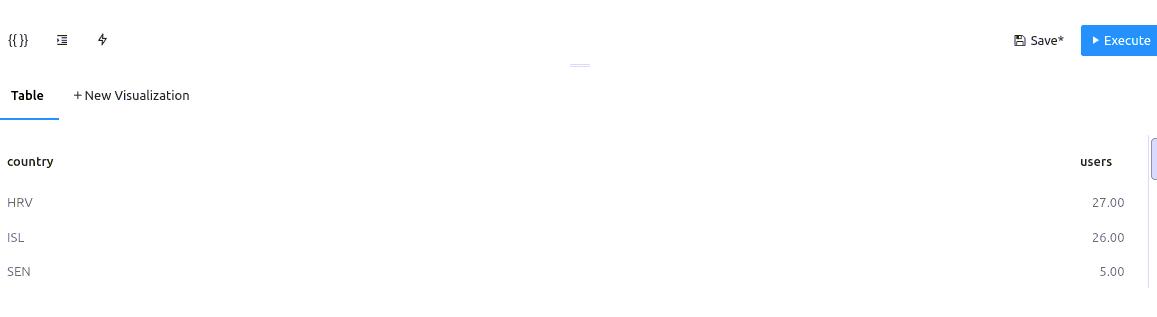
Click New Visualization for editing the visualization:
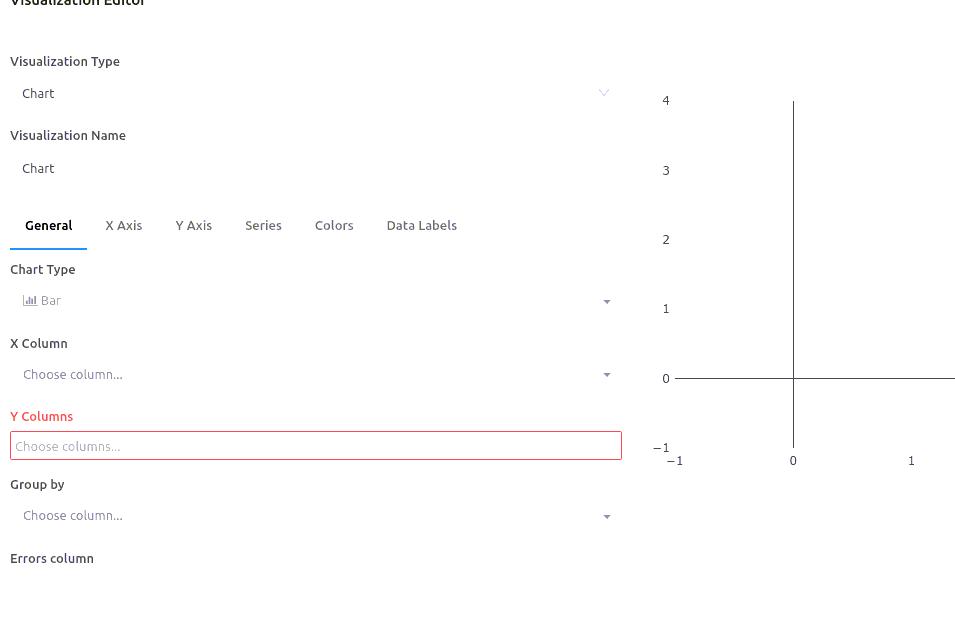
Edit like following:
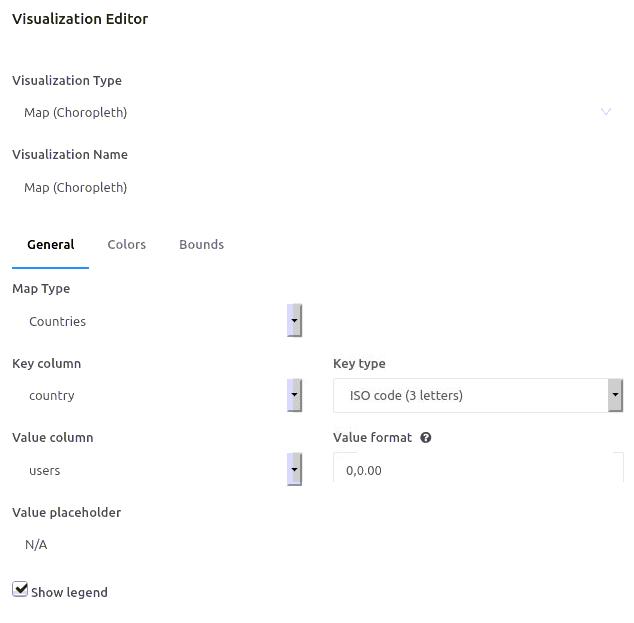
The map will be rendered like:
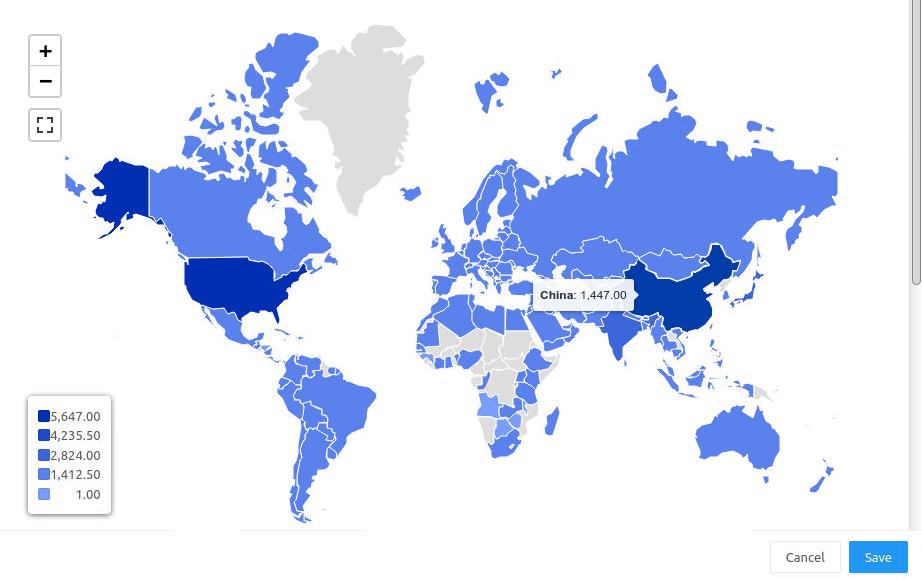
Click save for saving the map, then rename this query:
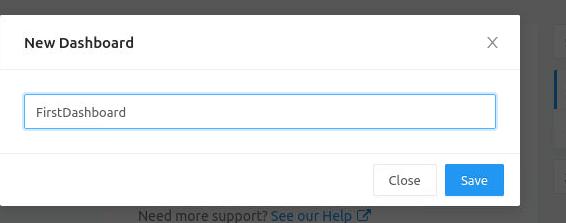
Dashboard
Create the first dashboard:
An empty dashboard:
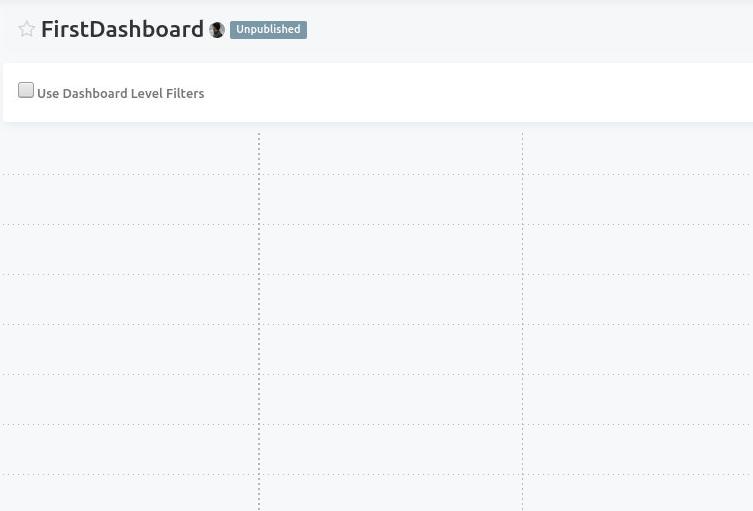
Click Add Widget, select our newly created map:
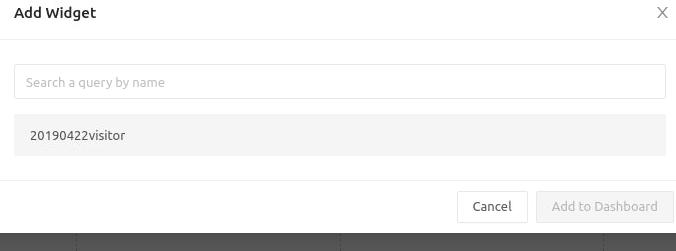
Select the map:
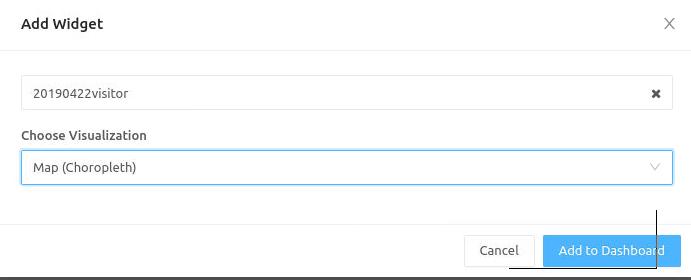
Effect:
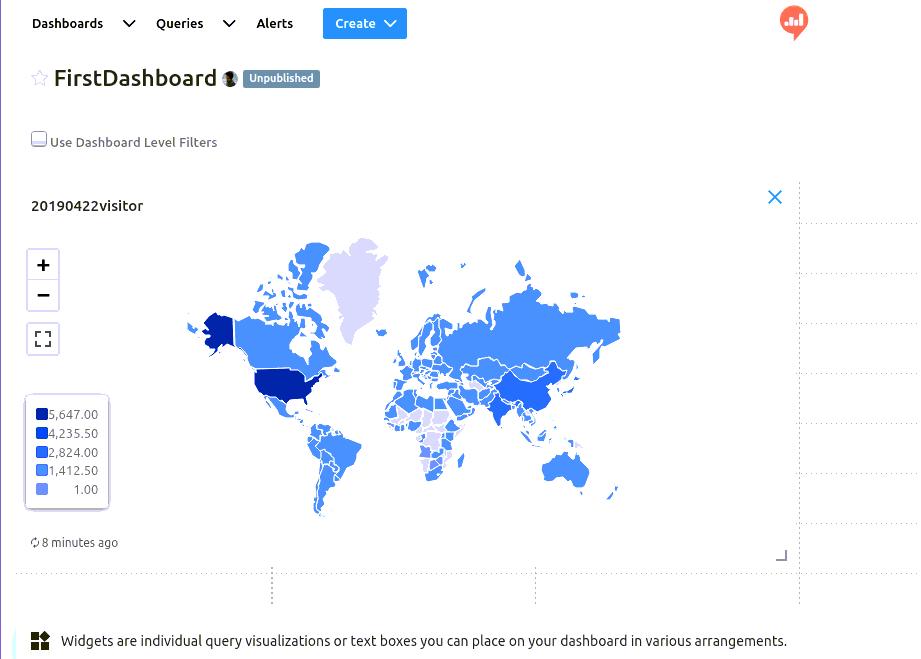
Conclusion
Now we have created the first visualization in redash easily displayed a sqlite database, in next chapter we will take a look at how to display the nCov statistics.