VmwareBasedKubeflow
Jun 20, 2019
Technology
Vmware
Download and install Vmware workstation pro on Ubuntu:
# wget https://download3.vmware.com/software/wkst/file/VMware-Workstation-Full-15.1.0-13591040.x86_64.bundle
# chmod 777 *.bundle
# ./VMware-Workstation-Full-15.1.0-13591040.x86_64.bundle
VM Installation
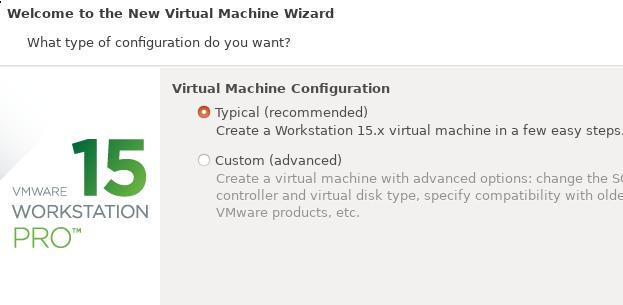
Create a new machine:
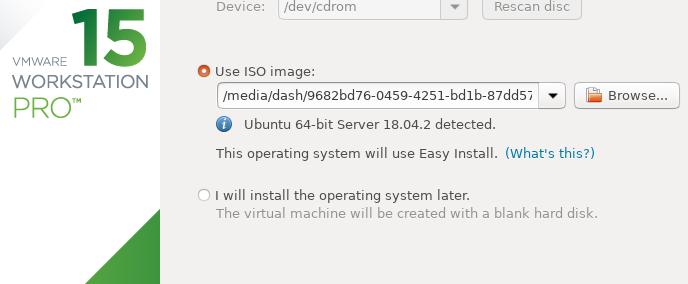
Select iso:
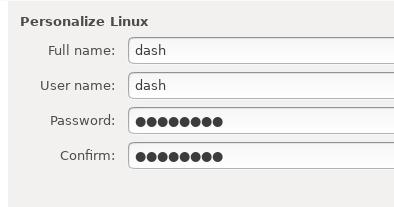
Personalize Linux:
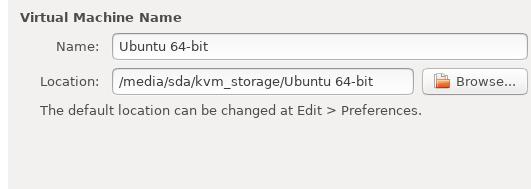
Select location:
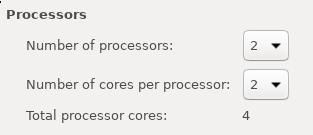
Specify processor:
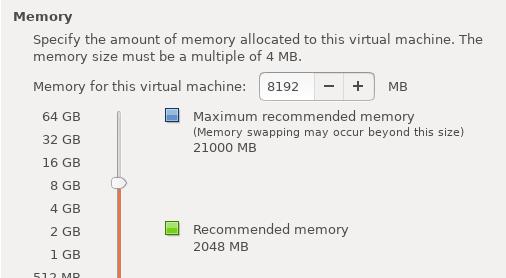
Specify Memory:
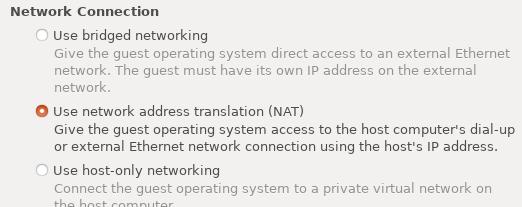
Specify NAT:
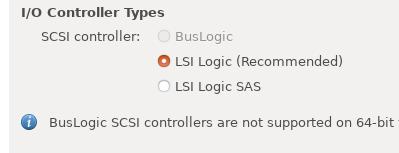
I/O Controller:
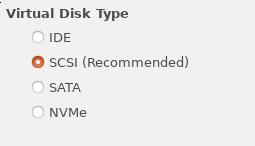
Virtual Disk Type:
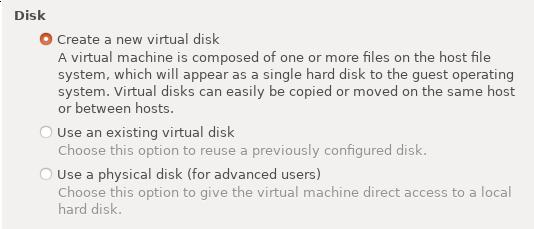
Create a new disk:
Specify 200GB:
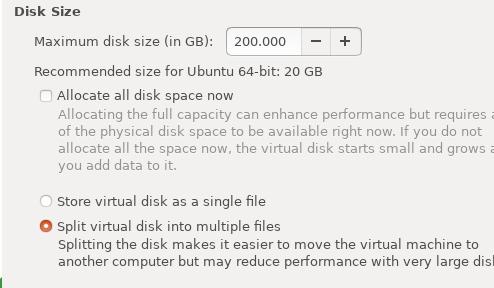
Disk File:

Click Finish and begin installation.
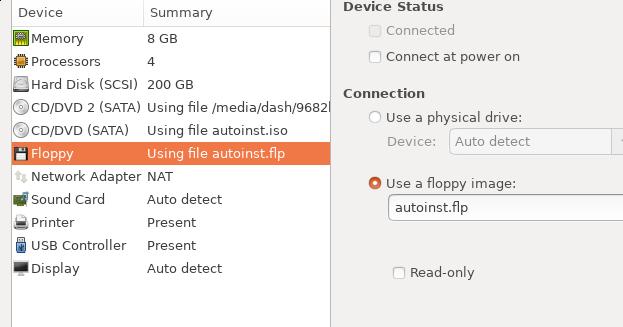
When installation, click poweroff, and setting , remove the auto install iso:
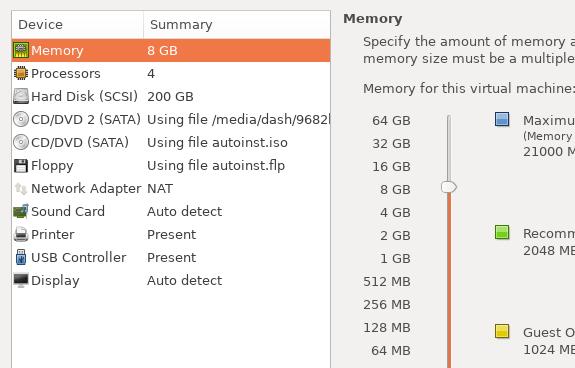
Uncheck Connect at power on for both Floppy and CD/DVD(SATA), then reboot, you will see
our customized installation items, use them for installing:
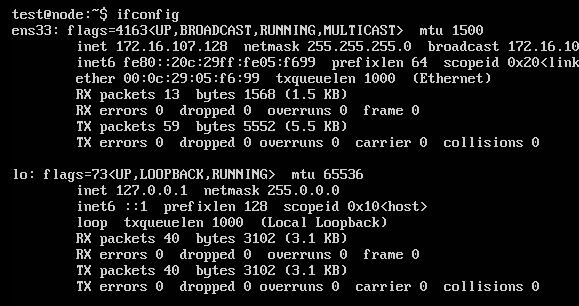
After installation, check the configured ip address:
System
Default grub configuration:
# vim /etc/default/grub
GRUB_CMDLINE_LINUX_DEFAULT="net.ifnames=0 biosdevname=0"
# grub-mkconfig -o /boot/grub/grub.cfg
# vim /etc/netplan/01-netcfg.yaml
    eth0:
      dhcp4: no
      addresses: [172.16.107.17/24]
      gateway4: 172.16.107.2
Then reboot and use our ansible code for deploying.
Make it Online
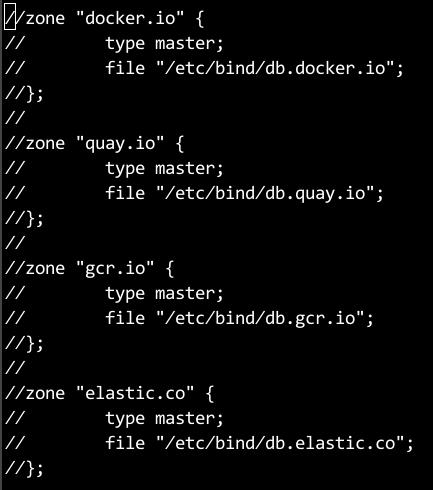
Remove the dns items for docker.io, quay.io, gcr.io, elastic.co:
vim /etc/bind/named.conf.default-zones:
logout from our fake website:
root@node0:/home/test# docker logout quay.io
Removing login credentials for quay.io
root@node0:/home/test# docker logout gcr.io
Removing login credentials for gcr.io
root@node0:/home/test# docker logout k8s.gcr.io
Removing login credentials for k8s.gcr.io
root@node0:/home/test# docker logout docker.elastic.co
Removing login credentials for docker.elastic.co
root@node0:/home/test# docker logout
Remove the crt files and update the ca certification:
# cd /usr/local/share/ca-certificates/
# mv server.crt /root
# update-ca-certificates
# cd /etc/ssl/
# cd certs/
# rm -f server.pem
# update-ca-certificates
Then remove the items for bind9.
Now reboot the machine.
