ForemanTips
Mar 14, 2019
Technology
System
Install Ubuntu 18.04, 4 Core/ 4G memory, 50 G disk.
Install with basic sshd support.
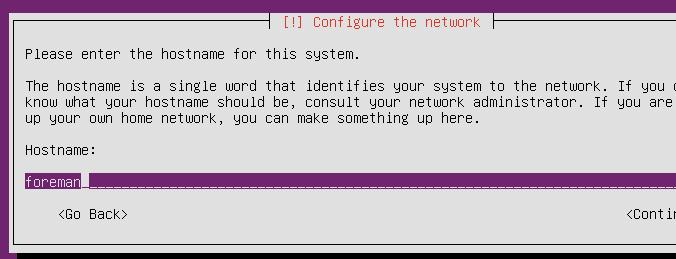
Network planning:
10.192.189.0/24, no dhcp.
Network
Configure the networking via following commands:
# vim /etc/netplan/01-netcfg.yaml
network:
  version: 2
  renderer: networkd
  ethernets:
    enp1s0:
      dhcp4: no
      addresses: [10.192.189.2/24]
      gateway4: 10.192.189.1
      nameservers:
        addresses: [223.5.5.5,180.76.76.76]

# netplan --debug apply
# systemctl disable systemd-resolved.service
# systemctl stop systemd-resolved.service
# rm -f /etc/resolv.conf
# echo nameserver 223.5.5.5>/etc/resolv.conf
Configure the hostname:
# sudo hostnamectl set-hostname foreman.fuck.com
# echo "10.192.189.2 foreman.fuck.com" | sudo tee -a /etc/hosts
Install foreman
Install foreman via following commands:
# hostnamectl set-hostname foreman.fuck.com
# echo "10.192.189.2 foreman.fuck.com"| sudo tee -a /etc/hosts
# apt-get update
# apt-get update
# sudo apt-get install ca-certificates
# wget https://apt.puppetlabs.com/puppet5-release-bionic.deb
# sudo dpkg -i puppet5-release-bionic.deb
# rm puppet5-release-bionic.deb
# echo "deb http://deb.theforeman.org/ bionic 1.19" | sudo tee /etc/apt/sources.list.d/foreman.list
# echo "deb http://deb.theforeman.org/ plugins 1.19" | sudo tee -a /etc/apt/sources.list.d/foreman.list
# apt-get -y install ca-certificates
# wget -q https://deb.theforeman.org/pubkey.gpg -O- | sudo apt-key add -
# apt-get update
# sudo apt-get install foreman-installer
# foreman-installer
# foreman-installer  --enable-foreman-proxy  --foreman-proxy-tftp=true  --foreman-proxy-tftp-servername=10.192.189.2  --foreman-proxy-dhcp=true  --foreman-proxy-dhcp-interface=eth0  --foreman-proxy-dhcp-gateway=10.192.189.1  --foreman-proxy-dhcp-nameservers="10.192.189.2"  --foreman-proxy-dhcp-range="10.192.189.100 10.192.189.200"  --foreman-proxy-dns=true  --foreman-proxy-dns-interface=eth0  --foreman-proxy-dns-zone=fuck.com  --foreman-proxy-dns-reverse=189.192.10.in-addr.arpa  --foreman-proxy-dns-forwarders=8.8.8.8  --foreman-proxy-foreman-base-url=https://foreman.fuck.com  --foreman-proxy-oauth-consumer-key=ceqCFsvS8qrVRv8W3pb5yWNs6Prt9iZS  --foreman-proxy-oauth-consumer-secret=aYCHnyCzRXFuuy4nNXWthBKhPiNdfzJt
Refers to:
Status:
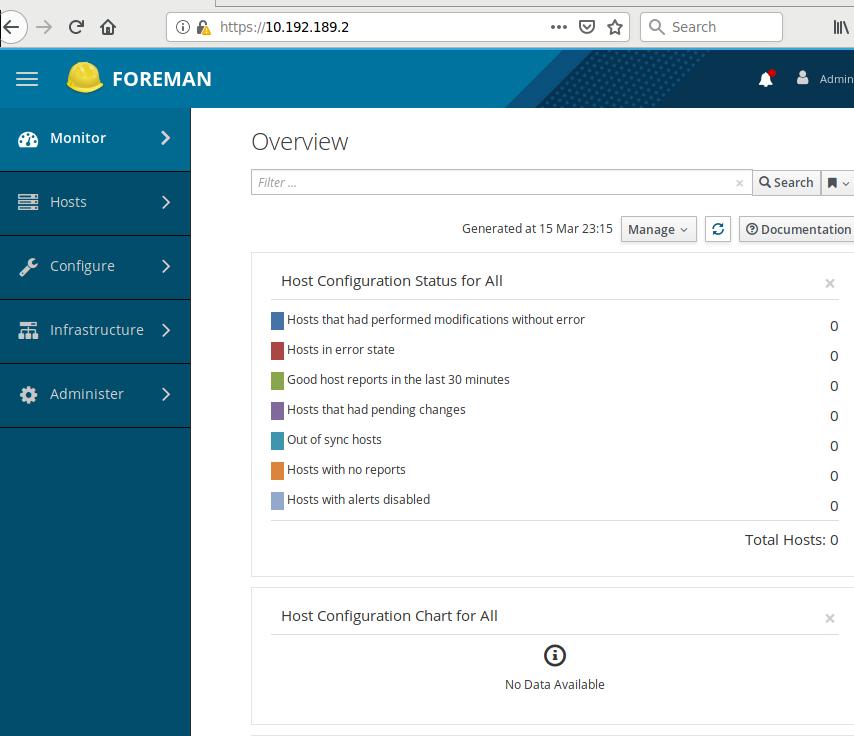
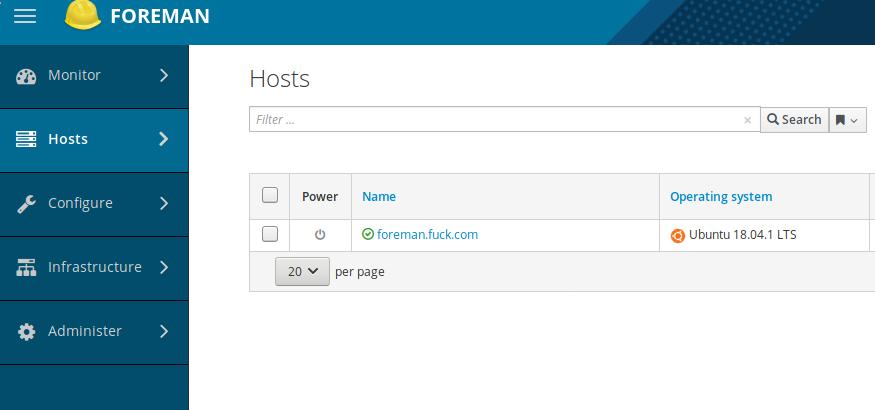
After a while, you will see the server has been detected and displayed in the webpage:
Configuration for CentOS7
Download iso from mirror:
# wget http://mirrors.163.com/centos/7.6.1810/isos/x86_64/CentOS-7-x86_64-Minimal-1810.iso
# mount -t iso9660 ./CentOS-7-x86_64-Minimal-1810.iso /mnt
# cp -arv /mnt/* ./website
Create docker based website:
# apt-get install \
    apt-transport-https \
    ca-certificates \
    curl \
    software-properties-common
# curl -fsSL https://download.docker.com/linux/ubuntu/gpg | sudo apt-key add -
# apt-key fingerprint 0EBFCD88
# add-apt-repository \
   "deb [arch=amd64] https://download.docker.com/linux/ubuntu \
   $(lsb_release -cs) \
   stable"
# apt-get update && apt-get install -y docker-ce
# docker pull jrelva/nginx-autoindex:latest
# mkdir -p /opt/web
# docker run --name docker-nginx -p 7888:80 -d --restart=always -v /opt/web:/usr/share/nginx/html jrelva/nginx-autoindex
Host-> Installation Media, add new iso:
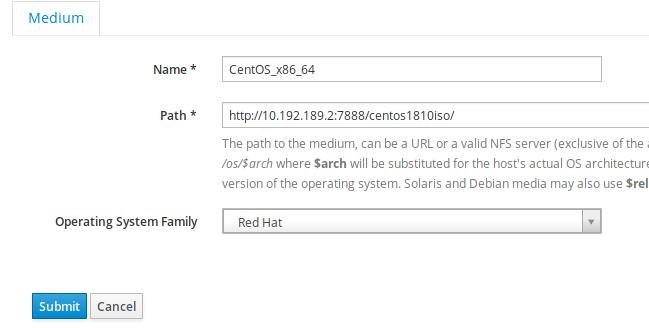
Host-> Operating System, Create new os:

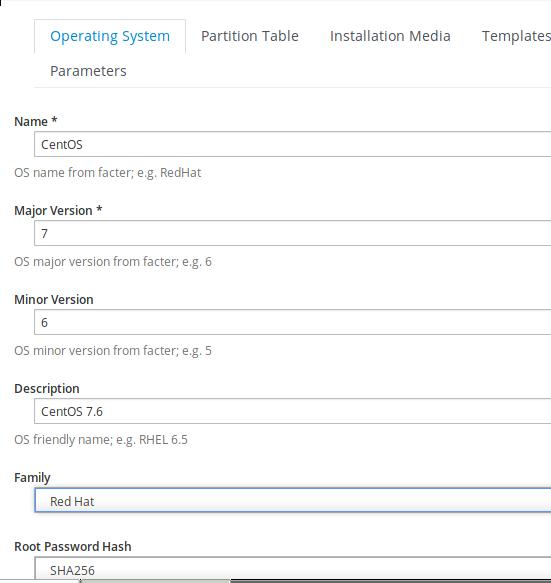
Filled the description of the new os:
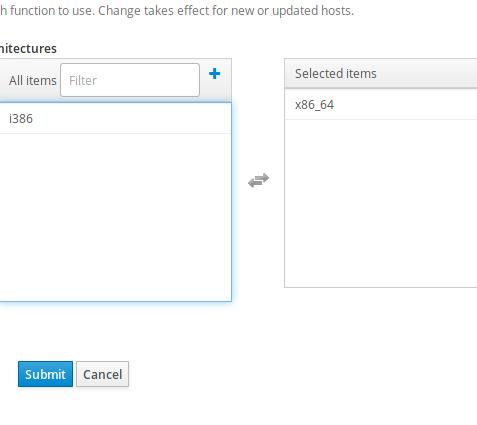
Choose x86_64:
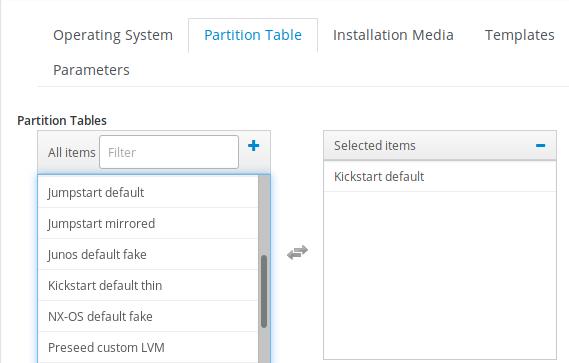
Partition Tables we choose Kickstart default:
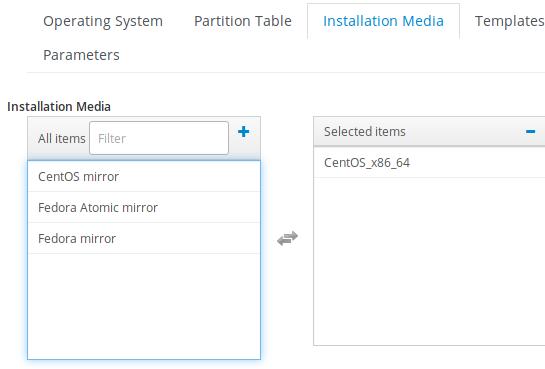
Associate the installation media with our centos 7.6:
Click submit, later we will choose template for provision.
Host-> Provision Templates, choose following templates and associate with CentOS7_x86_64:
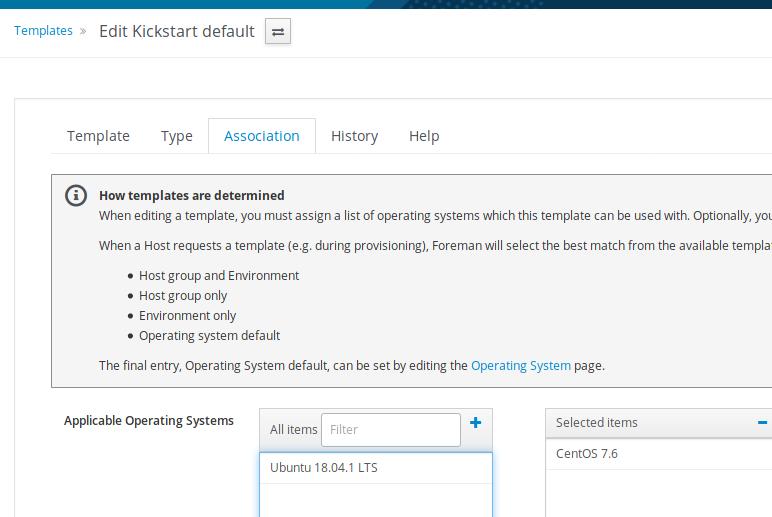
kickstart default finish
kickstart default
kickstart default ipxe
kickstart default pxelinux
kickstart default use data
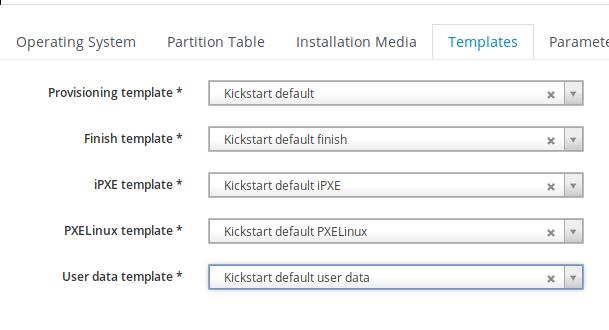
Associate with template:
Next we will configure the subnet and the foreman-proxy items.
