
SyncKismaticImages
May 30, 2018
Technology
搭建完Portus镜像后,如何重新初始化,并获得更新的kismatic镜像?这里记录了步骤。
清空已有镜像
运行以下命令,可以得到一个全新的portus镜像仓库:
# systemctl stop docker-infra.service
# cd /usr/local/compose
# docker-compose down
Stopping compose_nginx_1      ... done
Stopping compose_background_1 ... done
Stopping compose_registry_1   ... done
Stopping compose_portus_1     ... done
Stopping compose_db_1         ... done
Removing compose_nginx_1      ... done
Removing compose_background_1 ... done
Removing compose_registry_1   ... done
Removing compose_portus_1     ... done
Removing compose_db_1         ... done
Removing network compose_default
# cd /var/lib
# mv portus portus.back
# mkdir portus
# docker volume rm compose_static
# systemctl start docker-infra.service
配置新仓库
在打开浏览器访问portus仓库前,手动添加条目至/etc/hosts文件,IP地址需手动更改 :
$ sudo echo "192.192.189.53 portus.xxxx.com">>/etc/hosts
打开浏览器访问 https://portus.xxxx.com:

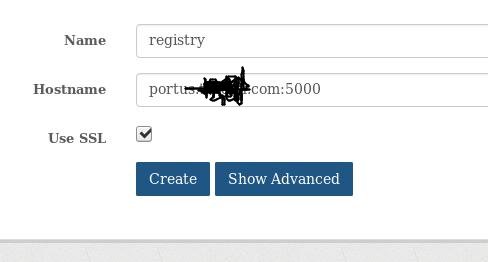
在页面弹出的提示中,填入以下参考值:
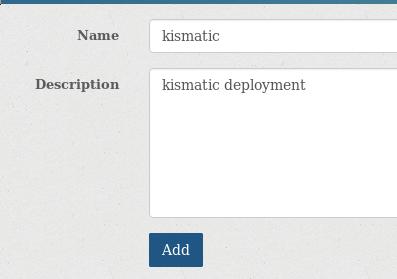
Team->Create new team, 创建一个名为 kismatic 的团队:
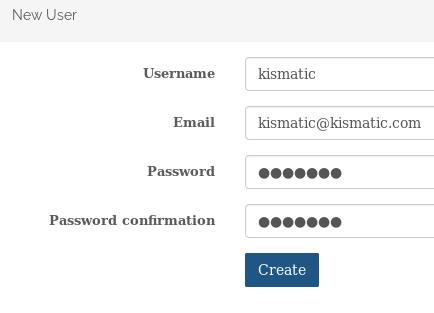
Admin->User->Create new user, 创建一个名为kismatic的用户:
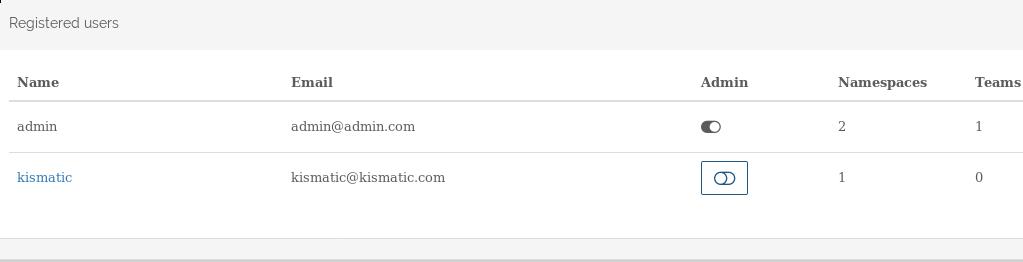
创建好的用户如下所示:
Team->members->Add members, 添加kismatic用户到kismatic组里,定义其角色为Contributer, 即可push/pull镜像:

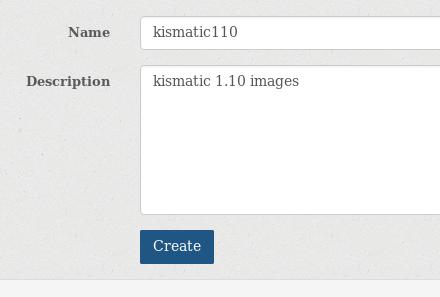
创建一个新的命名空间,并绑定到kismatic组:
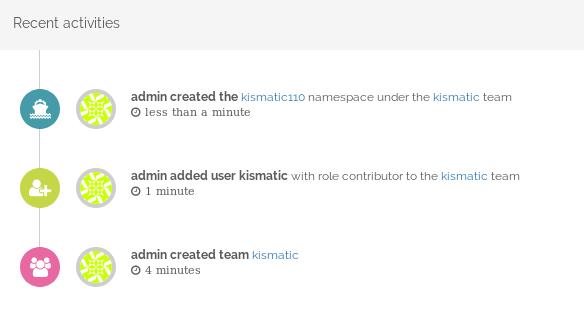
执行的步骤可以在portus的logs里看到:
kismatic v1.10同步镜像
到https://github.com/apprenda/kismatic/releases下载kismatic对应的版本.
解压后的情况:
# pwd
/home/xxxx/code/kismatic1110
# ls
ansible  helm  kismatic  kubectl  provision
创建plan文件:
 ./kismatic install plan
Plan your Kubernetes cluster:
=> Number of etcd nodes [3]: 1
=> Number of master nodes [2]: 1
=> Number of worker nodes [3]: 1
=> Number of ingress nodes (optional, set to 0 if not required) [2]: 0
=> Number of storage nodes (optional, set to 0 if not required) [0]: 0
=> Number of existing files or directories to be copied [0]: 0
由此则产生了kismatic-cluster.yaml文件,
编辑对应的IP配置,可以参考已有的配置, 其中仓库的配置部分如下:
# vim kismatic-cluster.yaml
docker_registry:

  # IP or hostname and port for your registry.
  server: "portus.xxxx.com:5000/kismatic110"

  # Absolute path to the certificate authority that should be trusted when
  # connecting to your registry.
  CA: "/home/xxxxx/portus.xxxx.com.crt"

  # Leave blank for unauthenticated access.
  username: "kismatic"

  # Leave blank for unauthenticated access.
  password: "xxxxxxxx"
同步仓库:
# ./kismatic seed-registry --verbose
同步完毕以后,取回镜像包:
# systemctl stop docker-infra.service
# cd /var/lib/
# tar czvf portus.tar.gz portus/
rpm包取回
设置节点机的/etc/yum.conf下为保存rpm包,一次在线安装后,即可获得所有的rpm包。createrepo
后直接取回。
重组安装源
一次详细的重组步骤如下:
# 复制旧版本框架
cp -r ansible ansible_kismatic1110
cd ansible_kismatic1110
# 更新docker镜像源
rm -f portus.tar.gz
scp root@10.168.100.150:/var/lib/portus.tar.gz .
rm -f kismaticpkgs.tar.gz
# 更新rpm源
scp -r root@10.168.100.150:/usr/local/kismaticpkgs.tar.gz .
# 更新kismatic部署框架
tar xzvf kismatic.tar.gz
cd kismatic/cluster00
rm -rf ./*
sudo cp -ar /media/sda5/Code/kismatic1110/* .
sudo rm -rf generated
sudo rm -rf ./runs/apply/*
sudo rm -rf ./runs/preflight/*
sudo rm -rf ./runs/smoketest/*
rm -f kismatic.tar.gz
sudo tar czvf kismatic.tar.gz kismatic
sudo rm -rf kismatic
重组后的大小:
# du -hs ansible_kismatic1110
1.2G	ansible_kismatic1110
现在就可以用原有方法进行系统的部署了。