WH Worktips(2)
Jun 18, 2015
Technology
Cobbler Web
Visit the following website:
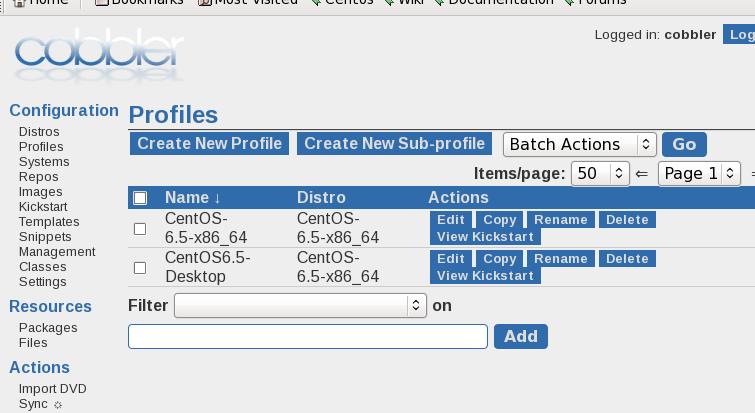
You will see:

Added More Profiles
The default kickstart configuration file could found under:/var/lib/cobbler/kickstarts/sample_end.ks , copy it to your own.
$ cp /var/lib/cobbler/kickstarts/sample_end.ks CentOS65Desktop.cfg
$ vim CentOS65Desktop.cfg
# Allow anaconda to partition the system as needed
# autopart
# 1G Swap and remains others to be ext4
part swap --fstype="swap" --size=1024
part / --asprimary --fstype="ext4" --grow --size=1
.......
%packages
# Added from here
@additional-devel
@basic-desktop
@chinese-support
@desktop-platform
@development
@fonts
@general-desktop
@input-methods
@x11
git
-ibus-table-cangjie
-ibus-table-erbi
-ibus-table-wubi
# End of added
$SNIPPET('func_install_if_enabled')
%end
More configurations could be customized.
Fixed IP Address Via DHCP
By adding the configuration in dhcp configuration:
$ sudo vim /etc/cobbler/dhcp.template
     max-lease-time             43200;
     next-server                $next_server;

     host ns111 {
         next-server $next_server;
         hardware ethernet 52:54:00:e0:cc:18;
         fixed-address 10.47.58.111;
     }


     class "pxeclients" {
$ sudo cobbler sync
Now restart the deployed node, you will easily see the node.
Specify Fixed IP For Host
Add the configration of the node112, then this machine will start with our specified parameters:
# cobbler system add --name=node112 --profile=CentOS6.5-Desktop --mac=52:54:00:92:8c:4d --interface=eth0 --ip-address=10.47.58.112 --hostname=node112 --gateway=10.47.58.1 --dns-name=node112
Now bootup the machine, then this computer will have the fixed IP address.

Use Ansible For Administrate The Added Nodes
Install ansible via:
# yum install -y ansible sshpass
# vim /etc/hosts
10.47.58.112    node112

# mkdir -p ~/Code/Ansible
# cd ~/Code/Ansible
# vim ansible.cfg
    [defaults]
    hostfile=/root/Code/Ansible/hosts

# vim hosts
    [node112]
    10.47.58.112

# vim ssh-addkey.yml
    ---
    - hosts: all
      sudo: yes
      gather_facts: no
      remote_user: root

      tasks:

      - name: install ssh key
        authorized_key: user=root
                        key="{{ lookup('file', '/root/.ssh/id_rsa.pub') }}"
                        state=present

# ssh-keyscan 10.47.58.112>>/root/.ssh/known_hosts
# ansible-playbook ssh-addkey.yml --ask-pass
Now the node112 is under controlled by you.
Take refers to:
https://sysadmincasts.com/episodes/45-learning-ansible-with-vagrant-part-2-4
Test via:
[root@z_WHServer Ansible]# ansible all -m shell -a "uptime"
10.47.58.112 | success | rc=0 >>
 06:18:59 up  1:32,  2 users,  load average: 0.00, 0.00, 0.00
In following parts we will try to deploy Cloudstack using playbook.
