ArchLinux On Surface Pro
Jun 16, 2014
Technology
Following is the steps for installing ArchLinux on Surface Pro, from the very beginning.
Prerequisite
First you have to download the iso from http://www.archlinux.org/download, Mine is 2014.06.01.
Also I use a USB-LAN adapter which holds the following information: ASIX Electronics Corp. AX88772B.
A 8G Flash Disk, 80G USB3.0 USB HardDisk. I also use a 4-Port USB2.0 HUB which carries a AC/DC Adapter for using 3 equipemts(FlashDisk/USB Adapter/USB Disk).
Make the bootable flash disk via:
# dd if=/path/to/archlinux.iso of=/dev/sdX bs=1M && sync
After it finished we insert the flash disk into the USB HUB, boot-up the Surface Pro Holding both the Power Key and Volumn - Key. Shortly we will go into the archlinux installtion shell.
Installation Of ArchLinux
These steps are mainly refers to following URL:
https://bbs.archlinuxcn.org/viewtopic.php?id=1037
First start-up the sshd so we can remotely login onto the terminal, thus we could easily copy-paste the commands.
Make partitions on disk
GPT Partition:
cgdisk /dev/sdX
The Partition I made is as following:
# fdisk -l /dev/sdb

Disk /dev/sdb: 74.5 GiB, 80026361856 bytes, 156301488 sectors
Units: sectors of 1 * 512 = 512 bytes
Sector size (logical/physical): 512 bytes / 512 bytes
I/O size (minimum/optimal): 512 bytes / 512 bytes
Disklabel type: gpt
Disk identifier: CEFF8C6A-A06A-46DF-9D10-F4C593C32CA0

Device           Start          End   Size Type
/dev/sdb1         2048      1050623   512M EFI System
/dev/sdb2      1050624      5244927     2G Linux swap
/dev/sdb3      5244928    156301454    72G Linux filesystem
Notice we have to make a seperated EFI partition, because surface pro is UEFI enablbed. We also have a 2-Gigabyte swap partition and remains all of the reset as the root partition.
Now make the filesystems on the disk:
# mkfs.ext4 /dev/sdb3
# mkswap /dev/sdb2
# mkfs.vfat -F32 /dev/sdb1
If you are using SSD, then format the ext4 without journal will greatly extend your SSD lifetime.
But this option is not OK?
# mkfs.ext4 -O "^has_journal" /dev/sd
# mkfs.ext4 /dev/sdb2
# tune2fs -O ^has_journal /dev/sdb2
# tune2fs -o discard /dev/sdb2
Enable the swap partion:
# swapon /dev/sdb2
Installation Of Basic System
After creating the partition, mount them into the corresponding position:
# mount /dev/sdb3 /mnt
# mkdir -p /mnt/boot/EFI/
# mount /dev/sdb1 /mnt/boot/EFI/
Install the basic system:
pacstrap -i /mnt base
Generate the fstab file:
# genfstab -U -p /mnt >> /mnt/etc/fstab
Examine the generate the fstab:
# file /mnt/etc/fstab
# cat /mnt/etc/fstab
Now you have the basic system installed the /dev/sdb, next step we will enter the system and configure this newly installed system.
Configure The System
Enter the system via:
# arch-chroot /mnt /bin/bash
Locale:
# vim /etc/locale.gen
# locale-gen
Default Language:
echo LANG=en_US.UTF-8>/etc/locale.conf
Timezone:
# ln -s /usr/share/zoneinfo/Asia/Shanghai /etc/localtime
HostName:
# echo SurfacePro>/etc/hostname
Auto-configuring the network at startup:
# systemctl start dhcpcd.service
# systemctl enable dhcpcd.service
Set the password for root user:
# passwd
Install grub with efi support:
# pacman -S grub efibootmgr
# grub-install --target=x86_64-efi --efi-directory=/boot/EFI --bootloader-id=arch_grub --recheck
Generate the configure files:
# grub-mkconfig -o /boot/grub/grub.cfg
Finish
Return to the installtion environment:
exit
Umount new partion:
# umount -R /mnt
Reboot via shutdown -h now and next time remove the flash-disk, also press power-up and volumn-down key together, this time you will be leading the usb-disk powered system.
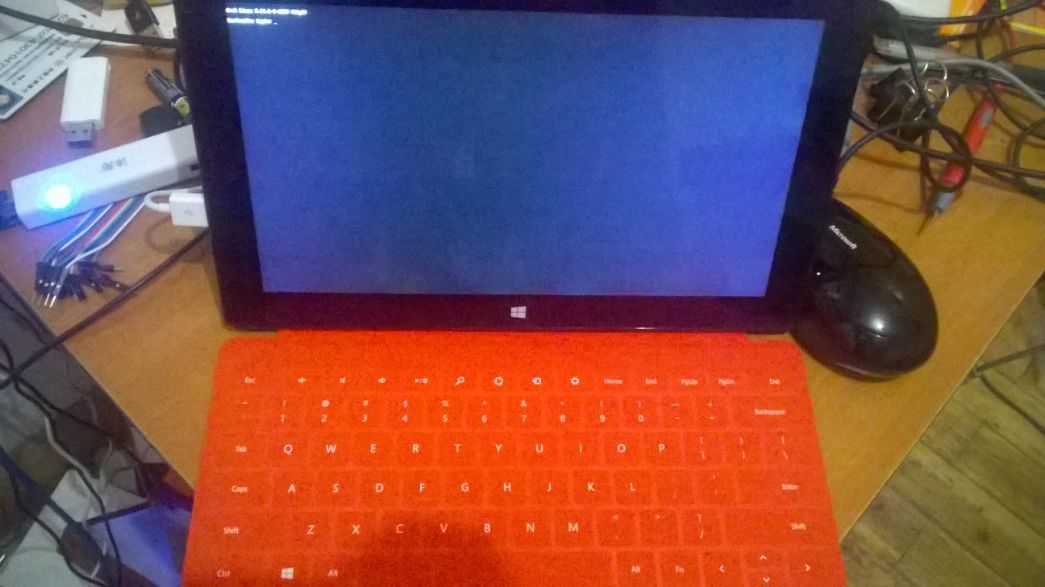
ScreenShot:
See following picture: