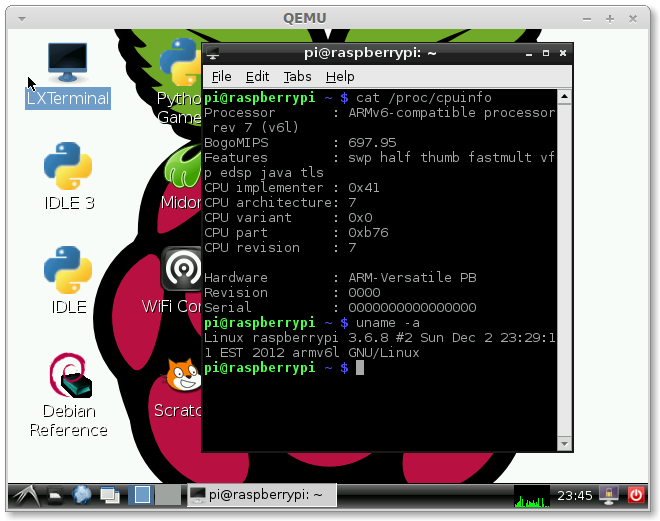
Building Qemu Based RaspberryPI Development Environment
Mar 18, 2014
Technology
First download the latest image from http://www.raspberrypi.org/downloads, mine is Wheezy. And we also have to download the qemu-compatible kernel from following address:
$ wget http://xecdesign.com/downloads/linux-qemu/kernel-qemu
Change the img file according to http://localhost/blog/2013/09/04/qemu-for-raspberrypi/, follow this tutorial, you have to change the img file size and its content, but we have to do some modifications. The run-qemu file is changed to following:
	#!/bin/bash
	USERID=$(whoami)

	# Get name of newly created TAP device; see https://bbs.archlinux.org/viewtopic.php?pid=1285079#p1285079
	precreationg=$(/usr/bin/ip tuntap list | /usr/bin/cut -d: -f1 | /usr/bin/sort)
	sudo /usr/bin/ip tuntap add user $USERID mode tap
	postcreation=$(/usr/bin/ip tuntap list | /usr/bin/cut -d: -f1 | /usr/bin/sort)
	IFACE=$(comm -13 <(echo "$precreationg") <(echo "$postcreation"))

	# This line creates a random mac address. The downside is the dhcp server will assign a different ip each time
	printf -v macaddr "52:54:%02x:%02x:%02x:%02x" $(( $RANDOM & 0xff)) $(( $RANDOM & 0xff )) $(( $RANDOM & 0xff)) $(( $RANDOM & 0xff ))
	# Instead, uncomment and edit this line to set an static mac address. The benefit is that the dhcp server will assign the same ip.
	# macaddr='52:54:be:36:42:a9'
        macaddr = '52:54:79:3c:80:c0'

	qemu-system-arm -net nic,macaddr=$macaddr -net tap,ifname="$IFACE" -append "root=/dev/sda2 panic=1 rootfstype=ext4 rw" $*

	sudo ip link set dev $IFACE down &> /dev/null
	sudo ip tuntap del $IFACE mode tap &> /dev/null
In router, we add the static address for mac corresponding to 10.0.0.168, you can alter it according to your habit.
Now we want to disable the X at every startup and use vnc instead. And we can overlocking the raspberryPI to 1000MHZ, this will greatly improve the performance.
Enable the vncserver:
$ apt-get install tightvncserver vim
Now startup the vncserver and use vncviewer to view the desktop:

No, the correct method is listed as:
	cat /eroot@raspberrypi:~# cat /etc/init.d/startvnc
	#!/bin/sh -e
	### BEGIN INIT INFO
	# Provides:          vncserver
	# Required-Start:    networking
	# Default-Start:     3 4 5
	# Default-Stop:      0 6
	### END INIT INFO

	PATH="$PATH:/usr/X11R6/bin/"

	# The Username:Group that will run VNC
	export USER="pi"
	#${RUNAS}

	# The display that VNC will use
	DISPLAY="1"

	# Color depth (between 8 and 32)
	DEPTH="16"

	# The Desktop geometry to use.
	#GEOMETRY="<WIDTH>x<HEIGHT>"
	#GEOMETRY="800x600"
	#GEOMETRY="1024x768"
	GEOMETRY="1280x1024"

	# The name that the VNC Desktop will have.
	NAME="my-vnc-server"

	OPTIONS="-name ${NAME} -depth ${DEPTH} -geometry ${GEOMETRY} :${DISPLAY}"

	. /lib/lsb/init-functions

	case "$1" in
	start)
	log_action_begin_msg "Starting vncserver for user '${USER}' on   localhost:${DISPLAY}"
	su ${USER} -c "/usr/bin/vncserver ${OPTIONS}"
	;;

	stop)
	log_action_begin_msg "Stoping vncserver for user '${USER}' on localhost:${DISPLAY}"
	su ${USER} -c "/usr/bin/vncserver -kill :${DISPLAY}"
	;;

	restart)
	$0 stop
	$0 start
	;;
	esac

	exit 0
And now we can add this script into /etc/rc.local as:
	# Start the vncserver here:
	/etc/init.d/startvnc start
So everytime we startup the qemu based raspberryPI, we can easily attached to its geometry, and we can easily adapt the resolution.
